You have just purchased a coconut fiber biomat to control erosion on a slope, restore a riverbank, or stabilize an embankment with native vegetation. In this guide, we show you how to install it correctly the first time, what anchoring accessories you need, and how to care for it so that vegetation establishes before the fiber biodegrades.
Product Specifications
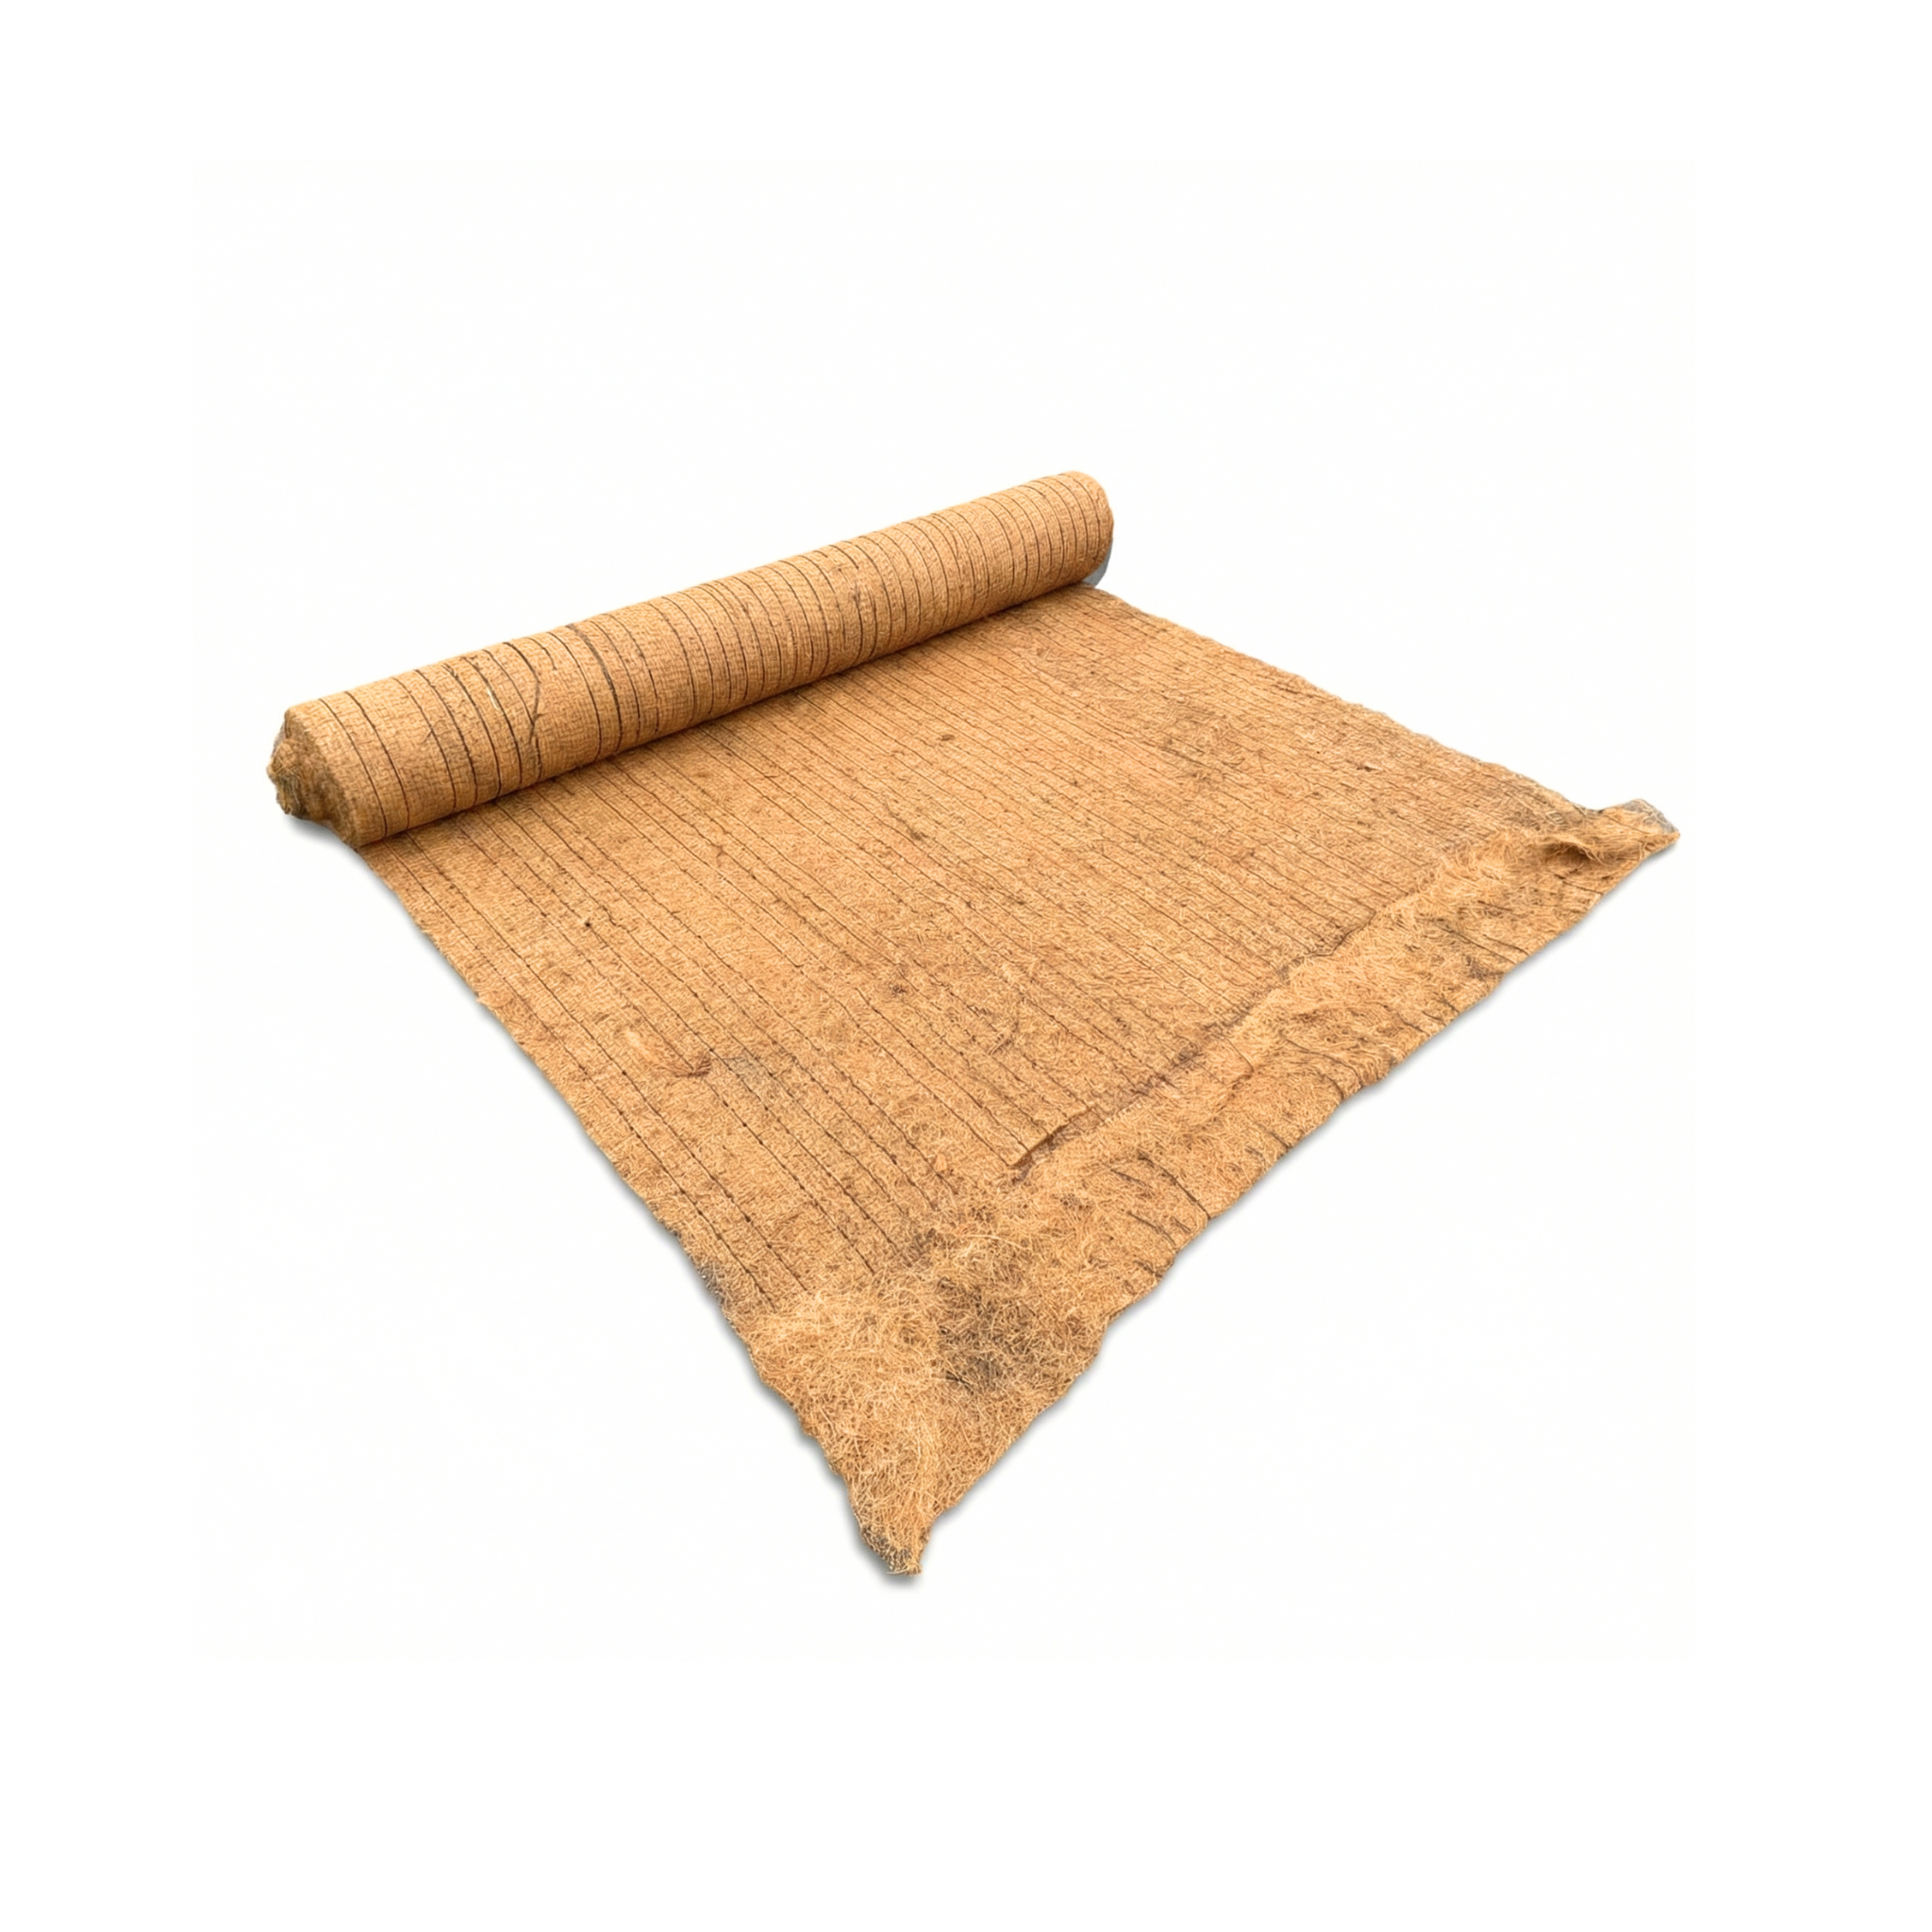
The coconut fiber biomat is a 100% biodegradable organic mat made from compressed coconut fiber stitched onto natural nets. It acts as an anti-erosion protective layer on bare soil: it cushions the impact of Caribbean rain, retains fine particles, conserves moisture to promote germination, and decomposes, adding organic matter to the soil. The Dodom range is offered in a single standard configuration, sized for landscaping projects, river restoration, and residential or agricultural slope stabilization.
| Specification | Coconut Fiber Biomat 280 g/m² |
|---|---|
| SKU | 658443 |
| Material | Coconut fiber with support net |
| Weight | 280 g/m² (8.3 oz/yd²) |
| Roll width | 2.5 m (8.2 ft) |
| Roll length | 40 m (131 ft) |
| Coverage per roll | 100 m² (1076 ft²) |
| Biodegradability | 100% natural |
Step-by-step installation guide
The success of the biomat depends almost entirely on proper installation. If the mat is in full contact with the soil and anchored without tension, vegetation will germinate underneath and grow through the fiber before it degrades. If there are gaps, water will flow underneath and wash away the seeds. Follow the strict order we provide.
Prepare the surface
Remove loose stones, thick roots, and plant debris from the slope or riverbank. Level depressions by filling them with soil from the site itself and compacting lightly. The surface must be smooth: any gap under the mat is an erosion pathway that water will exploit.
Excavate the upper anchor trench
At the crest of the slope, dig a trench 15 to 20 cm (6 to 8 in) deep and about 15 cm (6 in) wide, parallel to the slope. This trench will receive the upper edge of the biomat and will be the key piece preventing water from seeping over the roll.
Seed before covering
Spread the seeds directly onto the prepared ground before laying the mat. The biomat acts as a protective mulch: it allows light and moisture to pass through but cushions the impact of rain. Seeding underneath ensures direct contact of the seed with the soil and uniform germination.
Unroll from top to bottom
Place the roll at the crest and unroll it down the slope, never parallel to it. Insert the first edge into the anchor trench. Let the mat fall by its own weight without stretching it: it should rest on the ground like a sheet, in full contact with the soil over its entire surface.
Anchor the biomat to the ground
Drive metal staples in a staggered pattern every 1 m (3.3 ft) across the body of the roll and every 50 cm (20 in) along the edges. In the upper trench, drive a dense row of staples, backfill with soil, and compact. For steep slopes, replace staples with metal rods with anchor caps every 80 cm (32 in).
Overlap adjacent rolls
When you reach the end of the first roll, start the next one by overlapping it 15 cm (6 in) over the previous one, always in the direction of water flow: the lower roll goes under the upper one. The same applies to lateral rolls: the downstream one always overlaps underneath. Reinforce the overlap line with an additional row of staples.
Close the bottom edge and water
Excavate a second trench at the foot of the slope, bury the lower edge, and compact. Water the entire surface with a gentle spray: the first watering settles the fiber, improves contact with the soil, and activates germination. Maintain light daily watering for the first 2 to 3 weeks.
In Caribbean areas with intense tropical rain, install the biomat with the smoother side down and the side with loose fiber up. This exposed side better cushions the impact of large raindrops and retains more moisture for germination during the dry season.
Do not stretch the biomat like a canvas. If it is stretched in the air, water will run underneath, lift the mat, and wash away seeds and soil in a few hours. It should be loose, in full contact with every irregularity of the terrain. If you see a gap, add another staple, do not stretch.
How many rolls and staples do you need for your slope?
If you are unsure about the quantity of biomat, staples, or rods your project requires, or hesitate between anchoring with metal staples or rods with caps depending on the slope, ask the virtual assistant. It will calculate the correct coverage and fastening pattern in seconds.
Complementary Products
Geobanks do not stand alone: they need to be anchored to the ground and, in most projects, seeds need to be placed under the fiber, which will firmly hold the soil once the mat has degraded. These three complementary items cover both aspects and are what we recommend for a standard installation on a slope or riverbank.
The metal garden staple is the standard anchor for slopes and riverbanks with moderate inclination: quick to hammer in and sufficient to hold the mat in normal conditions. The anchor cap for metal rods is used when the slope exceeds 30% or the soil is very loose, as the rod penetrates deeper and the cap distributes pressure over the fiber. Bermuda grass seeds are the most resistant vegetation cover to the Caribbean sun and foot traffic, ideal for permanent coverage to establish before the geomat decomposes.
Maintenance and Care
The coir geomat is a biodegradable product, so "maintenance" actually means ensuring that vegetation establishes before the fiber decomposes. These are the critical guidelines:
- Intensive initial watering: For the first 2 to 3 weeks, water daily with a gentle spray. This is the period when the seeds germinate under the fiber.
- Inspection after every heavy rain: Especially check anchor trenches and overlaps. If you find any detached areas, add staples and backfill with soil. Do not wait for damage to progress.
- Zero traffic for 60 days: Neither people nor animals on the geomat until visible germination occurs. Foot traffic compacts the fiber against tender roots and kills the cover.
- Storage of leftover rolls: Store in a dry place, raised off the ground and covered. Coir fiber absorbs ambient moisture, and once wet, it begins to decompose even if not installed.
- Actual useful life on site: In the Caribbean climate, the fiber degrades completely between 18 and 36 months, depending on sun and rain exposure. Vegetative cover should be established long before this period.
Frequently Asked Questions
How long does a coir geomat take to biodegrade?
In the Dominican climate, with intense sun and frequent rains, coir fiber fully degrades between 18 and 36 months. This is a longer period than for a straw or jute geomat, which gives it ample time for vegetation to establish and take over erosion control.
What is the maximum slope where coir geomats can be used?
The 280 g/m² coir geomat performs well on slopes up to 1V:1.5H (approximately 33° or 67% slope). Above that value, it is still valid, but you will need to replace metal staples with rods with anchor caps and reduce the spacing to 60 cm (24 in). For vertical or near-vertical slopes, the correct solution is a synthetic geomattress, not a geomat.
Do I need to put geotextile under the geomat?
In most cases, no. The geomat rests directly on the prepared soil and the fiber itself acts as a filter. It is only recommended to add non-woven geotextile underneath when the soil is very fine and there is a need to prevent loss of fine particles into a sensitive watercourse, or when planting on a substrate very different from the original.