You have just purchased anchor caps for metal rods. These small plastic caps may seem like a minor detail, but they are the difference between a geocell, biomat, or weed control fabric that lasts for years and one that blows away with the first strong wind. The cap acts as a washer and a stopper for the rod, distributing the force over the material and preventing the rod head from penetrating and tearing it. In this guide, we explain how to use it.
Product specifications
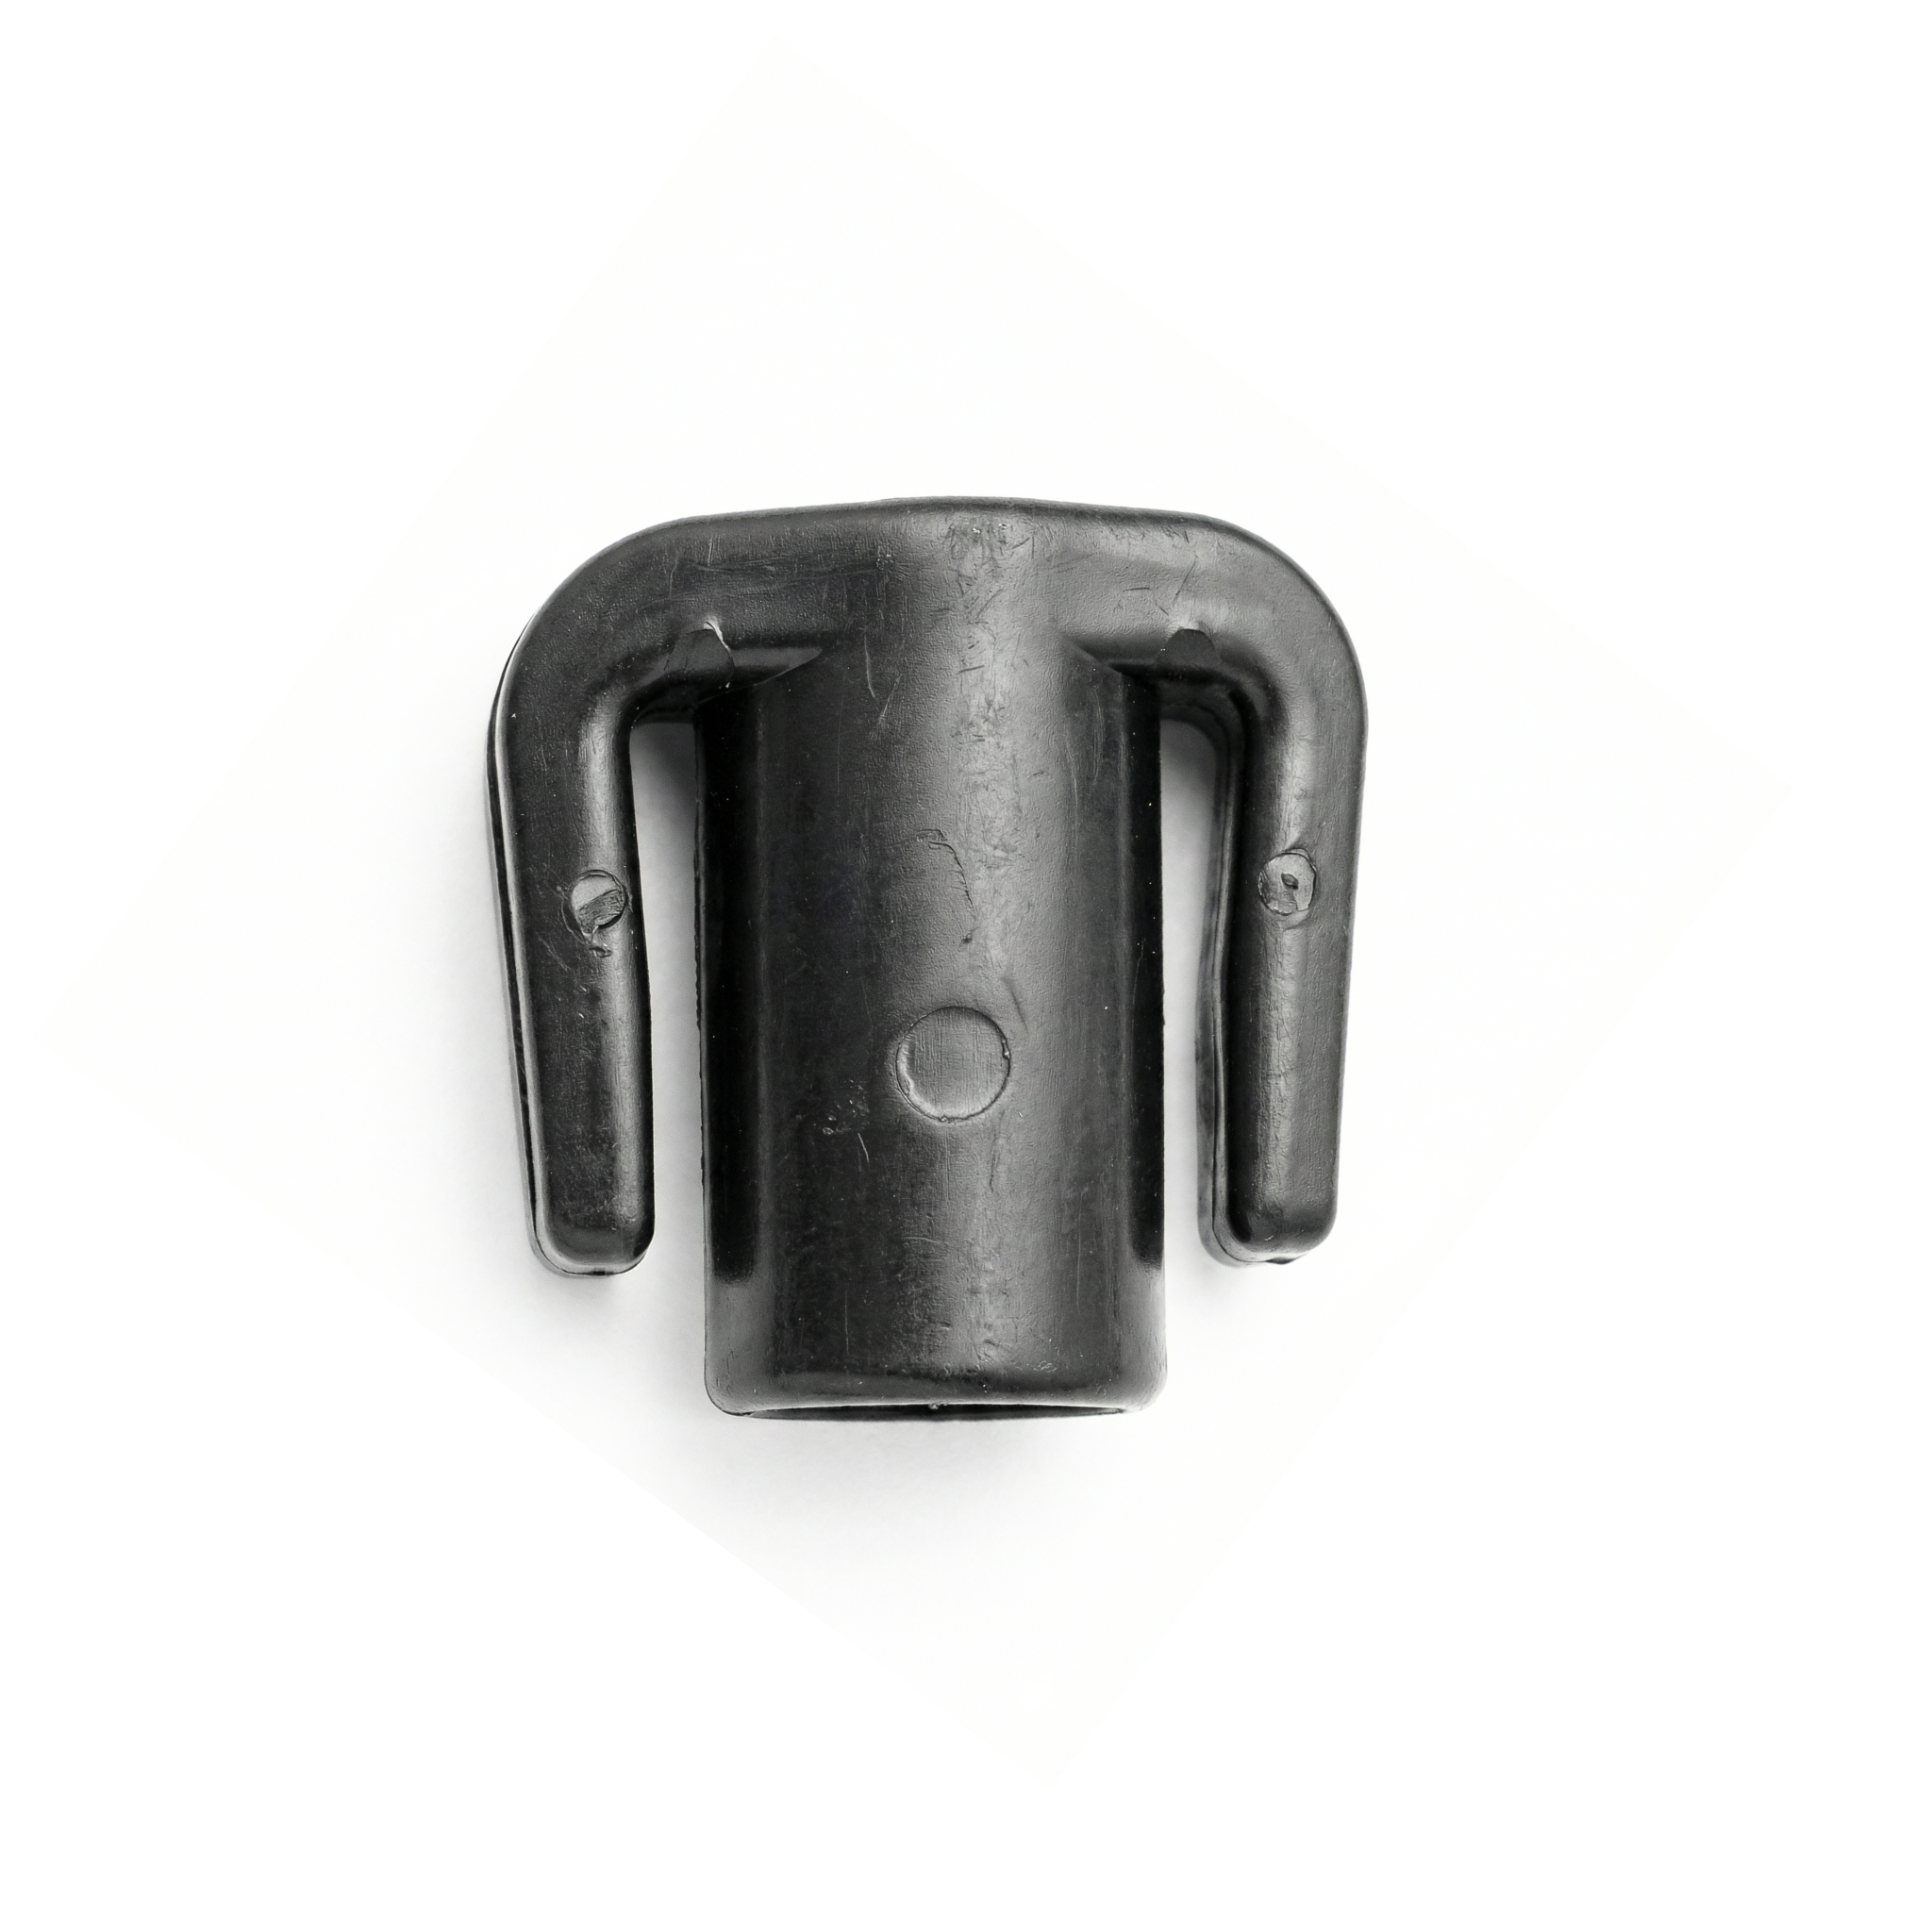
The anchor cap is a plastic piece shaped like an inverted cone or a disc with a central perforation. It is inserted over the head of the metal rod before or during driving and is trapped between the rod head and the material to be fixed (geocell, biomat, geomattress, weed control fabric, etc.). It distributes the concentrated force of the rod over a wider surface and prevents the head from tearing the material.
| Specification | Standard cap |
|---|---|
| SKU | 765770 |
| Material | Polypropylene with UV stabilization |
| Box | 1000 caps |
| Application | Anchoring geocell, biomat, geomattress, mesh |
Step-by-step instructions for use
The cap is installed together with the rod. There are two techniques depending on the type of rod: passing the rod through the cap before driving it, or driving it and then placing the cap at the end. The first method is safer because it ensures the cap is properly positioned.
Mark the fixing grid
On the material to be fixed, mark the points where the rods will go according to your project's pattern. The typical pattern is 1 fixing per m² on flat areas and 2-4 per m² on steep slopes. Slopes steeper than 1V:2H require an even denser pattern.
Pass the rod through the cap
Take a rod and a cap. Pass the rod through the cap's hole until the rod's head is inside the cone or disc. Make sure the cap is oriented correctly: the flat side towards the material, the conical or ribbed side facing upwards.
Position the rod at its point
Place the rod with the cap at the marked point, with the tip touching the material. Perpendicular to the ground is most appropriate on a flat surface; on a slope, the rod is driven at an angle towards the hillside (not towards the valley) to resist the weight of the material.
Drive until the cap is flush with the material
Using a rubber mallet or hammer, drive the rod by striking the head with the cap already in place. The force of the blow is transmitted through the cap to the rod head, not directly to the plastic. Stop driving when the cap is flush with the material, pressing lightly without crushing it. A sunken cap is a good sign of correct fixing.
Verify the fixing
Pull on the area of the material near the rod. If the material lifts from the ground, the rod is poorly driven (too shallow or into soft soil) or the cap does not apply enough pressure. If the material remains firm against the ground, the fixing is correct. Repeat the system at each marked point.
For a large project, prepare batches on trays: 50 rods with their caps already installed, ready to drive. This triples the speed of the crew. Try with two people: one distributes the pre-assembled rods, the other drives them. Typical results: 200-300 fixings per hour with this organization.
Do not drive the rod by hitting the cap directly with a metal construction hammer. The cap will break and sink below the material, nullifying its function. Use a rubber mallet, or a metal hammer with a wooden block interposed. If you break many caps, use a lighter hammer or change the order: drive the rod 80% first and only complete the last section with the cap in place.
How many rods and caps do you need?
If you are dimensioning a geocell, biomat, or weed control fabric project and are unsure how many fixings per m² you need depending on the slope and soil type, ask the virtual assistant. It will provide fixing guidelines and total calculations.
Complementary products
The cap is one element of a fixing system. These are its usual partners:
The metal rod is the piece that penetrates the ground and works under tension; the cap distributes its force over the material. The polyethylene geocell is one of the materials that this combination most frequently fixes. The coconut biomat is the other typical case: after hydroseeding, biomat + rod with cap ensures that the material remains on the slope until germination.
Maintenance and care
The cap is a long-lasting element once installed:
- Storage: in its box, in a dry, shaded place. They withstand transport temperatures without problem, but prolonged direct UV light degrades polypropylene.
- Periodic inspection: on slopes with biomat or geocell, annually inspect visible fixings. Broken or displaced caps should be replaced before the rod penetrates the material.
- Service life: polypropylene with UV-stabilizer lasts between 5 and 10 years under Caribbean sun. In areas that will be covered with vegetation (biomat for revegetation), it is not a problem: by the time the cap degrades, the roots have already anchored the soil.
- Spot reinforcements: in areas where movement is detected (erosion marks, material lifting), add additional fixings instead of removing existing ones.
Frequently asked questions
Can I use the cap with any rod?
The cap is sized for the standard 50 cm Dodom metal rod. It works with rods of other brands of similar diameter and head, but verify in a test that the head is well retained and the cap's hole is not excessively large compared to the rod's body. A large clearance allows the material to move.
Are they colored, are they visible?
The standard cap is olive green or brown to visually blend into vegetated slopes. In geocells filled with gravel or concrete, it is hidden under the fill. In biomats after seeding, it is hidden by vegetation within a few weeks. If you need a different color for a specific project, inquire about availability.
What do I do if I break caps when driving?
If you break more than 5% of the caps, there is a systematic problem: hammer too heavy, lateral strike instead of perpendicular, ground too hard causing the rod to bounce. Switch to a lighter rubber mallet, strike perpendicularly, and if the ground is very hard, pre-drill with an auxiliary rod before inserting the final one with its cap.