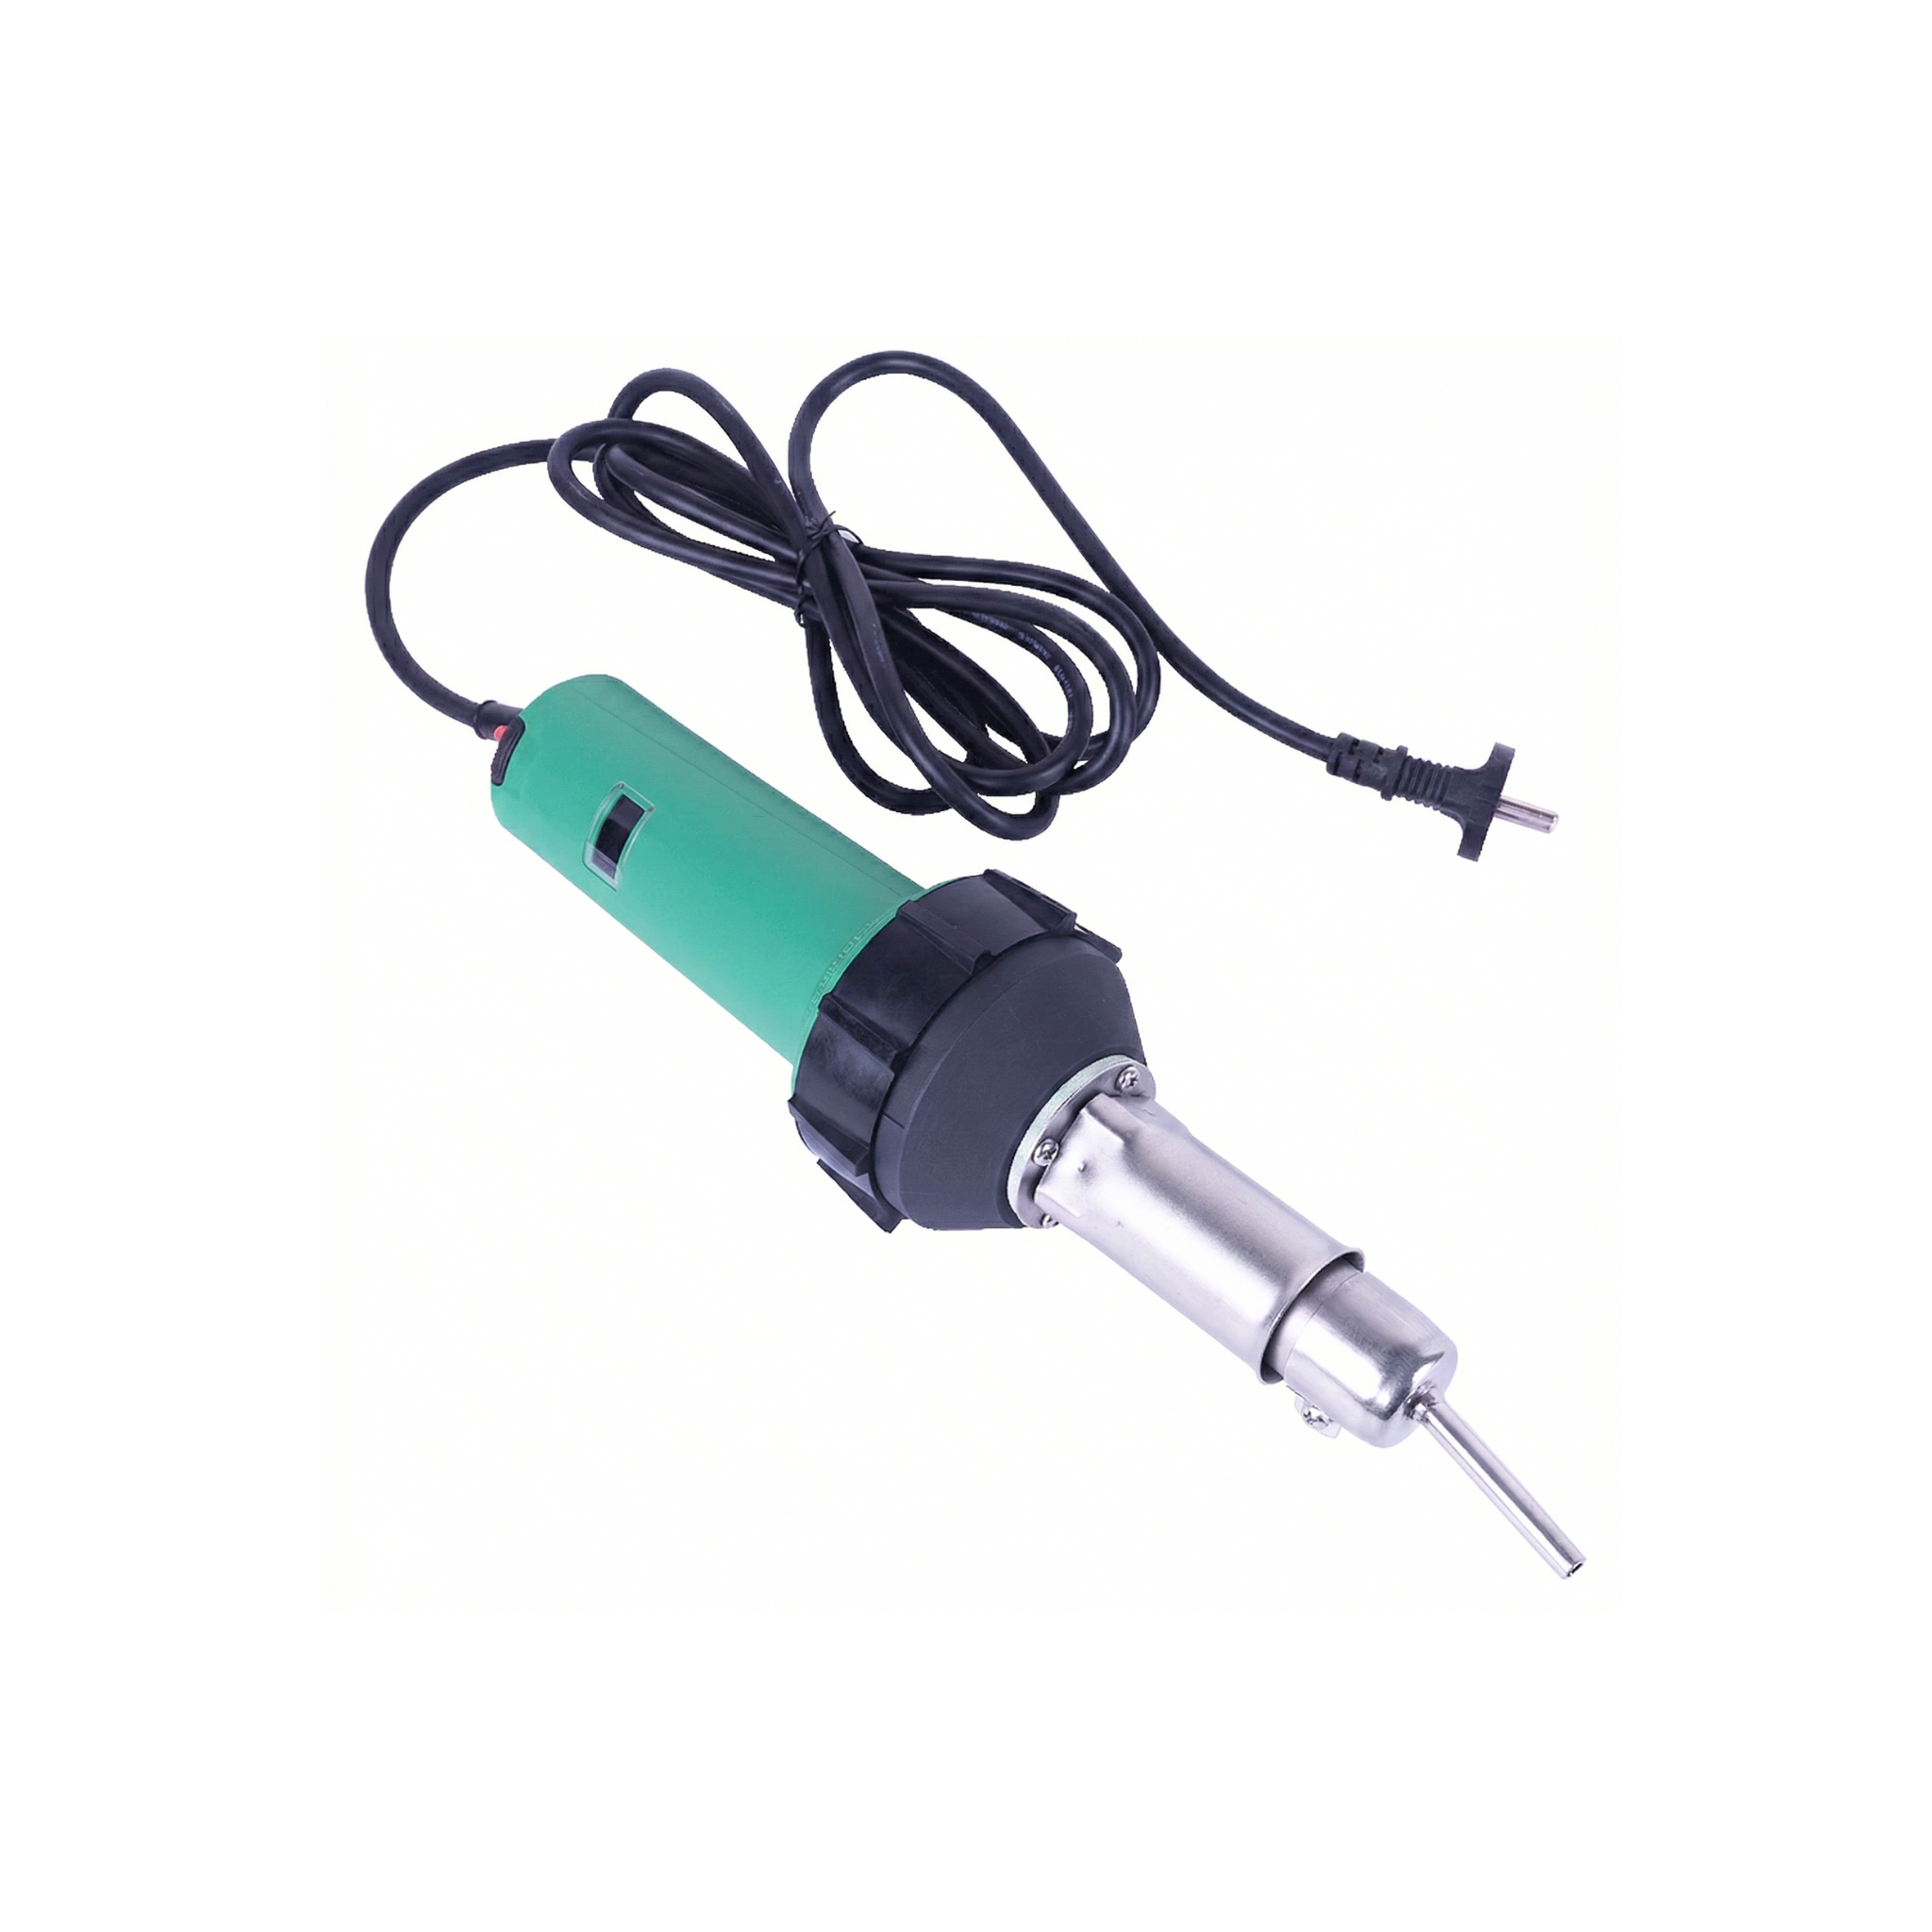
You have just purchased a hot-air welding machine for joining geomembranes, plastic sheets, and tarpaulins for patching, small jobs, and repairs. It is the lightest and most versatile tool in the waterproofing kit: quick to heat, portable, and comfortable. In this guide, we show you how to calibrate it, weld at a constant speed, and check the joint.
Product Specifications
The hot-air welder projects a high-temperature air jet onto the overlap area between two sheets. While one operator moves the gun forward, another or the same operator presses with a silicone roller immediately after the air passes. The surface melts, the roller presses, and the joint is formed. It is the most practical tool for repairs, welding tests, and small jobs.
| Specification | Hot Air 1600 W |
|---|---|
| SKU | 982342 |
| Power | 1600 W |
| Voltage | 220 V (50/60 Hz) |
| Temperature Range | 20 – 600 °C (68 – 1112 °F) |
| Application | Patches, small jobs, repairs |
Step-by-Step Guide for Use
Hot air welding requires constant coordination between temperature, travel speed, and roller pressure. Doing it well is a matter of rhythm: once you find it on a test piece, you replicate it on the job.
Prepare the overlap
Overlap the two sheets by 5 to 10 cm (2 to 4 in). Clean with a dry cloth to remove dust, moisture, or grease. If the sheet has been exposed to the elements for more than a month, a light surface sanding may be advisable to remove UV oxidation.
Heat the machine and calibrate temperature
Connect and adjust the temperature according to the material: HDPE 350-400 °C (662-752 °F), PVC 300-350 °C (572-662 °F), polypropylene 300 °C (572 °F). Wait 2 to 3 minutes until stable operation. Point the jet into the air while heating, never towards the material or your hands.
Test weld
Weld a 30 cm (12 in) test piece on a scrap identical to the job material. Wait for it to cool and perform a peel test: the joint should break through the base material, not the weld. If it separates, increase the temperature by 10 °C or move slower. Repeat the test until the material fails before the joint.
Weld the actual joint
Insert the nozzle between the two sheets at the beginning of the overlap, at an angle of 30 to 45°. Advance the machine at a constant speed (around 1 m/min / 3.3 ft/min) and immediately follow with the roller, applying firm and even pressure. The distance between the nozzle and the roller is the speed: never allow hot air to blow on material that will not be pressed next.
Inspection and cooling
Wait 5 minutes for cooling. Visually inspect the bead: it should appear continuous, with a fine exudate at the edges indicating correct melting. Run a screwdriver along the line: if it separates, re-weld that area. For critical joints, test with a vacuum box.
In the Dominican Republic, in full sun, ambient temperature changes the welding range. At 6:00 a.m. with cold sheet, you need 380 °C; at midday with the sheet exposed to the sun for hours, 340 °C is usually sufficient. Recalibrate with a peel test at least twice a day: once in the morning and once after lunch.
Do not neglect roller pressure after hot air. An area where the air melted but the roller did not press at the correct moment will have microscopic blistering that looks like a good weld to the eye, but will separate with any traction. Keep the roller always 1-2 cm (0.4-0.8 in) behind the nozzle, without delay.
Which welding machine is right for you?
If you have a project and are unsure between hot air, hot wedge, or extruder, ask the virtual assistant. It will guide you based on the surface to be welded, sheet thickness, and required quality control level.
Complementary Products
The hot-air welder rarely works alone. It is part of a kit along with other joining machines and the materials it seals.
HDPE geomembrane is the main material the machine joins. The hot wedge welding machine is the complementary tool for long runs on large jobs, while the hot air covers details. The extrusion welding machine handles corners, patches, and connections to rigid structures. All three complement each other in a professional waterproofing kit.
Maintenance and Care
Maintaining a hot-air welder is simple but critical:
- Always shut down with cold air: When finished, lower the temperature to 0 °C before shutting down and let the fan run for 2 minutes. Shutting down hot burns out the heating element.
- Clean the nozzle: After each day's work, remove the nozzle when cold and clean any melted plastic residue with a brass brush. A clogged nozzle changes the jet pattern and ruins the next day's welds.
- Filters and air inlets: Monthly check that air inlets are not blocked with dust. In dusty environments, clean them weekly.
- Cable and plug: Inspect after each day for cuts, burns, or loose connections. The machine operates with high current, and cables can suffer.
- Storage: Store it in its original case with the roller separate, in a dry place protected from moisture.
Frequently Asked Questions
What materials can I hot air weld?
Any thermoplastic: HDPE, LDPE, PVC, PP, PVC tarpaulins, waterproofing geomembranes, heat shrink tape, plastic greenhouse covers. It does not weld EPDM, hypalon, or vulcanized elastomers (these require adhesive). For each material, adjust the temperature: lower for PVC, higher for HDPE.
Can I hot air weld long runs?
You can, but it will be slow and the quality less uniform than with a hot wedge, which is specifically designed for large runs. Use hot air for patches, corners, connections to structures, and small jobs under 50 linear meters. For large ponds and landfills, invest in a hot wedge; it will save days of work.
Does it work outdoors in windy conditions?
Yes, but with difficulty. The wind deflects the hot air stream and cools the area before the roller. If you work outdoors, set up a windbreak screen with thick cardboard or a board. On the Dominican coast with a constant sea breeze, welding with hot air without a screen is a waste of time and sheeting.