

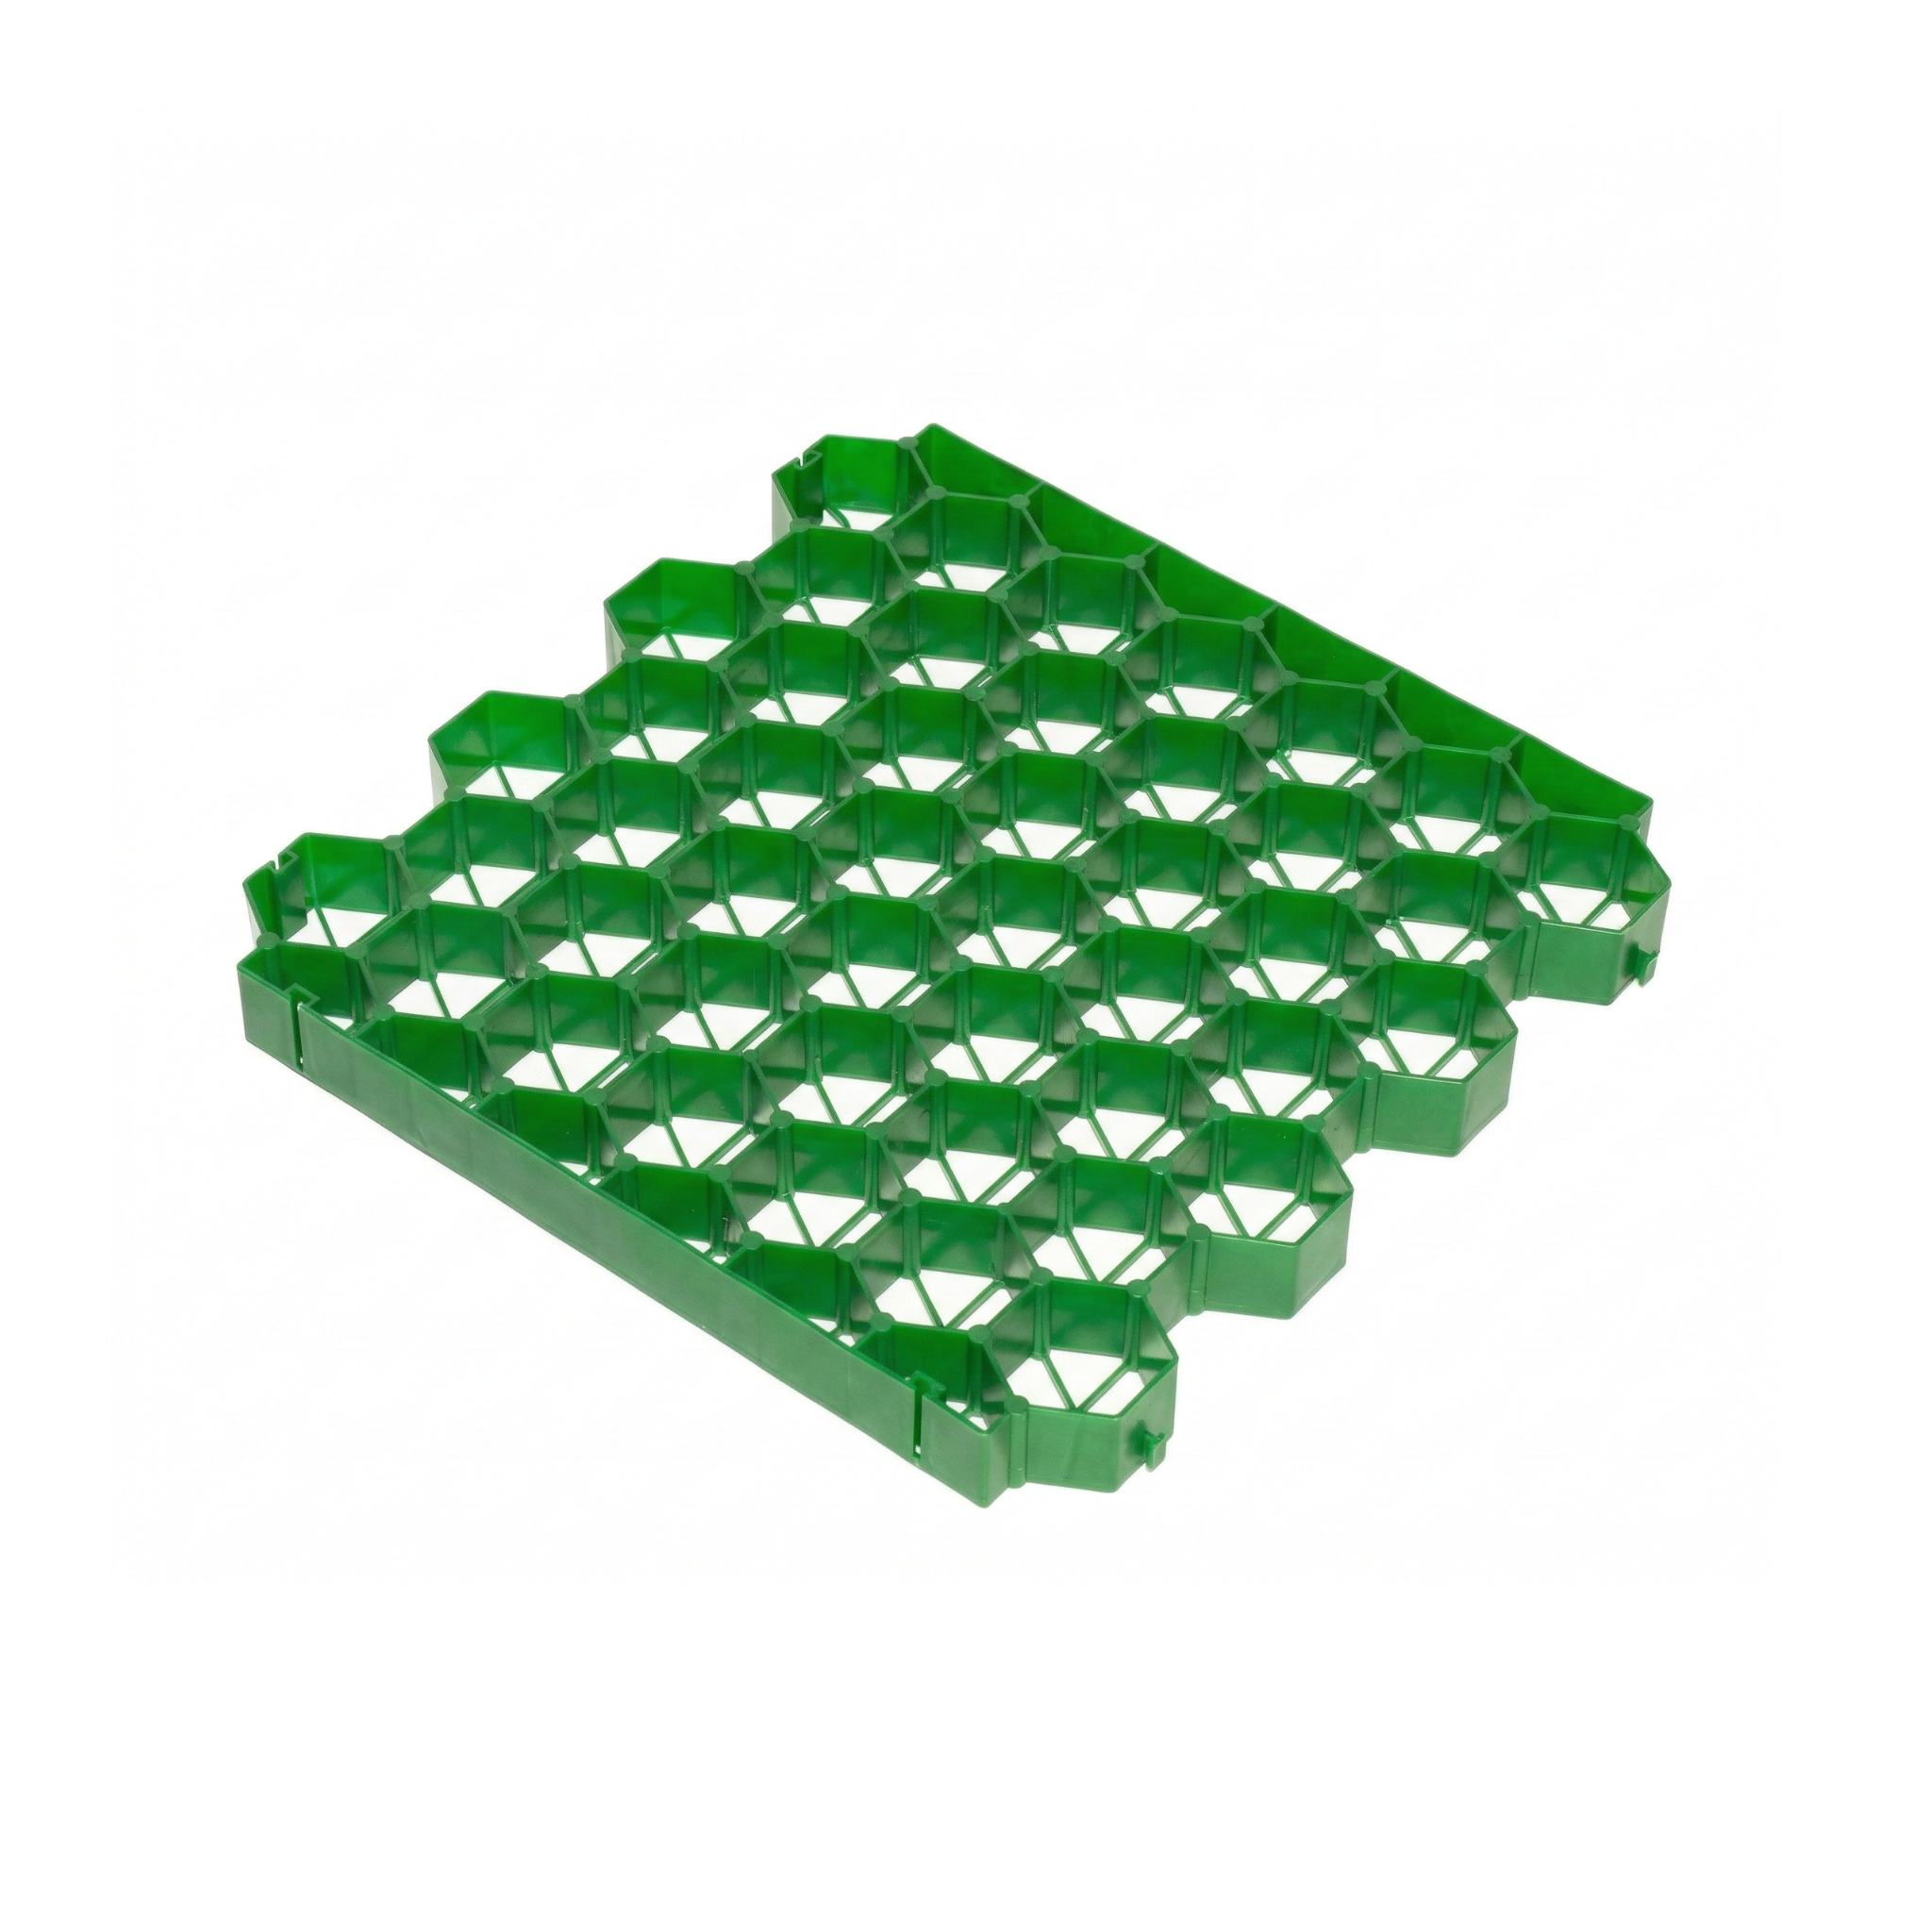
This guide covers the installation of grass paving slabs: excavating the base, building the granular base, laying and connecting the slabs, filling the cells with substrate and seeding grass or laying sod. Follow these steps to create trafficable surfaces that keep grass alive: green parking areas, occasional vehicle accesses or pathways.
Product specifications
Modular slab made of recycled high-density polyethylene (HDPE) with hexagonal cells that assemble together through a lateral joining system. The cells hold the substrate and allow grass growth, while the plastic structure distributes the traffic load, preventing soil compaction. Load resistance approximately 200-250 t/m² with filled cells, sufficient for light vehicles and standard trucks.
| Specification | Standard slab |
|---|---|
| SKU | 684257 |
| Dimensions | 50 × 50 × 4 cm (20 × 20 × 2 in) |
| Material | Recycled HDPE |
| Package | 8 slabs (2 m²) |
| Application | Green parking areas, accesses, walkways over grass |
Step-by-step installation
Correct installation determines whether your green parking area lasts a decade or sinks after a few months. The critical element is a well-sized and compacted support base.
Excavate the base
Excavate the area to a minimum depth of 25-30 cm (10-12 in) for pedestrian or light use, or 40-50 cm (16-20 in) for vehicle traffic use. Compact the bottom with a vibrating plate. Correct excavation is the first condition: a slab laid on soft soil sinks with the first vehicle.
Build the granular base
Place a layer of coarse gravel (40-60 mm) 15-25 cm thick compacted in lifts, with a layer of fine gravel or coarse sand 5-10 cm on top to level. Use a polypropylene geotextile between the natural ground and the granular base to prevent mixing and migration of fines. Finish with a 2-3 cm layer of leveled fine sand that will receive the slabs.
Lay and connect the slabs
Start from a corner and lay slabs side by side. The lateral connection system locks the slabs together, forming a continuous surface that behaves as a single unit under loads. Check leveling with a long straightedge: the top surface of the slabs should sit at the same height as the planned grass. For large or curved surfaces, trim slabs with a hand saw.
Fill the cells with substrate
Fill each hexagonal cell with quality substrate mixed with coconut fiber to improve drainage and aeration. Recommended mix: 60% garden soil + 30% coconut fiber + 10% sand. Fill to just the top edge of the cell; with the first watering the substrate drops 1-2 cm, at which point fill another layer to bring it flush.
Seed grass or lay sod
Sow coated Bermuda or Paspalum seed over the substrate at the correct rate and water. A faster alternative: lay pre-grown sod over the slabs and press to settle it. In either case, during the first 6-8 weeks avoid heavy traffic so the grass roots deeply through the cells and becomes established.
For green parking areas in the Dominican climate, prefer Paspalum or aggressive Bermuda over the slabs: both resist vehicle traffic well once established. Avoid delicate ornamental grasses (fine zoysia, perennial ryegrass) that suffer with traffic. The key to a durable green parking area is: a well-sized base, aggressive grass rooted deeply, and rotation of the parking spot (always avoid the same wheels on the same point).
Do not skip the granular base thinking the slabs "hold up on their own." The plastic only distributes load, but the load still travels down to the subsoil. On uncompacted natural soil, the slabs sink 2-5 cm with each vehicle, forming undulations and breaking the flatness. Investing in a well-sized granular base is what separates a durable green parking area from a surface wrecked in six months.
Complementary products
A complete grass paving installation combines several products:
The Paspalum grass seeds are the choice for green parking areas in coastal zones; alternatively Bermuda inland. The coconut fiber substrate drastically improves the cell filling mix, providing aeration and water retention essential for the grass to root deeply. The drainage cell slab is the sister version for rooftop gardens or green roofs: both products share a modular structure but solve different problems.
Maintenance and care
Grass paving, once correctly installed, gives few problems but requires care for the grass that grows on top:
- Storage of slabs: in a dry, shaded area before installation. Stabilized HDPE lasts for decades, but prolonged storage in the sun degrades the plastic before installation.
- Watering the grass: grass in cells requires more watering than traditional grass because the substrate is shallower. Frequent, short watering (not waterlogging) keeps moisture in the root zone.
- Regular mowing: cut the grass to the standard height for the species (3-5 cm) without the mower touching the slabs. A blade in contact with the slab gets nicked and breaks the piece.
- Periodic inspection: every 6 months, remove the grass in a specific cell and check the state of the fill. If the substrate has dropped more than 2-3 cm, refill with new mix.
- Service life of the slabs: 20-25 years under typical Dominican conditions. The limit is usually the grass, not the slabs.
Frequently asked questions
Does it hold the weight of a car or pickup truck?
Yes, the slabs are designed for light and commercial vehicle traffic (up to about 4-5 tons per axle) on a well-sized granular base. For heavy truck traffic or industrial vehicles (more than 8 tons per axle), use specific higher-resistance systems or traditional rigid pavement. Check the expected loads before choosing.
Can I combine areas with slabs and areas without?
Yes, the most frequent combination: ornamental garden edges without slabs, a walkway or parking area with slabs, all covered by the same grass. The aesthetic transition is excellent because the grass is continuous. Use concrete or plastic edging to delimit the paved area and prevent the outer grass from invading the cells with invasive roots.
