This guide covers the use of the metal garden staple: spreading and positioning the material, fixing edges and overlaps first, securing the interior with a square grid, finishing the driving with a hammer or foot, and using stops on soft soils. Follow these steps to fix weed-control nets, films and lightweight geosynthetics with the right density so they do not lift with wind or watering.
Product specifications
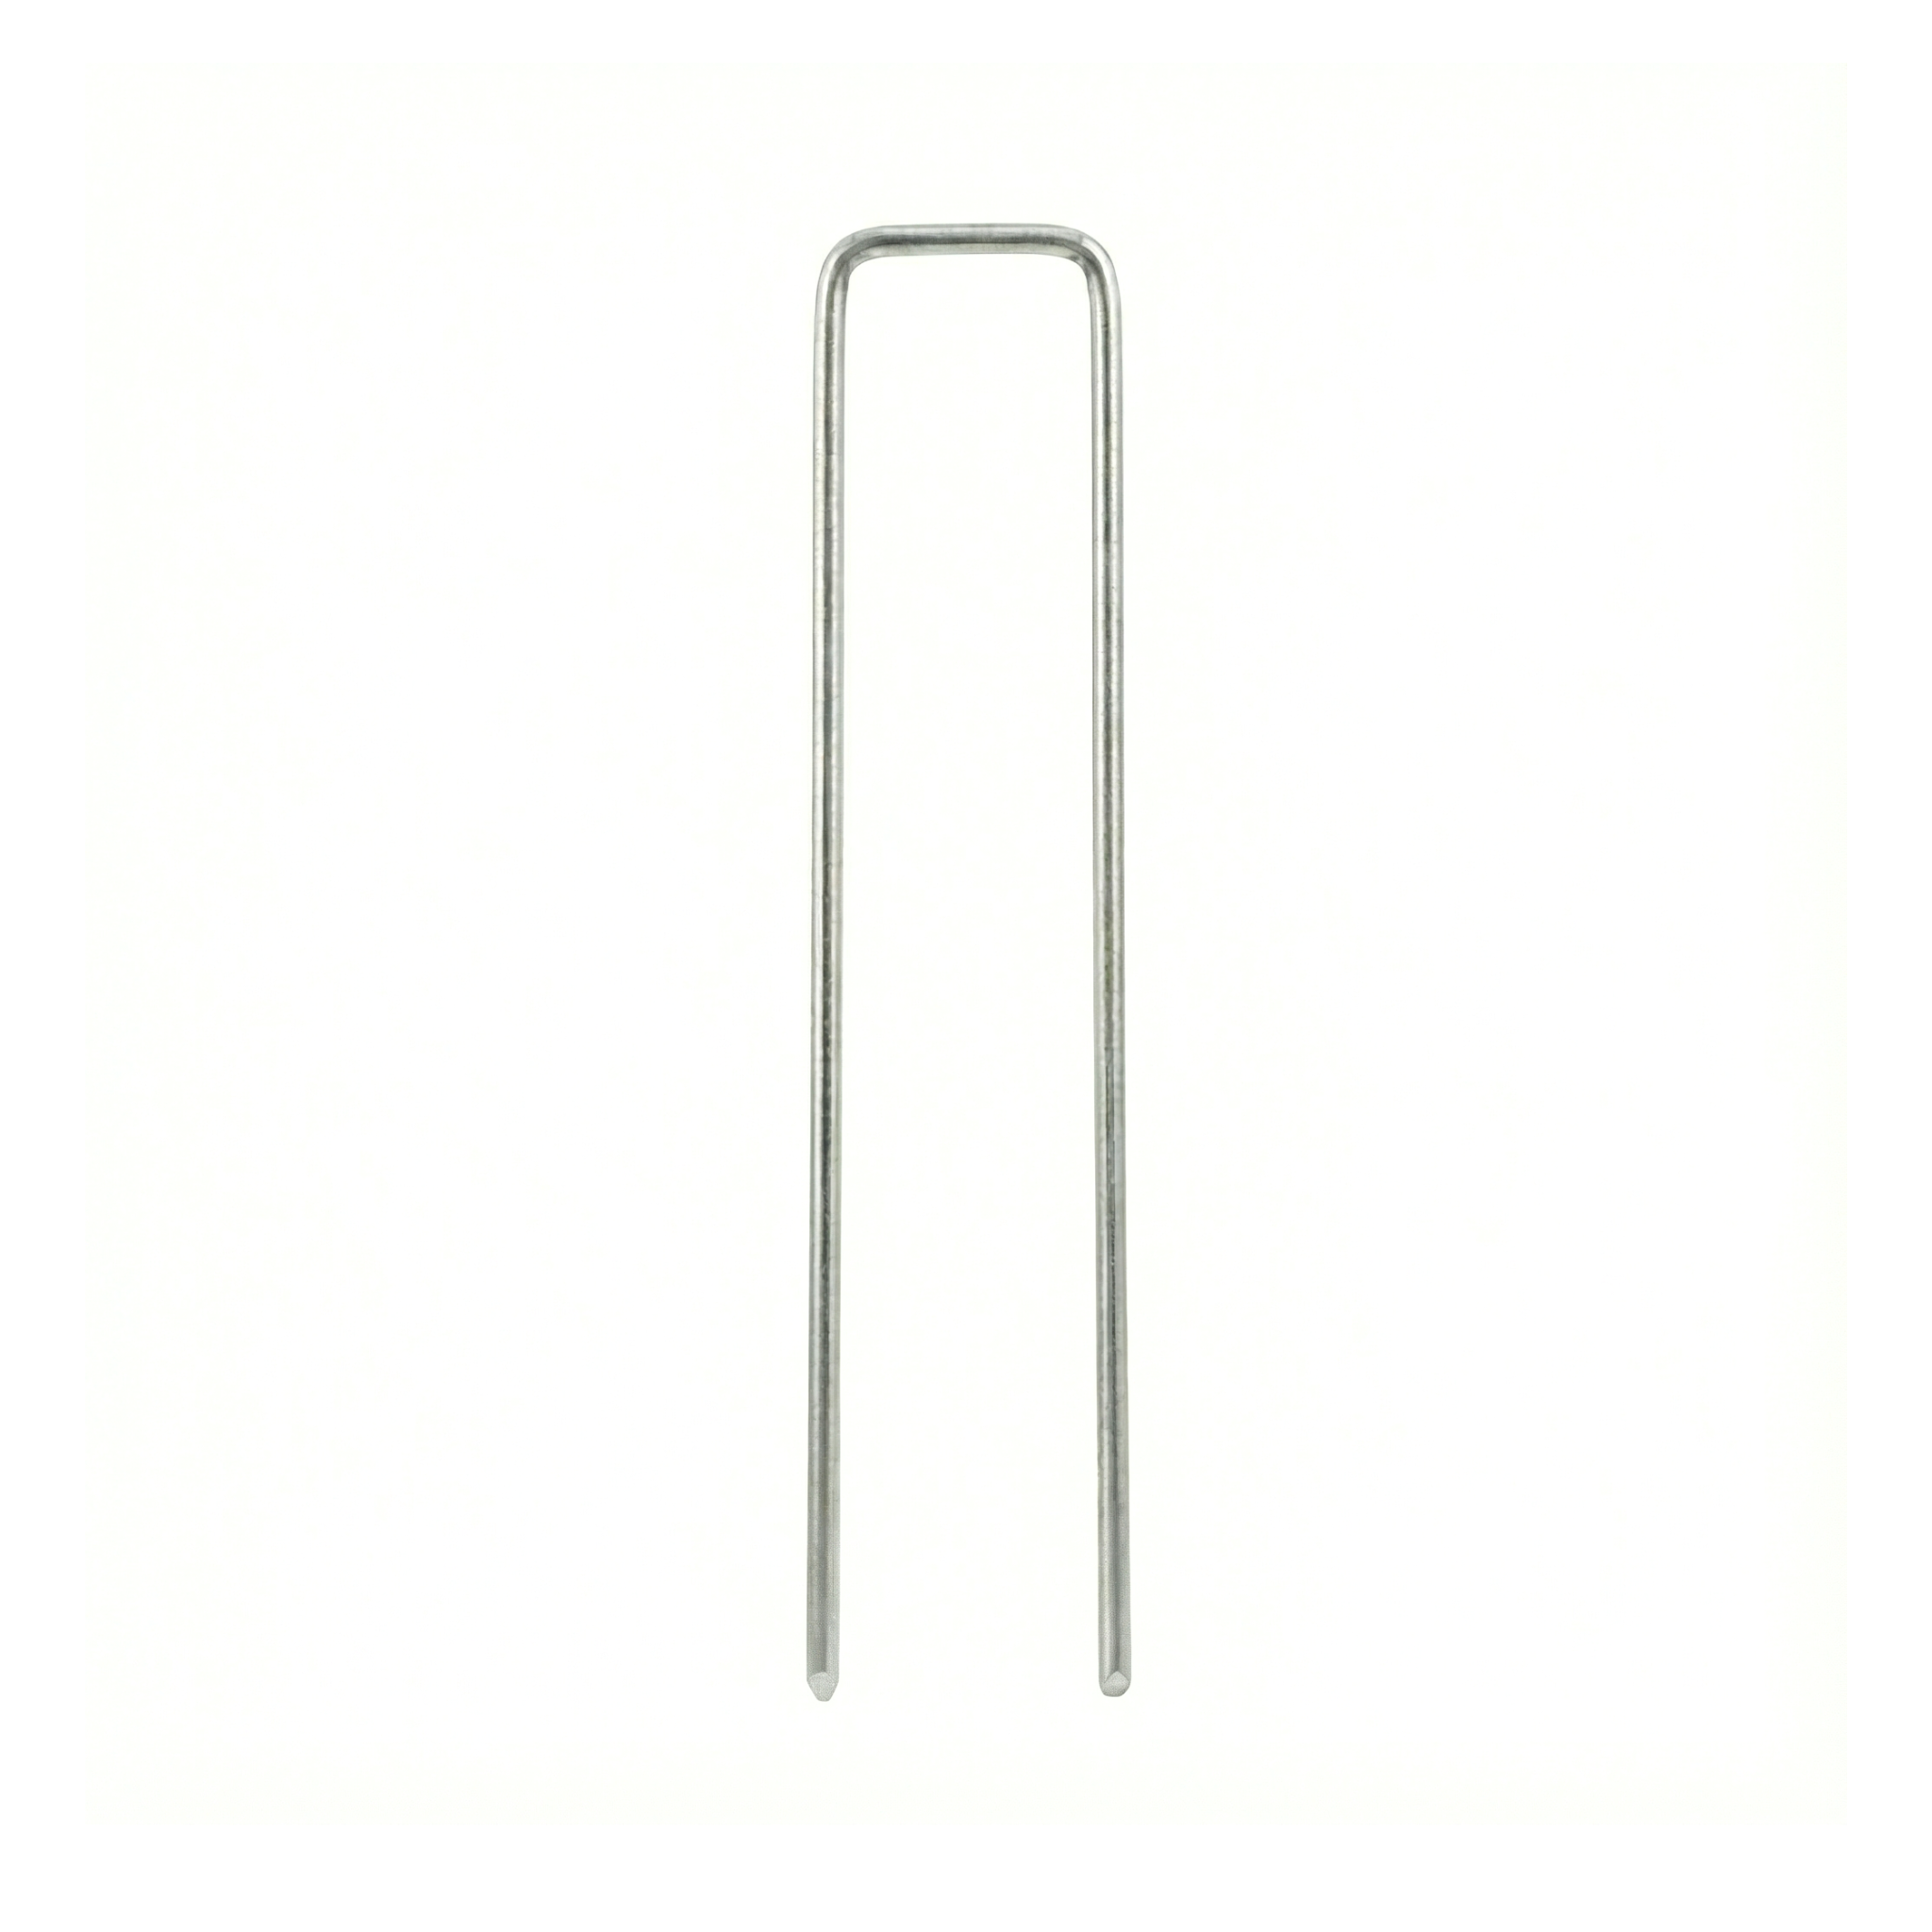
The metal garden staple is a piece of galvanized steel wire bent into an inverted U shape. Its two sharp points penetrate the ground and the top bar crosses over the material to be fixed. The 4 × 20 cm geometry is sized to hold garden materials (nets, plastics, blankets) in typical soils without the need for an additional cap.
| Specification | Staple 4 × 20 cm |
|---|---|
| SKU | 809575 |
| Width × height | 4 cm × 20 cm (1.6 × 8 in) |
| Material | Galvanized steel |
| Box | 500 staples |
| Application | Weed-control net, agricultural plastic, blankets |
Step-by-step use
The garden staple is the simplest fixing in the catalogue. What matters is the right quantity and the spacing between staples: too few and the material lifts; too many and it ends up uneven.
Spread and position the material
Unroll the weed-control net or the plastic over the prepared ground and place it in its final position. Overlap the edges 10 cm (4 in) between adjacent rolls. Tension slightly by hand to remove wrinkles before you start fixing: a staple set over wrinkled material leaves bubbles underneath.
Fix the edges and overlaps first
Start by placing staples every 30-40 cm (12-16 in) along the edges of the roll and at every joint between rolls. The edges are the most vulnerable area: if the wind gets underneath, the pressure lifts the whole sheet. Reinforce corners with double staples at 5 cm.
Fix the interior with a square grid
Distribute staples in a square pattern of 80 × 80 cm (approximately 1 staple every 0.6 m²) across the interior of the roll. In windy or sloped areas, reduce to 60 × 60 cm (1 staple every 0.4 m²). Place the staple over the material and push the two points perpendicular to the ground by hand until they are driven in to mid-height.
Finish driving with a hammer or foot
Finish sinking each staple by tapping the horizontal bar gently with a rubber mallet or by stepping on it with the sole of your safety footwear until the bar sits flush with the material, pressing it against the ground. The top bar should not protrude more than 1 cm: if it sticks out, the gardener may trip or tools may snag on it.
Use stops on soft soils
On sandy soils, loose substrates or recently prepared garden, the staple can penetrate too far and the top bar sinks below the material, leaving it loose. In that case, use the stop for the metal garden staple: a plastic piece that fits over the bar before driving and limits penetration.
For visible ornamental garden, install the staples in a straight line following the same geometric pattern across the whole area: 1 staple every 60 cm lengthwise and widthwise, forming a regular grid. Even if they remain visible, a geometric distribution looks intentional and tidy; a random distribution looks careless.
Do not use a plastic garden peg when what you need is a metal garden staple. The plastic peg fixes lightweight cover blankets and thin materials. The metal staple resists vertical pull and withstands wind pressure against large rolls. Using a peg where a staple is called for means the material lifts with the first gust.
Complementary products
The staple fixes the following materials most common in gardens and vegetable plots:
The weed-control net is the material the staple fixes most often: in ornamental gardens, flower beds and gravel areas. The stop for the metal garden staple is the complementary piece that prevents the staple from sinking too far into soft soils. The agricultural ground plastic is the other typical application: bed covering in professional vegetable growing, where the staple fixes the plastic to the ground.
Maintenance and care
A well-installed galvanized staple needs no maintenance, but it is worth storing it properly and checking it periodically:
- Storage: in its box, in a dry place. Protected from permanent moisture, the staples keep the galvanizing intact for years.
- Inspection on receipt: a box with rusty staples indicates incorrect storage. Rusty staples can be used but their service life once buried is reduced.
- Periodic inspection: in gardens where the material has not been covered with gravel or vegetation, check annually and replace staples pulled out by digging or handling.
- Service life when buried: in typical garden soils, a galvanized staple lasts 10-15 years before rusting completely. By the time it is no longer functional, it usually coincides with replacing the weed-control net.
Frequently asked questions
How many staples per m² do I need?
For weed-control net in a garden sheltered from wind: 1 staple every 0.6 m² (80×80 cm pattern) in the interior + edges every 30 cm. In a garden exposed to wind or on a slight slope: 1 staple every 0.4 m² (60×60 cm). For agricultural ground plastic on beds: every 1 m along the bed on each edge. A box of 500 staples covers approximately 200-300 m² of typical garden.
Does it work on sandy or very compacted soil?
In loose sandy soil, the staple penetrates easily but can loosen over time: use staple stops or reduce the pattern to 50×50 cm for greater density. In very compacted soil or with surface stone, the staple bounces or bends: pre-make the hole with a small stake or sharpened stick, then insert the staple.
What do I do if the staple bends when driving it in?
A staple that bends instead of penetrating indicates that the point hit a stone or a hard root. Do not insist on the same spot: pull out the staple, move 5 cm and try again. If the whole garden shows this resistance, it means the soil needs prior preparation: shallow tilling with a rotavator to create a loose 10 cm layer where the staple can go in.