This guide covers the use of the metal garden staple stop: assessing whether you need stops depending on the soil, fitting the stop onto the staple, positioning it over the material, driving it in until the stop makes contact, and checking. Follow these steps to secure geosynthetics in soft soils where the staple, without a stop, would sink completely and leave the material loose.
Product specifications
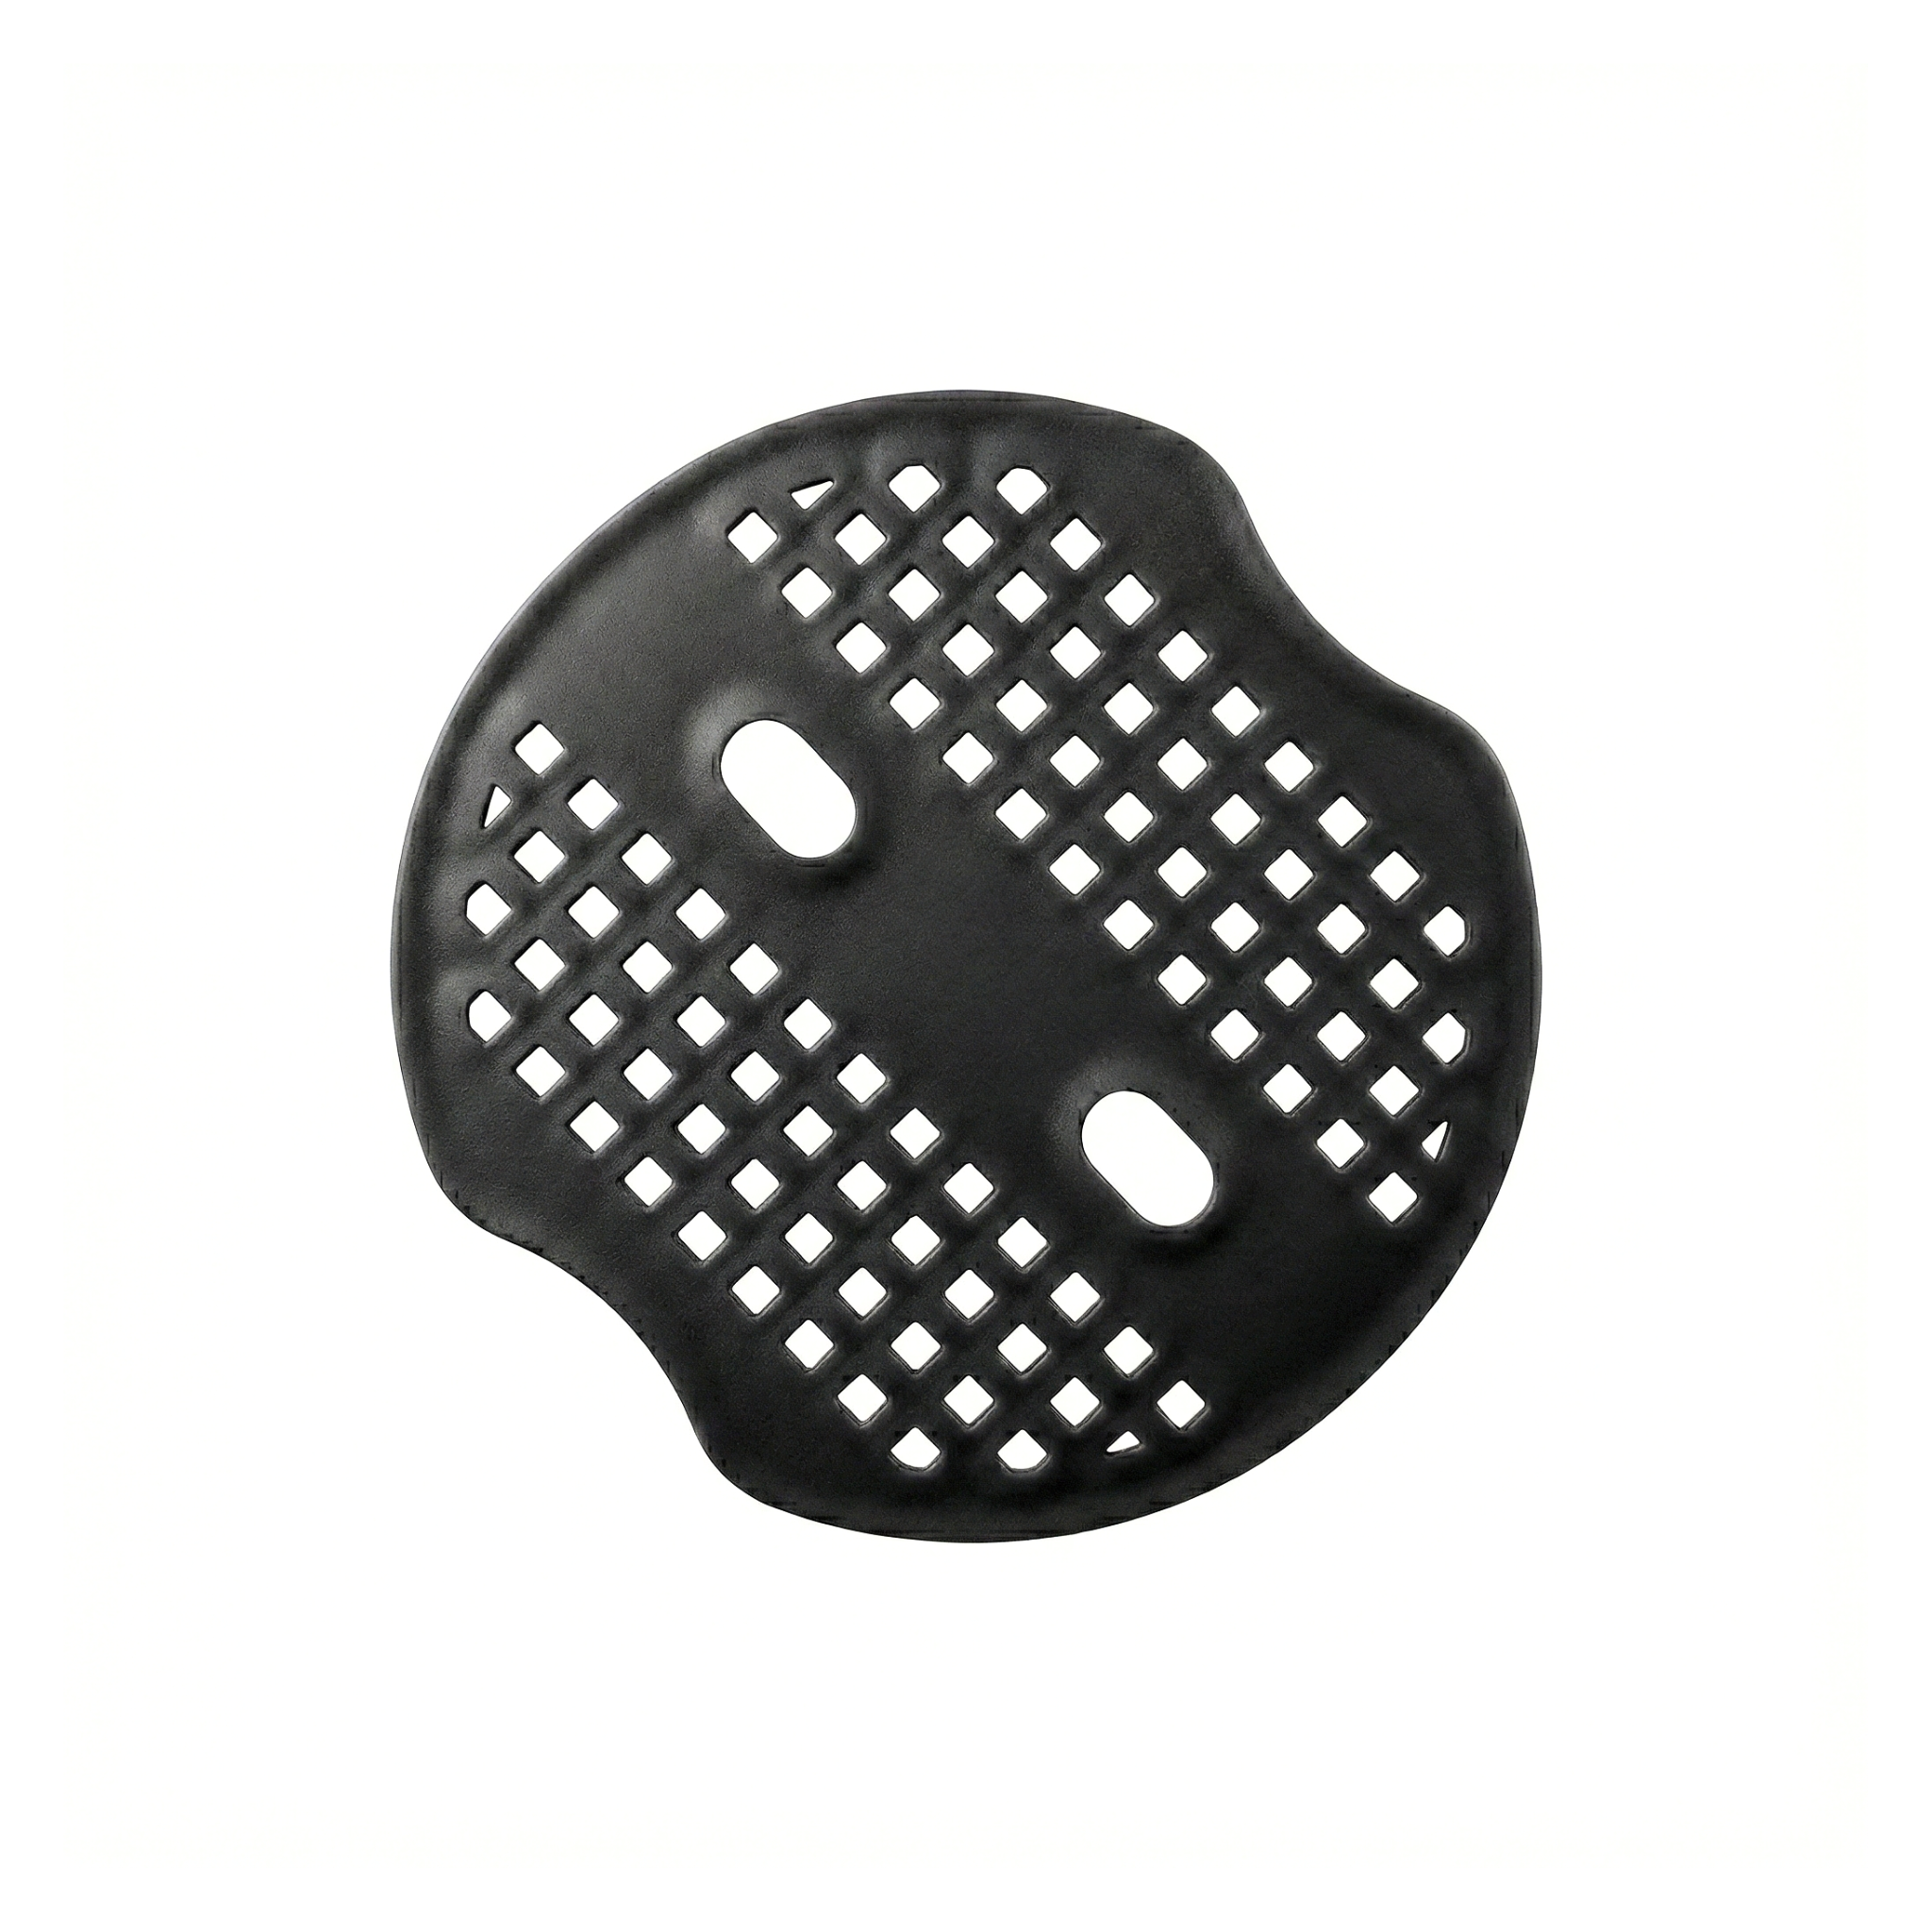
The metal garden staple stop is a plastic part with a central hole that snaps onto the horizontal bar of the staple. It works like an enlarged washer: it increases the bearing surface of the staple against the material and, above all, prevents the staple from sinking below the level of the material in loose soils.
| Specification | Standard stop |
|---|---|
| SKU | 675216 |
| Material | UV-stabilized polypropylene |
| Box | 500 stops |
| Application | Limit staple penetration in loose soils |
Step-by-step instructions
The stop is fitted onto the staple before you start driving it in. It is a one-second operation per unit and the difference in soft soil is enormous.
Assess whether you need stops
The stop is not always needed: in the compacted soils typical of ornamental gardens, the metal staple goes in and sits flush without help. Use stops in sandy soils, loose substrates, freshly prepared gardens or large pots with very aerated substrate, where the staple can penetrate excessively and leave the material lifted.
Fit the stop onto the staple
Take a metal staple and a stop. Pass the two prongs of the staple through the central hole of the stop, so that the stop rests against the horizontal bar of the staple. The operation is similar to fitting the cap onto the rod.
Position the staple over the material
With the stop now fitted, position the staple over the material at the desired point. The flat face of the stop should rest against the material and the bar of the staple should sit above the stop, not between the stop and the material.
Drive it in until the stop makes contact
Push the staple in by hand or with a gentle tap of a rubber mallet on the bar. When the stop touches the material and starts to press on it, it stops going down: the bar of the staple stays above ground level, held back by the stop. The staple will have penetrated enough and no more.
Check the fastening
Gently pull on the material near the staple. If the stop keeps pressing against the net and it does not lift, the fastening is correct. If the stop sinks below the sheet (soil too soft), reinforce with a second staple with a stop 5-10 cm away.
For a large job with many fastenings, prepare batches with the staple and the stop already fitted. The crew only has to position and strike, not assemble piece by piece. Three people with the right division of tasks (one assembles, another positions, another strikes) reach 300-400 fastenings per hour.
Do not use the stop as a substitute for the anchor cap for the metal rod. Although they look similar, they are sized for different parts: the stop fits onto the horizontal bar of the garden staple, not onto the head of the rod. The dimensions of the hole and the thickness are different. Each part has its match: the stop with the staple, the cap with the rod.
Complementary products
The stop does not work in isolation: it is part of the staple + stop system for the most demanding soils.
The metal garden staple is the mandatory part onto which the stop is fitted: the stop does not work without the staple that holds it. The weed control net and the agricultural ground film are the materials that most often require a staple with a stop when the soil is soft, whether in freshly turned flower beds or raised beds with very fluffed-up substrate.
Maintenance and care
Once installed, the stop lasts as many years as the staple that holds it. The attention is on storage:
- Storage: in its box, in a dry, shaded place. UV-stabilized polypropylene lasts for years, but it is advisable to protect the stored batch from prolonged sun.
- Periodic inspection: in gardens where the material has not yet been covered with vegetation or fine gravel, check annually. Broken or displaced stops should be replaced.
- Service life: 8-10 years under exposed Caribbean sun. In a garden covered by vegetation or fine gravel, much longer.
- Replacement: if you remove the weed control net to replace it, also remove the staples with their stops and reuse them on the new material if they are in good condition.
Frequently asked questions
Should I put a stop on every staple or only on some?
In compacted soils (established gardens, ground with frequent foot traffic), you do not need stops: the staple goes in and sits flush. In soft soils (loose substrate, freshly prepared garden, coir fiber bricks), use stops on all the staples. In intermediate soil, you can mix: stops only in areas that visibly sink when stepped on.
Can I use the stop to hold the staple down visually?
Yes, another application of the stop is aesthetic: in visible ornamental gardens, the stop covers the bar of the staple and leaves a surface that is softer to the eye. Some gardeners use stops in visible areas even when the soil is firm enough not to need them technically. It is a valid aesthetic decision.
What do I do if the stop breaks when I strike it?
If you break stops frequently, there is too much force when driving them in. Switch to a lighter rubber hammer or finish driving by hand. Another cause is striking the bar when the stop is already resting on the material: the stop gets trapped and breaks. The signal that driving is finished is precisely when the stop contacts the material; stop there.