

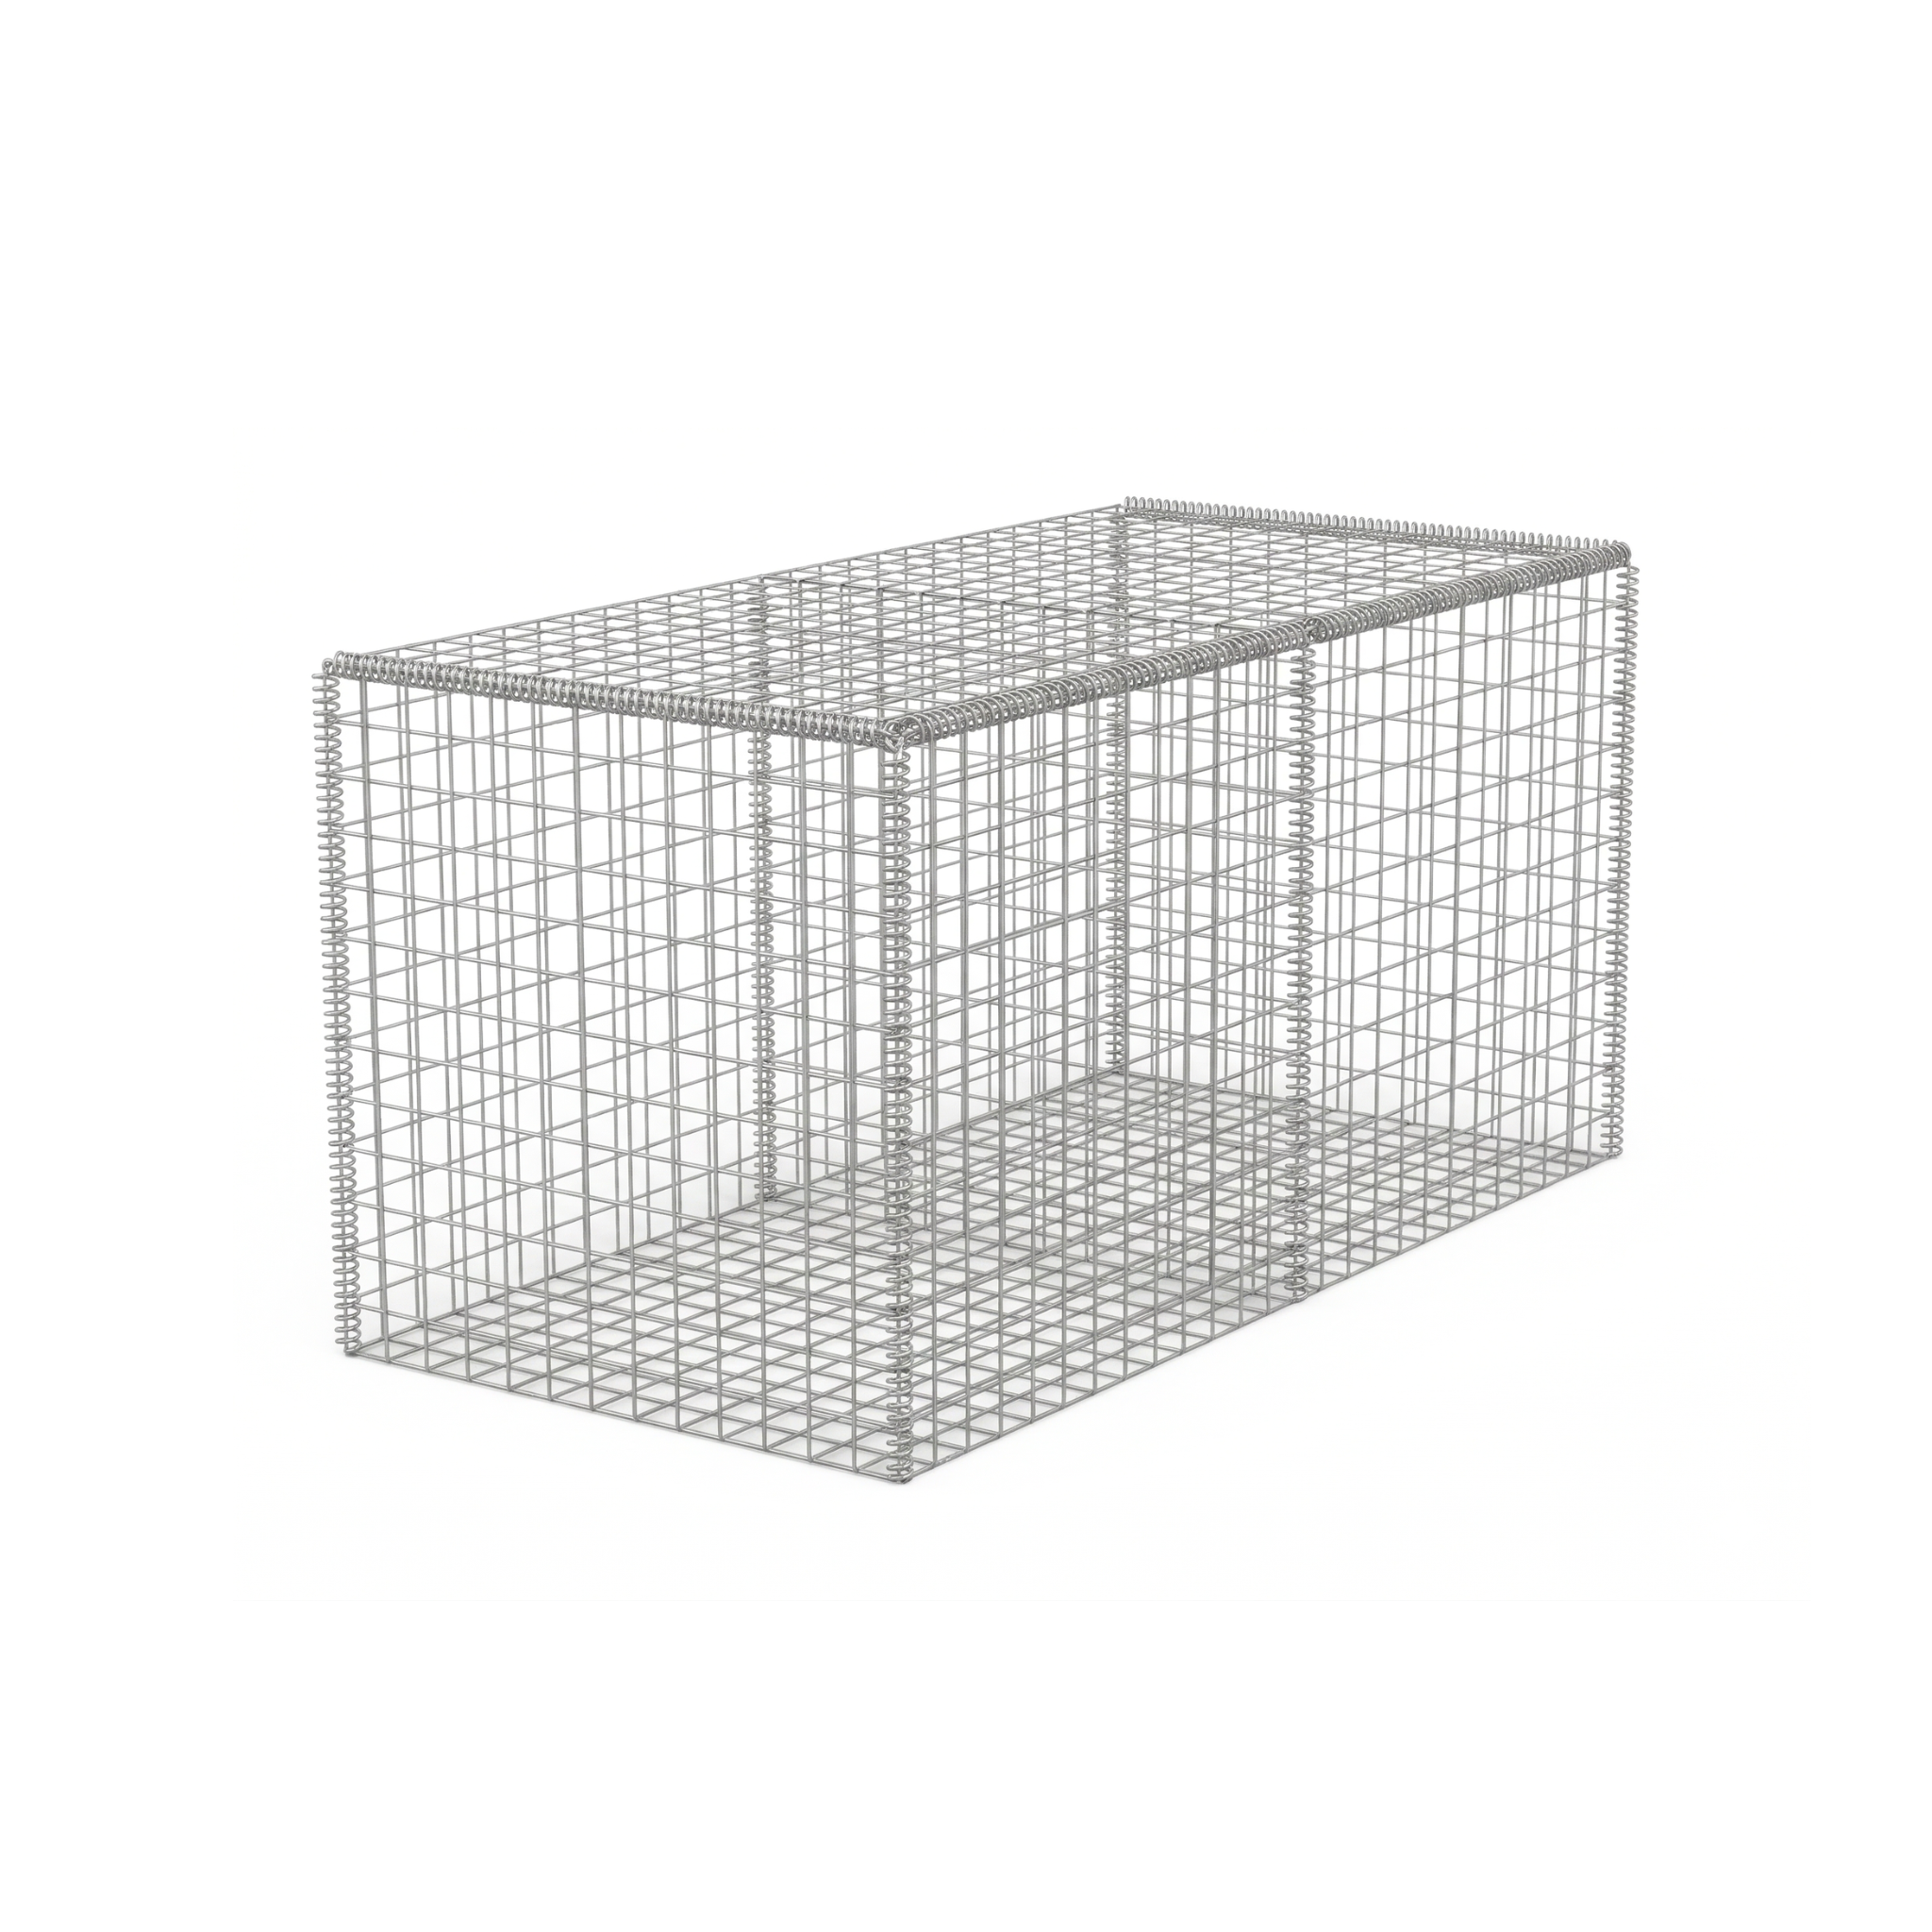
This guide covers the assembly of the welded mesh box gabion: base preparation, panel assembly, positioning the empty box in place, filling with correctly graded stone, placing intermediate bracing wires and closing the lid. Follow these steps to build walls and structures with a more rigid and geometric finish than hexagonal mesh, where visual appearance or verticality are critical.
Product specifications
The welded mesh gabion is a prefabricated box made of rigid mesh panels of wire welded at their intersections, which gives it stable geometry and flat faces. It is assembled on site from the individual panels and filled with stone. Its rigidity makes it ideal for retaining walls, channels, bridge abutments and all kinds of structural works where aesthetics and alignment matter.
| Specification | Gabion 2×1×1 m |
|---|---|
| SKU | 694500 |
| Mesh type | Welded (rigid wire) |
| Length | 2 m (6.6 ft) |
| Width | 1 m (3.3 ft) |
| Height | 1 m (3.3 ft) |
| Volume per box | 2 m³ (70.6 ft³) |
| Main application | Retaining walls and structural works |
Step by step on how to use it
The welded mesh gabion arrives on site as disassembled panels that you assemble in place. The rigidity of the product forgives few mistakes: if the base is not level or the fill is not the right one, the wall loses alignment. Follow the strict order.
Prepare the base
Dig a foundation trench at least 30 cm (12 in) deep, level and compact it. Place a 10 cm (4 in) layer of well-compacted aggregate base or fine gravel. The base is what will support the whole structure: any subsequent settlement results in a leaning wall.
Assemble the panels
Lay the panels out on a flat surface and join them along the edges using wire spirals or staples. Check that the four side faces and the base form right angles, leaving the lid open for later filling. Always assemble two or three boxes at a time to align them as a unit.
Position the empty box in place
Move the assembled box to its final position, align it with the wall line and join it to the neighbouring boxes with spirals on each shared edge. The assembly must work as a single monolithic structure, not as independent boxes resting side by side.
Fill with correctly graded stone
Use hard, angular, non-friable stone, sized between 1.5 and 2 times the mesh opening (typically 10 to 20 cm / 4 to 8 in). Place the stones on the exposed face by hand to achieve an even finish, and tip the less visible stones into the interior. Fill in 30 cm (12 in) layers and lightly compact each one.
Place intermediate bracing wires
When you complete each third of the filling (at 33 cm and 66 cm in height), place bracing wires joining the front face to the back face of the box. Without those bracing wires, the exposed face bulges under the weight of the stone and ruins the wall alignment.
Close the lid
Once filling is completed up to the edge, close the lid with spirals or staples along the four top edges. The lid must be taut, with no slack. If you are going to stack another course of gabions on top, prepare the new row by replicating the steps.
Behind the gabion wall, install non-woven geotextile and a dimpled drainage sheet before backfilling the rear face with selected material. The geotextile filters fines and the sheet channels water toward the base of the wall. Without that pair, on a Dominican site with tropical rain, hydrostatic pressure displaces the first course of gabions within a few months.
Do not use soft stone, rounded river stone or stone smaller than the mesh opening. Soft stone fractures under the weight, rounded stone rolls and rearranges itself leaving everything loose, and small stone slips out through the gaps in the first heavy rain. A box with the wrong stone is a box lost in less than a year.
Complementary products
A gabion wall rarely works on its own. It needs water management behind the wall and, if you want it to last decades in the Dominican climate, a correct filter-drainage pair.
The non-woven polypropylene geotextile filters the fines from the rear face and prevents the gabion stone from clogging. The dimpled drainage sheet channels infiltrated water toward the base of the wall and eliminates hydrostatic pressure, the main cause of failure in gabion walls. The HDPE geomembrane is used when the wall retains saturated ground or a reservoir that must not seep through to the other side of the wall.
Maintenance and care
The welded mesh gabion requires no structural maintenance if it was well installed, but it is advisable to inspect it periodically:
- Annual inspection: check spirals, bracing wires and edges. If you find any loose, retie it immediately with wire of the same gauge.
- Inspection after extreme events: hurricanes, tropical storms and floods are the moments when the wall receives maximum load. Always inspect afterwards.
- Controlled vegetation: weeds can grow between the stones. Small climbing plants are even aesthetic and benefit the wall, but deep-rooted shrubs generate pressure and must be removed.
- Drainage cleaning: if you installed a drainage sheet on the rear face, check that the water outlet at the foot of the wall is not blocked with sediment.
- Expected service life: in a Caribbean climate, a welded mesh gabion correctly installed with suitable stone has a service life of 50 years or more. The galvanization of the mesh is what defines the real timeframe.
Frequently asked questions
What is the difference between a welded mesh gabion and a hexagonal one?
The hexagonal gabion uses flexible double-twist mesh: it tolerates differential settlement and adapts to ground movements, ideal for riverbanks and soft soils. The welded one has rigid panels: flat faces, precise geometry and greater structural stability, ideal for vertical retaining walls and abutments. If your works may settle unevenly, go with hexagonal; if you want a straight and aesthetic wall, go with welded.
How high can I stack welded mesh gabions?
Without specific structural calculation, up to 3 metres (10 ft) high with a stepped wedge base (each upper course is set back 30 cm from the previous one). Above 3 m, the wall must be sized with active pressure analysis, safety factors against sliding and overturning, and sometimes requires passive anchors into the rear ground.
What stone can I use in the Dominican climate?
The best local option is hard limestone, basalt or large rounded boulders (provided they respect the 1.5–2× mesh opening grading). Avoid soft limestones, friable sandstones and stones with visible cracks. Ask the supplier for a material with compressive strength above 50 MPa and water absorption below 5%.
