

This guide covers the installation of the drainage geocomposite: preparing the wall face, installing the drainage pipe at the base, deploying it against the wall, fixing the top edge, overlapping between rolls, gradual backfilling, and sealing the top finish. Follow these steps to eliminate hydrostatic pressure on retaining walls and drain water away from the backfill in a controlled way.
Product specifications
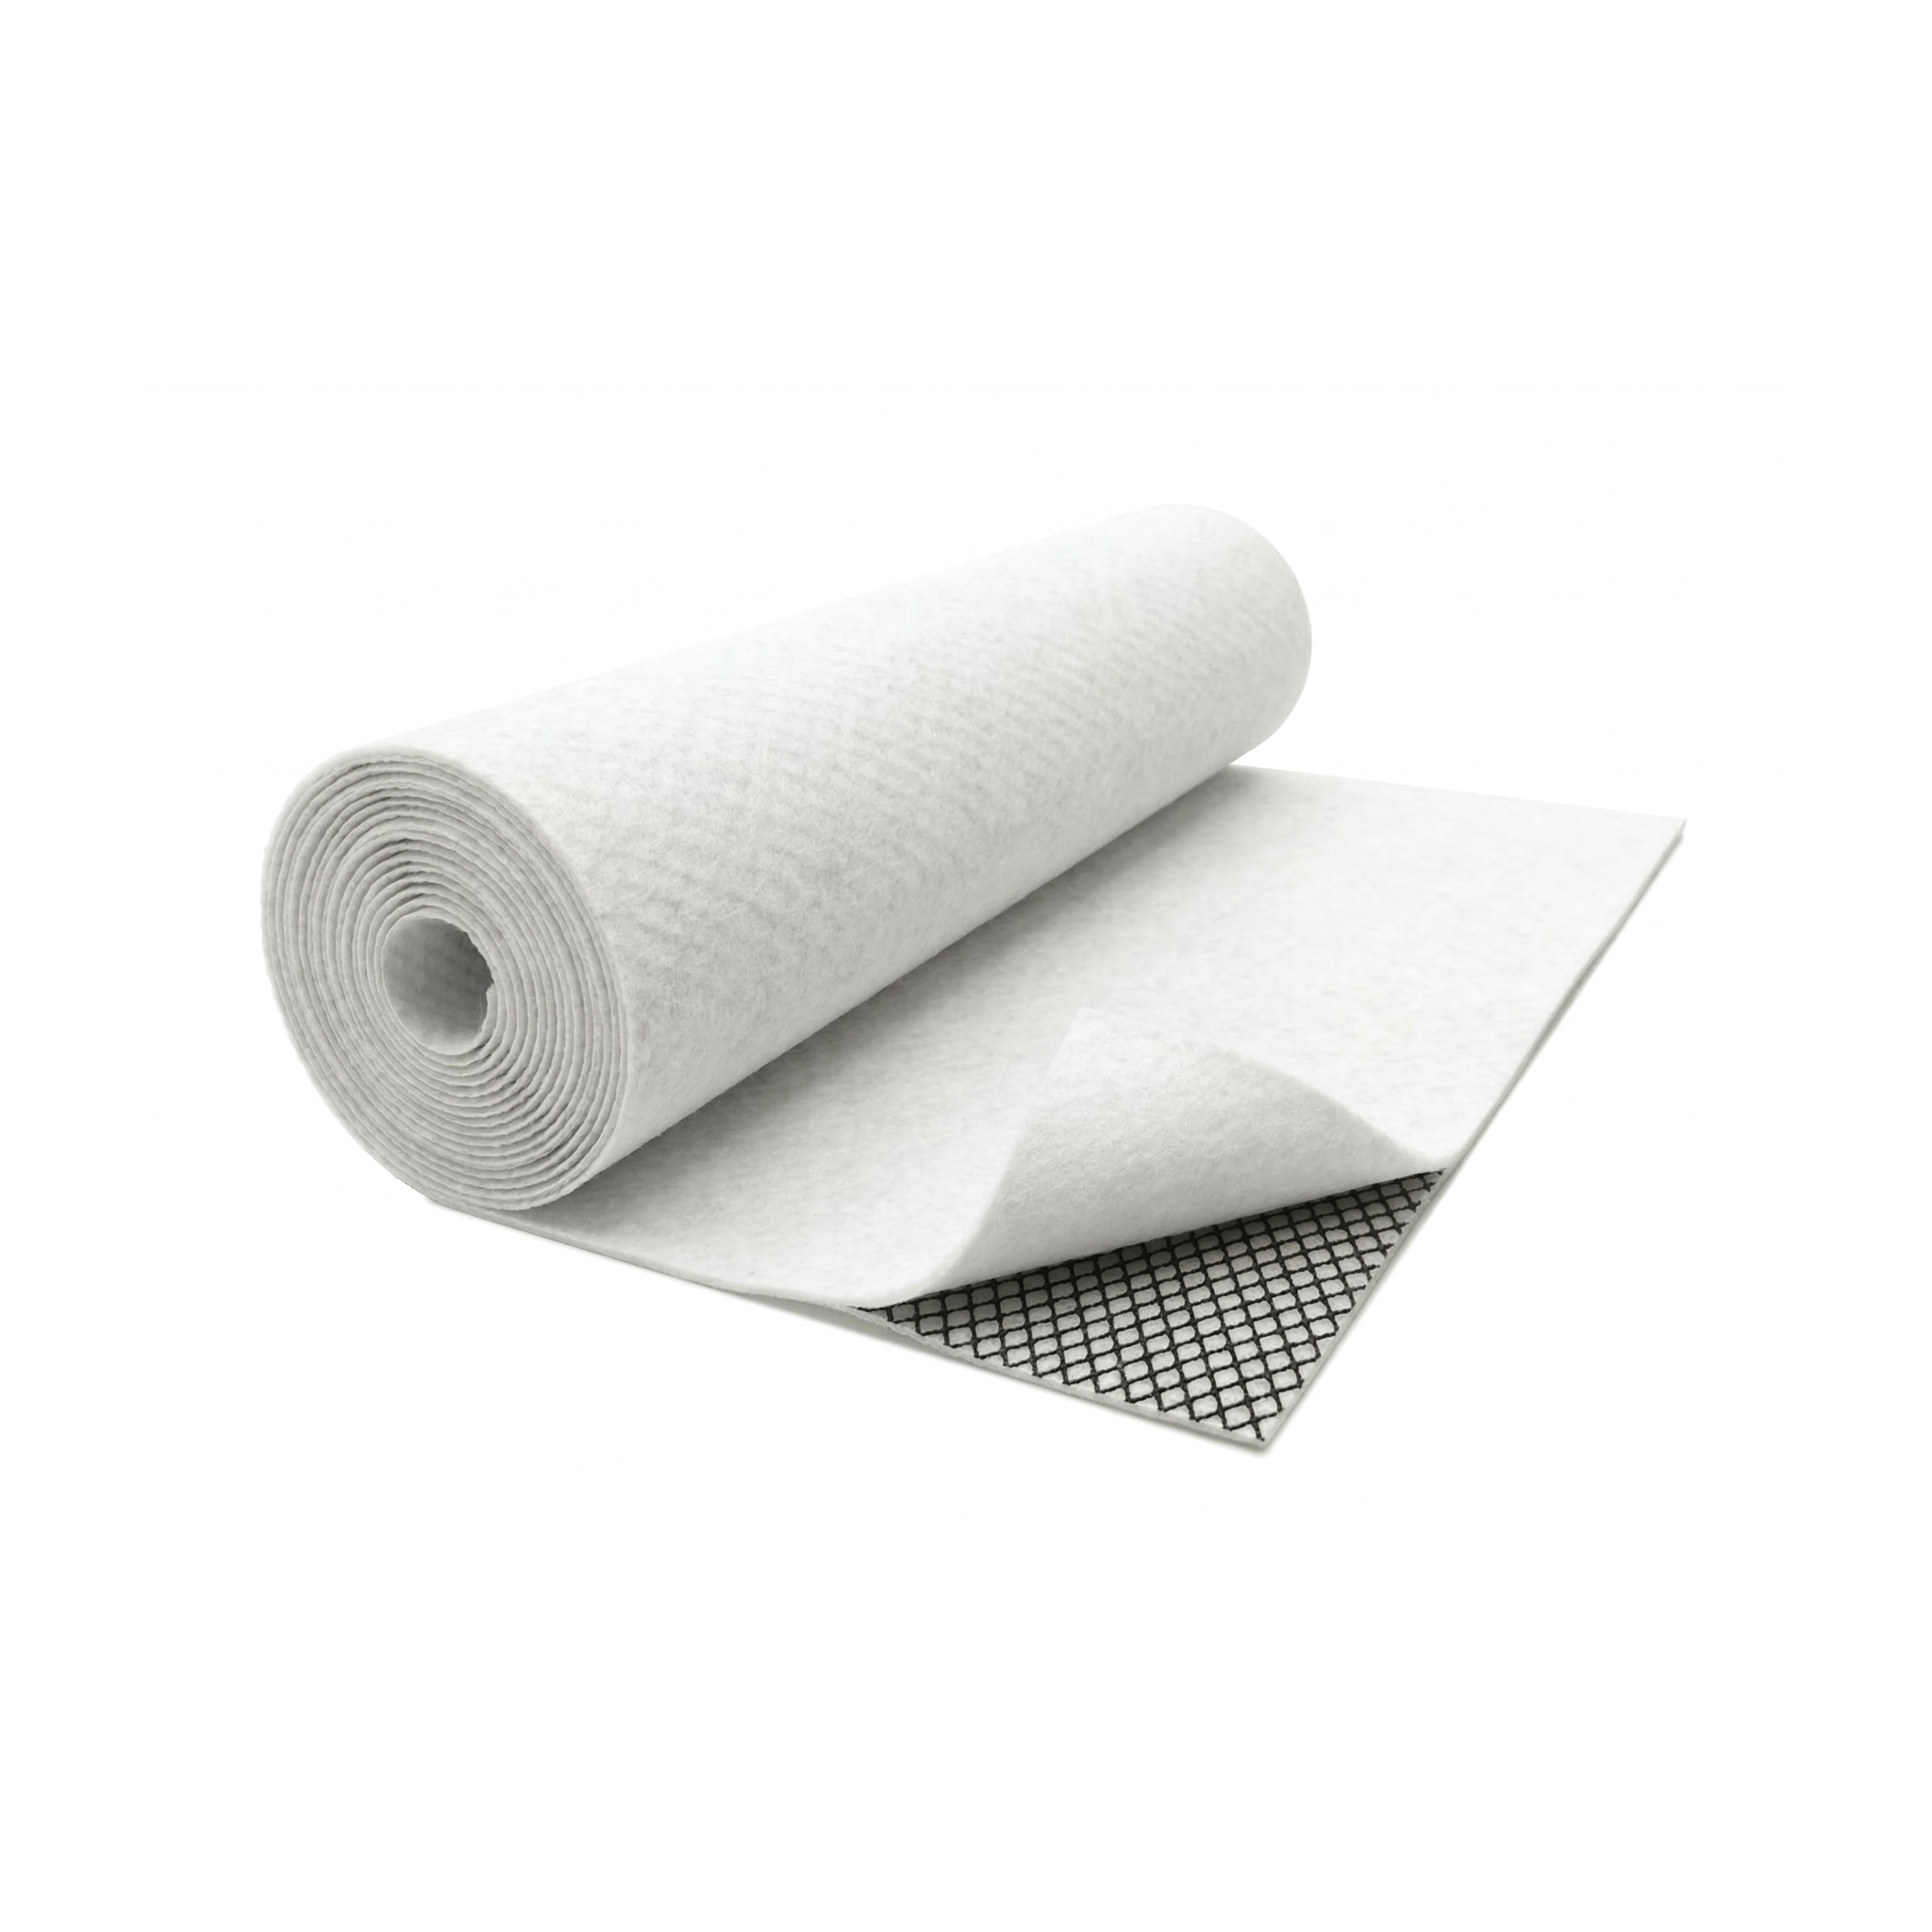
The drainage geocomposite is a sandwich-type structure: two nonwoven geotextiles that filter the water and let only the liquid pass through without particles, plus a three-dimensional geonet core in the center that channels that water toward the discharge point. The geotextiles act as a filter and the gaps in the geonet as the flow channel. The Dodom range is offered in a standard configuration for retaining walls, buried basements, and green roofs.
| Specification | Drainage geocomposite |
|---|---|
| SKU | 746941 |
| Composition | Nonwoven geotextile + Geonet + Nonwoven geotextile |
| Function | In-plane filtration and drainage |
| Roll width | 5.8 m (19 ft) |
| Roll length | 100 m (328 ft) |
| Coverage per roll | 580 m² (6243 ft²) |
Step-by-step use
The geocomposite replaces the traditional drainage gravel layer but requires correct installation to work. The geotextiles must remain in contact with the moist soil to capture the water, and the geonet in the center channels that flow to the base of the wall. Any reversal of the order renders it useless.
Prepare the wall face
Apply asphalt waterproofing or membrane over the buried face of the wall and let it dry. The wall waterproofing and the geocomposite work together: the former prevents water from entering, the latter channels away the water that arrives before it builds up hydrostatic pressure.
Install the drainage pipe at the base
Place perforated pipe at the base of the wall, on a gravel bed, with a minimum slope of 1% toward a discharge point. The geocomposite channels the water to that pipe. Without the pipe at the base, the water accumulates and the hydrostatic pressure returns.
Deploy the geocomposite against the wall
Deploy the roll vertically, from the top of the wall down to the base. Rest the geocomposite against the waterproofed face of the wall. The bottom edge must sit on the gravel of the drainage pipe so that the water flowing down discharges directly.
Fix the top edge to the wall
Use impact nails with a wide washer or contact adhesive compatible with asphalt to secure the top edge every 50 cm (20 in). The fixing is only temporary; its purpose is to hold the geocomposite in position until the backfill presses it against the wall.
Overlap adjacent rolls
Overlap 20 cm (8 in) between adjacent vertical rolls. At the overlap, ensure that the geonet of the new roll interlocks with that of the previous one; the geotextiles cover the joint and prevent soil from entering the drainage net.
Backfill gradually
Pour backfill soil behind the geocomposite in 30 cm (12 in) layers and compact each layer with a light compactor. The load of the backfill is what presses the geocomposite against the wall and brings it into full contact. Compact gently so as not to tear the outer geotextile.
Seal the top finish
At the top of the wall, seal the upper edge of the geocomposite with waterproof sealant or an overlapping membrane. The goal is for surface water to enter through the backfill soil (filtered by the outer geotextile) and not over the top of the geocomposite itself.
The geocomposite replaces at least 50 cm (20 in) of traditional drainage gravel while occupying only a few millimeters. In urban basements where every centimeter of excavation costs money, that recovered space translates into more usable square meters inside the basement. Calculate it before budgeting the project.
Do not install the geocomposite without a drainage pipe at the base of the wall. Without that outlet, the water the geocomposite captures accumulates at the base, the lower geotextile becomes saturated, and the whole system stops draining. The hydrostatic pressure returns and the wall ends up damp. The pipe at the base is not optional.
Complementary products
For a professional installation of the geocomposite on a retaining wall, the following complementary products cover the critical functions that the geocomposite alone does not solve.
The nodular drainage sheet is the ideal alternative for low walls (less than 2 m high) or planters where the expected water flow is low: simpler and more economical than the geocomposite. The metal rod is used to temporarily fix the top edge when it is not feasible to nail into the waterproofed wall, anchoring against the backfill soil. The anchor cap distributes the pressure and prevents puncturing the geotextile.
Maintenance and care
The geocomposite is a buried system designed to work for decades without intervention. Care focuses on protecting the drainage system at the base of the wall:
- Annual inspection of the discharge point: check the pipe outlet at the base. If it is obstructed by sediment or vegetation, clean it. A blocked outlet saturates the whole system from the bottom up.
- Attention to damp spots on the wall: if permanent dampness appears on the inner face after the first rainy season, it usually means the drainage system is not draining. Check the pipe at the base first before thinking about the waterproofing.
- No subsequent puncturing: any later work that excavates next to the wall can damage the geocomposite. Mark the area on the plans so that future work respects its location.
- Storage of the leftover roll: protected from direct sunlight. The geotextiles have UV treatment, but prolonged exposure before installation reduces the service life of the entire system.
Frequently asked questions
What is the difference between a drainage geocomposite and a nodular drainage sheet?
The nodular sheet is a plastic board with embossed studs that creates an air gap between the wall and the soil: cheap and effective on low walls. The geocomposite incorporates geotextiles on both sides of the drainage core, so in addition to draining the water it filters out soil fines and works with higher flows. For walls over 2 m high or soils with many fines, geocomposite. For low garden walls, nodular sheet.
Do I always need a drainage pipe at the base of the wall?
Yes, without exception. The geocomposite is only the conductor of the water: the pipe is what removes it from the area. If you do not have a pipe at the base, the water accumulates at the base and saturates the whole system. The practical rule is: before buying geocomposite, make sure you have the outlet at the base sorted.
Up to what wall height does this geocomposite work?
The Dodom geocomposite is dimensioned for buried walls up to 8 m high under standard soil conditions. Above that value, the accumulated flow requires a higher-capacity drainage core or systems with an intermediate pipe (stepped drainage). For very tall walls or those with a high water table, consult the specific dimensioning with the virtual assistant.
