This guide covers the installation of the polypropylene (PP) erosion control mat: surface preparation, top anchor trench, application of topsoil with first seeding, top-down deployment, anchoring with stakes and caps, overlap between rolls, filling the matrix with topsoil, second seeding and initial watering. Follow these steps to stabilize slopes for the long term with vegetation integrated into a permanent three-dimensional matrix.
Product specifications
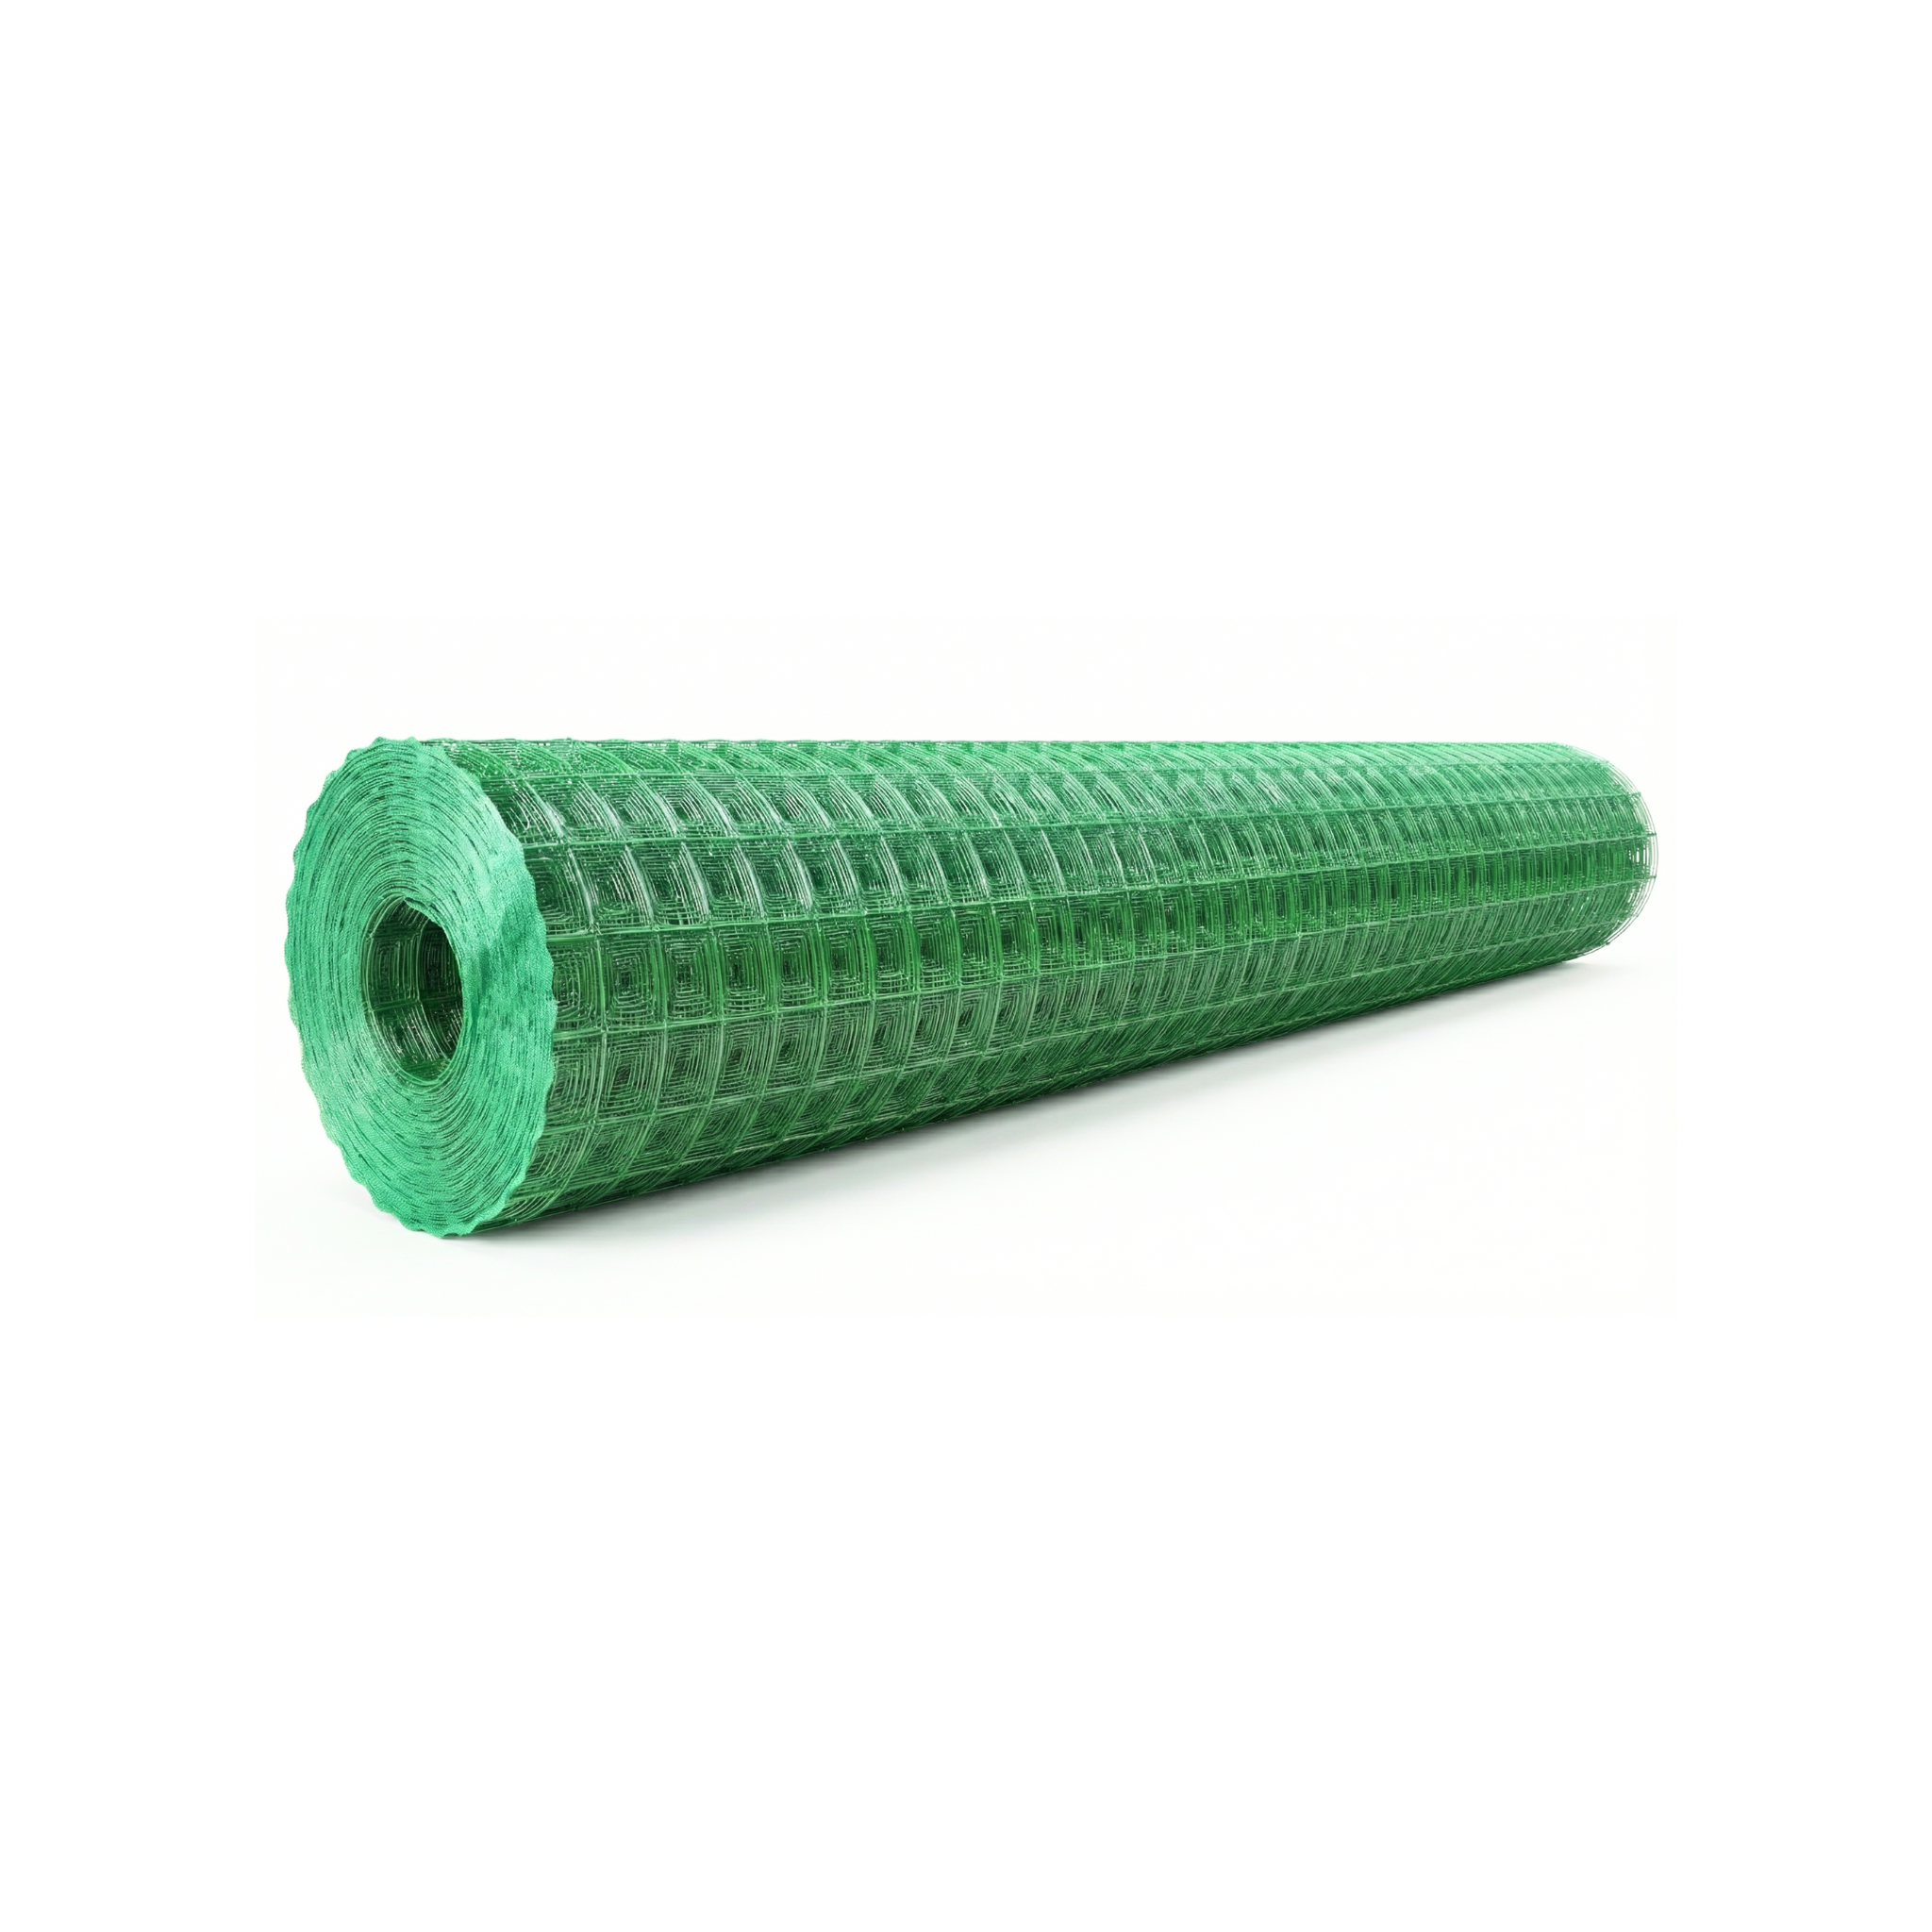
The 3D polypropylene erosion control mat is a synthetic three-dimensional mat made from interlaced PP filaments that create an open, permanent matrix. Unlike a natural-fiber erosion control blanket, the mat does not biodegrade: it stays in place as permanent slope reinforcement and acts as a framework where roots tangle and consolidate the soil. The Dodom range is offered in a single standard configuration, sized for steep slopes, riverbanks and permanent landscaping works.
| Specification | 3D PP erosion control mat 100 g/m² green |
|---|---|
| SKU | 654245 |
| Material | Synthetic polypropylene (PP) |
| Structure | Three-dimensional (3D) matrix |
| Weight | 100 g/m² (3 oz/yd²) |
| Color | Green |
| Roll width | 5.2 m (17 ft) |
| Roll length | 100 m (328 ft) |
| Coverage per roll | 520 m² (5597 ft²) |
| Service life | Permanent (non-biodegradable) |
Step-by-step usage
The erosion control mat works as a three-dimensional framework, not as a surface cover. The difference from an erosion control blanket lies in one critical detail: the 3D cells must be filled with topsoil so that the roots interlace with the filaments. If you install it as a flat mat, it will not work. Follow the strict order.
Prepare the surface
Remove loose stones, thick roots and plant debris. Level depressions by filling them with soil from the site itself and compact lightly. With an erosion control mat the surface must be firm and smooth: any irregularity prevents the 3D matrix from resting uniformly.
Dig the top anchor trench
At the crest of the slope, dig a trench 20 to 30 cm (8 to 12 in) deep and 20 cm (8 in) wide. With an erosion control mat the trench must be deeper than with an erosion control blanket because the anchors will bear load throughout the entire life of the product, not only during the establishment of the vegetation.
Add topsoil and sow the first batch
Spread a 1 to 2 cm (0.4 to 0.8 in) layer of topsoil over the prepared ground and sow seed directly onto it. This first seeding is the one that will root inside the matrix when you place the erosion control mat on top.
Deploy the roll from top to bottom
Place the roll at the crest and unroll it down the slope, never parallel to it. Insert the first edge into the anchor trench. Let the erosion control mat drop under its own weight, without tensioning. It must make full contact with the ground and follow the gentle irregularities.
Anchor with stakes and cap
Drive metal stakes with anchor caps in a staggered pattern every 1 m (3.3 ft) in the body and every 50 cm (20 in) along the edges. For slopes with a gradient over 50 %, reduce the spacing to 60 cm (24 in). In the top trench, use dense anchoring, fill with soil and compact.
Overlap adjacent rolls
Overlap 15 cm (6 in) between consecutive rolls, always in the direction of water flow: the downstream roll goes underneath the upstream one. Reinforce the overlap line with an additional row of stakes. This prevents water from entering through the joint and washing away the fill soil.
Fill the matrix with topsoil
This is the decisive step and the one that distinguishes a professional installation. Spread topsoil over the laid-out erosion control mat and work it in with a rake or brush so that it penetrates into the 3D cells until they are filled. The fiber must remain partially visible but with soil in every gap.
Second seeding and initial watering
Spread a second batch of seed over the fill soil, close the lower edge in a second trench at the foot of the slope and water the entire surface with a gentle spray. This double seeding doubles the density of the final cover.
If you have a slope exposed to full sun and strong winds, mix the fill soil with a little coconut fiber or shredded straw. The mixture retains more moisture inside the 3D matrix during the first weeks, when the seed has not yet germinated and the loose substrate evaporates quickly.
Do not install the erosion control mat without filling the 3D matrix with topsoil. If the cells are left hollow, the product does not work: the synthetic fiber stays like a carpet in the open air, the roots do not interlace and the first heavy rain washes away everything underneath. Filling the matrix is not optional, it is half the job.
Complementary products
The erosion control mat requires robust anchoring and permanent vegetation. The three complementary items listed are the ones any standard installation will need, regardless of the area of the country where it is installed.
The 50 cm (20 in) metal stake is the standard anchor for the erosion control mat: it penetrates deep enough to hold the 3D matrix even in loose soils. The anchor cap distributes the pressure over the synthetic fiber and prevents the stake from tearing the material over time. The Bermuda grass seeds are the most suitable vegetation cover for a Caribbean climate: aggressive, drought-resistant and quick to cover the mat before the synthetic fiber becomes visible to the eye.
Maintenance and care
The synthetic erosion control mat does not degrade, so its maintenance focuses on protecting the fill soil and the vegetation cover during the first weeks:
- Intensive initial watering: for the first 2 to 3 weeks, water daily with a gentle spray. The soil inside the matrix dries faster than bare ground and germination needs constant moisture.
- Inspection after each heavy rain: check the trenches, anchors and overlaps in particular. If you see the matrix with empty cells because water washed away soil, refill before the problem progresses.
- Zero traffic for 60 days: footsteps compact the soil inside the matrix, sink the fiber and kill germination. Cordon off the slope with net or tape until you see visible cover.
- Visible fiber is not a problem: if after several months you still see the green of the PP through the vegetation, it is not a defect. The synthetic fiber is designed to stay and provide permanent reinforcement to the root-soil system.
- Storage of the leftover roll: keep it in a dry, shaded place. Polypropylene has UV treatment but prolonged exposure to the sun before installation reduces its service life.
Frequently asked questions
How long does a 3D polypropylene erosion control mat last on site?
The synthetic erosion control mat is permanent: it stays on the slope as definitive reinforcement of the root-soil system. The UV-treated PP fiber maintains its mechanical capacity for several decades under normal conditions. Once the vegetation cover is established, the erosion control mat acts as a hidden framework beneath the grass and requires no replacement.
Coconut erosion control blanket or synthetic erosion control mat, how to choose?
Use coconut erosion control blanket on slopes with a moderate gradient (up to 33°), landscaping projects where you want an organic solution and a natural aesthetic, or when the area vegetates relatively quickly. Use a synthetic erosion control mat on steep slopes (over 33°), banks of channels with permanent flow, road embankments and any scenario where you need permanent soil reinforcement beyond the time it takes to establish the vegetation.
Up to what gradient can I install the erosion control mat?
The 100 g/m² erosion control mat works well on slopes up to 1V:1H (a gradient of 45° or 100 %). Above that value it is still valid, but the anchoring design requires specific calculation: higher stake density, reinforcement with an intermediate geogrid or subdivision of the slope into berms. On vertical or wall slopes, the appropriate solution is no longer an erosion control mat and becomes a wall reinforced with uniaxial geogrid.