

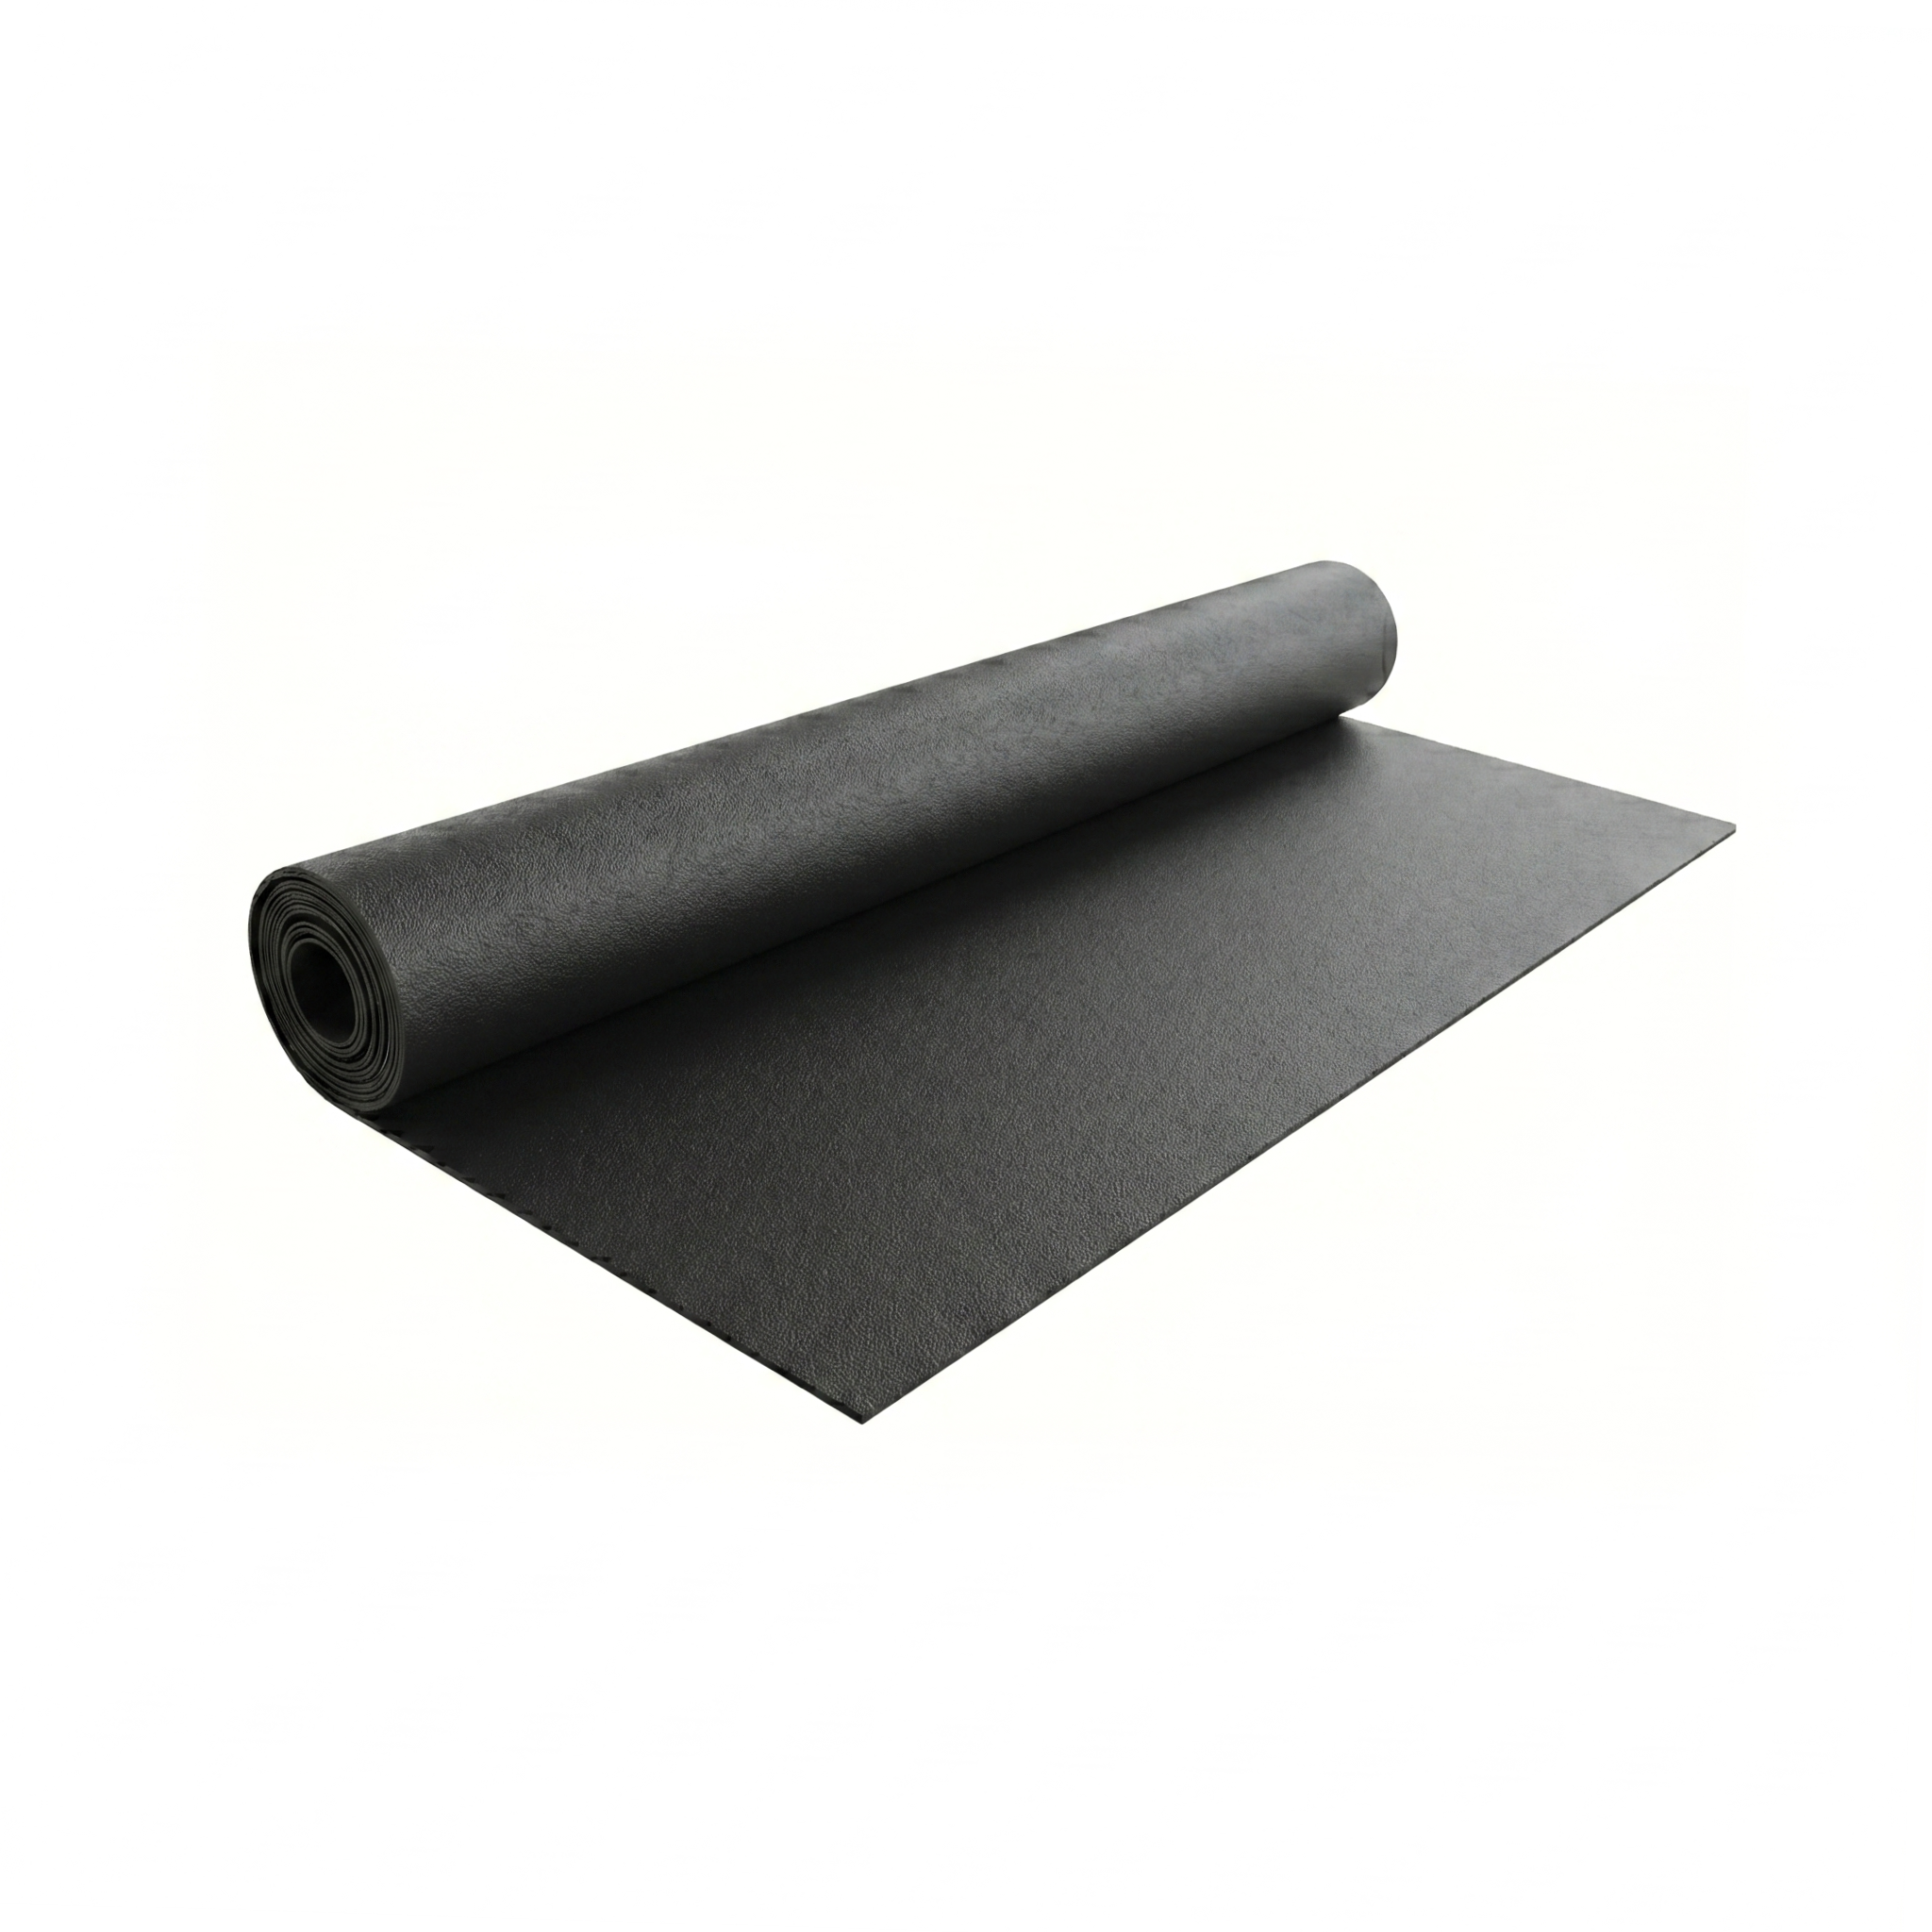
This guide covers the installation of textured HDPE geomembrane on slopes and demanding containment works: ground preparation, geotextile protection, machine-assisted deployment, hot wedge welding and anchoring in a crest trench. The goal is to take advantage of the friction of the double-sided texture so the cover does not slide on an incline.
Product specifications
The textured geomembrane is a waterproof black HDPE liner with relief on both sides, manufactured by Moltexo in three thicknesses. Unlike the smooth version, its rough surface increases friction against the soil and other geosynthetics, which makes it ideal for slopes. Confirm your thickness before installing.
| Specification | Value |
|---|---|
| Material | High-density polyethylene (HDPE), textured on both sides |
| Color | Black |
| Available thicknesses | 1 mm (Calibre 4000), 1.5 mm (Calibre 6000), 2 mm (Calibre 8000) |
| Roll format | 5.8 m × 100 m (580 m² per roll) |
| Asperity height | ≥ 0.40 mm (ASTM D7466) |
| Carbon black content | 2.0 – 3.0 % (ASTM D1603) |
| Reference specification | GRI-GM13 (textured geomembrane) |
| Manufacturer | Moltexo |
| UV protection | High |
Installing your textured geomembrane step by step
Slope installation is where the texture delivers its advantage, but also where the sequence matters most. Follow these five steps.
Prepare the ground and grade the slope
Remove stones, roots and sharp objects; grade and compact the slope, eliminating uneven spots. Excavate the anchor trench (30 × 30 cm) at the slope crest before starting to deploy the liner.
Install a protection geotextile
On soils with aggregates or gravel, install a nonwoven geotextile beneath the liner. The texture improves surface friction, but it does not protect against puncture: the lower protective layer is still necessary, especially with the heavier thicknesses.
Deploy the roll with machinery
The 5.8 m × 100 m rolls weigh hundreds of kilos; move them with a forklift or crane using a bar through the core. On a slope, deploy from the crest down to the toe and leave at least 50 cm of surplus at the top for anchoring.
Weld the panels by hot wedge
Overlap the edges 10 cm and join them with dual-seam hot wedge welding with a test channel; check watertightness by injecting pressurized air into the channel. For patches and details, use extrusion welding with HDPE welding rod.
Anchor at the crest and verify friction
Place the surplus into the crest trench and backfill it with compacted material. The double-sided texture increases the friction angle against the cover soil and curbs sliding; even so, always respect the project's slope stability analysis.
The texture of this geomembrane is integral: it is generated during manufacturing, not a relief printed onto a smooth liner, which is why it does not flatten under load or wear away over time. Install it during the cooler hours of the day; at midday the black liner exceeds 60 °C and thermal expansion can leave wrinkles in seams already welded.
Complementary products
A professional textured geomembrane installation rarely stands alone. These complements are what ensure watertightness and durability:
The nonwoven geotextile protects the liner from puncture from below and above. The HDPE welding rod is the filler material for extrusion joints and repairs. And the hot wedge welding machine is the equipment used to make the watertight dual-seam joints.
Maintenance and care
Periodically inspect the weld seams and anchoring areas, paying special attention after heavy rains or ground movement, which is when slope stability is most demanded. If you detect an open joint or damage, repair it by extrusion with HDPE rod and re-check watertightness.
To clean, remove sediment and foreign objects with a soft brush; avoid metal brushes, hard scrapers and sharp tools that could scratch or pierce the liner. In landfill cells and heap leach pads, follow the inspection and monitoring plan required by the environmental authority.
Never install textured geomembrane on a slope without a stability analysis and without crest anchoring. The added friction helps, but it does not replace geotechnical design: a poorly anchored cover can slide down the slope and break the joints.
Frequently asked questions
How does it differ from smooth geomembrane?
The textured version has relief on both sides that multiplies interface friction, so it keeps the cover stable on steep slopes. It shares the same HDPE resin and the same UV protection as the smooth one; it is chosen when there is a slope or when the project requires certifiable slope stability, as in landfills and mining.
Which thickness should I choose?
1 mm (Calibre 4000) for standard projects; 1.5 mm (Calibre 6000) and 2 mm (Calibre 8000) for landfills, heap leach pads and demanding slopes where the stability analysis calls for greater thickness and strength.
Is it welded the same way as smooth geomembrane?
Yes: hot wedge with dual seam and test channel for the joints, and extrusion for repairs. It requires proper equipment and trained personnel; adhesive tape is not a valid method at these thicknesses.
