

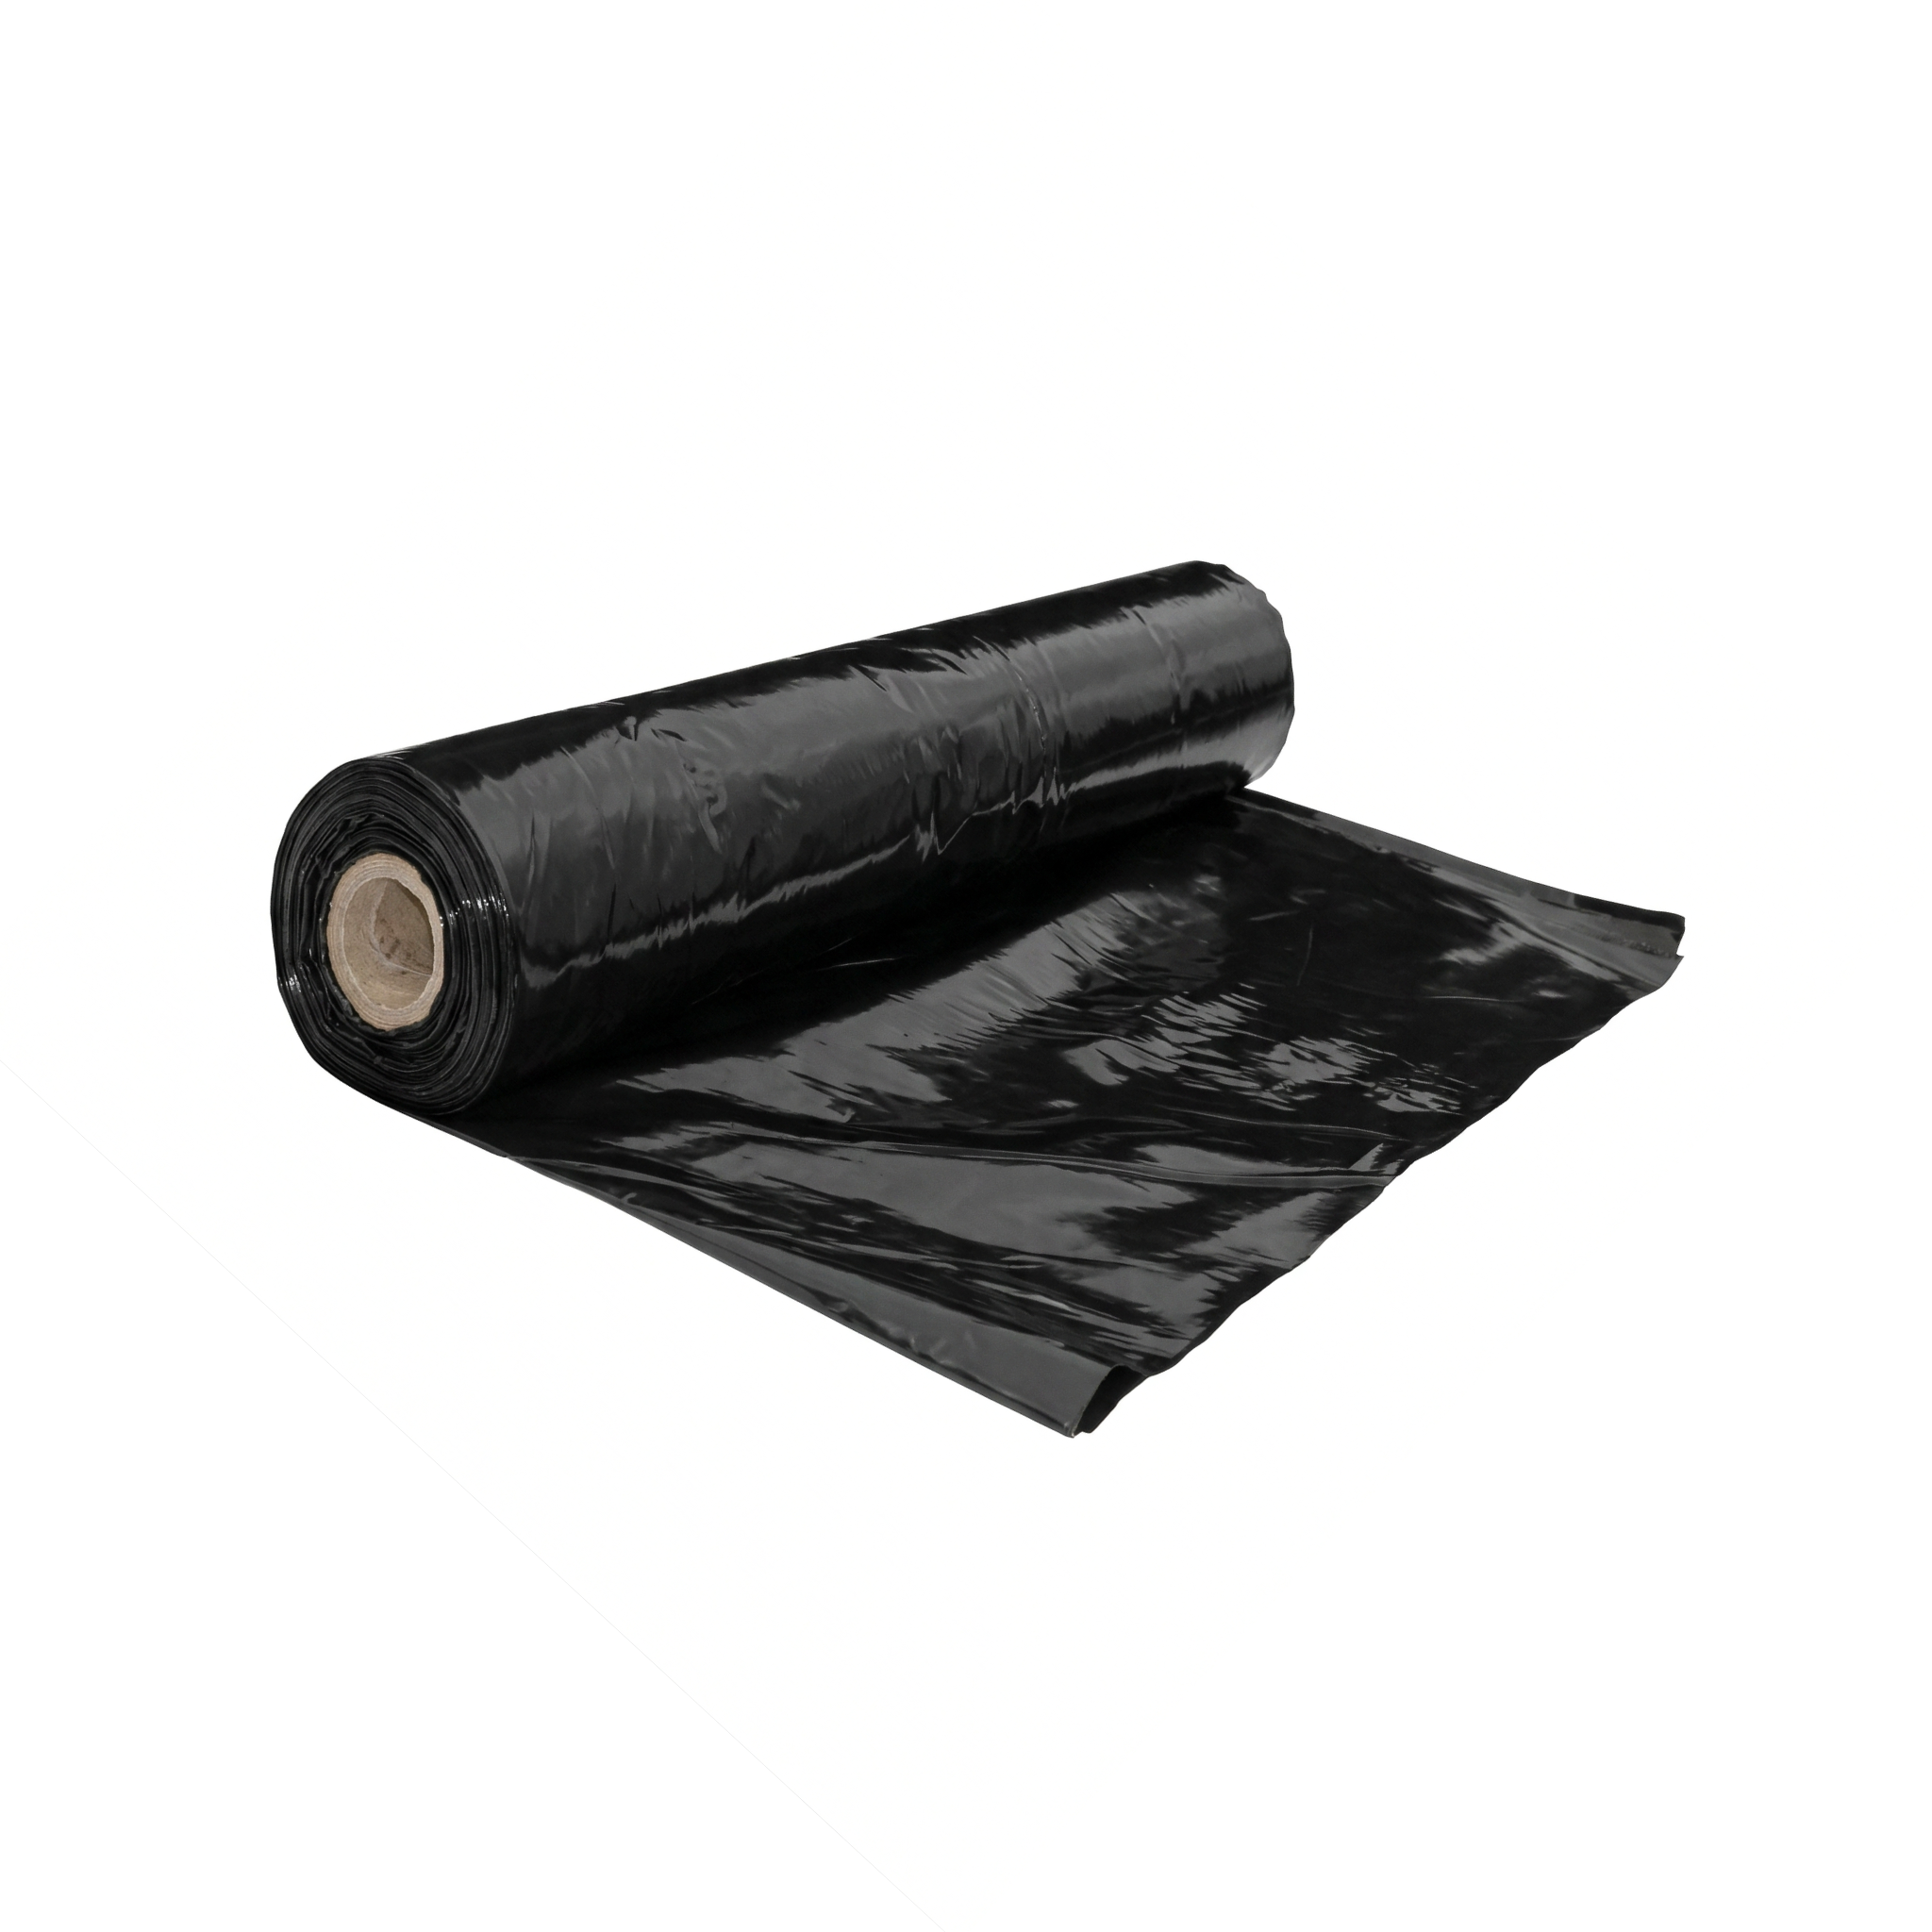
This guide covers the installation of agricultural mulch film: bed preparation, choosing the right variant, positioning the roll while unrolling, securing edges with staples or soil, and openings for transplanting. Follow these steps to control weeds, conserve moisture, and bring forward the harvest in a commercial or home garden.
Product specifications
Low-density polyethylene (LDPE) film with a thickness of 25 µm (Gauge 100), supplied as a roll 1.2 m wide × 1000 m long. Available in three surface versions according to the thermal and optical needs of the crop. The opaque face goes against the soil to block weeds; the exposed upper face determines the specific performance.
| Specification | Black | Black-silver | Black-white |
|---|---|---|---|
| SKU | 686543 | 764009 | 863097 |
| Upper face | Black | Silver (reflective) | White |
| Thermal effect | Warms soil | Reduces temperature | Reflects light onto the crop |
| Thickness | 25 µm (Gauge 100) | ||
| Width × length | 1.2 × 1000 m (1200 m² per roll) | ||
Step by step to use it
Mulch film is installed before transplanting or sowing the crop. Correct installation determines the performance of the entire growing season.
Prepare the bed or growing bed
Using a tiller or cultivator, raise a ridge at the height suited to the crop (15-25 cm) and 80-100 cm wide for the 1.2 m variant. Level the upper face, remove stones and sharp sticks. If you are going to use drip irrigation, install the main line and the drippers before covering with film (under the film).
Choose the right variant
Standard black is the general choice: it blocks weeds and warms the soil (useful for crops that require heat). Silver reflects radiation and reduces soil temperature: useful in the height of the Dominican summer for heat-sensitive crops or soils that are already very hot. Black-white with the white face up reflects light onto the crop from below: ideal for strawberries, lettuces, and vegetables that benefit from reflected light for additional photosynthesis.
The black-silver and black-white have a specific upper face: install with the reflective or white face up. The black face goes against the soil. With standard black, orientation does not matter as both faces are the same.
Position the roll and unroll
Place the roll at the start of the bed and unroll it lengthwise. One person can handle the roll by resting it on a central pole that serves as an axle. For large areas, use a mechanical mulch layer attached to the tractor. Tension slightly to remove wrinkles but without stretching excessively: the film contracts in the sun, and excessive wrinkles are lifted by the wind.
Secure the edges with staples or soil
Quick method: bury the lateral edges of the film by making a 5-10 cm trench along the bed and filling it with soil. Professional method: secure with metal garden staples every 1 m along each edge. In areas with strong wind, combine both methods. The ends of the bed are also buried or secured to prevent the wind from getting underneath.
Make openings and transplant
Mark the position of each plant with the spacing indicated for your crop. Make a cross cut (4-6 cm) or a circular hole with a hole punch over each point. Transplant the root ball through the opening, gently pressing the soil around it. The film stays snug against the neck of the plant without suffocating it.
For strawberries and vegetables in a Caribbean climate, black-white is the most productive combination: the white face up reflects light onto the foliage (improving photosynthesis and reducing thrips), while the black face down blocks weeds and retains moisture without overheating the soil. Professional growers report harvest increases of 15-25 % compared to standard black mulch under the same conditions.
Do not use standard black film for summer crops in the full midday Dominican sun. Under full sun, the black face easily reaches 60-65 °C: surface roots are damaged and fruits in contact with the film get scorched. In those cases, use silver or white-black. Standard black works well in cool seasons or with tall crops where the foliage shades the film.
Complementary products
Agricultural mulch is completed with fasteners and, often, other crop-covering products:
The metal garden staple is the professional fastener for anchoring the film's edges to the ground. The anti-weed net is the alternative for the perimeter areas of the crop or ornamental garden: it blocks weeds but lets water through. The greenhouse cover film is the natural complement in professional production: greenhouse above + mulch below gives complete control of the crop environment.
Maintenance and care
Mulch is a temporary-use product (1-2 growing cycles) that requires attention during its service life:
- Roll storage: in a cool, dark, and dry place. A roll exposed to the sun for weeks loses much of its service life before being installed.
- Biweekly inspection in the crop: check edges and openings. An edge lifted by wind is re-secured with staples. An opening torn by the neck of the plant is filled with soil so as not to lose functionality.
- Service life under cultivation: 6-12 months for black and colored variants; the cycle matches the duration of the main vegetable crop. For strawberries or other longer crops, use a specific Gauge 100 of greater durability.
- Removal at the end: after the harvest, remove the film before it breaks down into fragments. Aged film breaks into small pieces and contaminates the soil with plastic microfragments that are impossible to remove.
- Recycling: LDPE is 100 % recyclable. Collect the used film, remove soil residues, and send it to an agricultural recycling center.
Frequently asked questions
Can I use mulch to reduce irrigation?
Yes, it is one of the main benefits. Mulch reduces surface evaporation of the soil by 30-50 %, which translates into less frequent or lower-volume irrigation. In practice, a garden with mulch and drip under the film can irrigate half as much as the same garden without mulch, maintaining the same moisture in the root zone.
Can I reuse the film for a second season?
Gauge 100 (25 µm) is single-cycle under full Caribbean sun. After 6-9 months it already shows micro-cracks and tears when handled. If it protected one short growing season (2-3 months) and the film is visually flawless, you can use it another season in a similar area; beyond that, the risk of tearing in the middle of the crop is not worth it.
How many meters for my plot?
A roll of 1.2 m × 1000 m covers 1200 m² of linear bed. If your plot is 100 m long × 50 m wide with beds of 1.2 m spaced 0.5 m apart, calculate: 50/(1.2+0.5) = 30 beds × 100 m long = 3000 m of film = 3 rolls. Add 10 % for overlaps and waste.
