

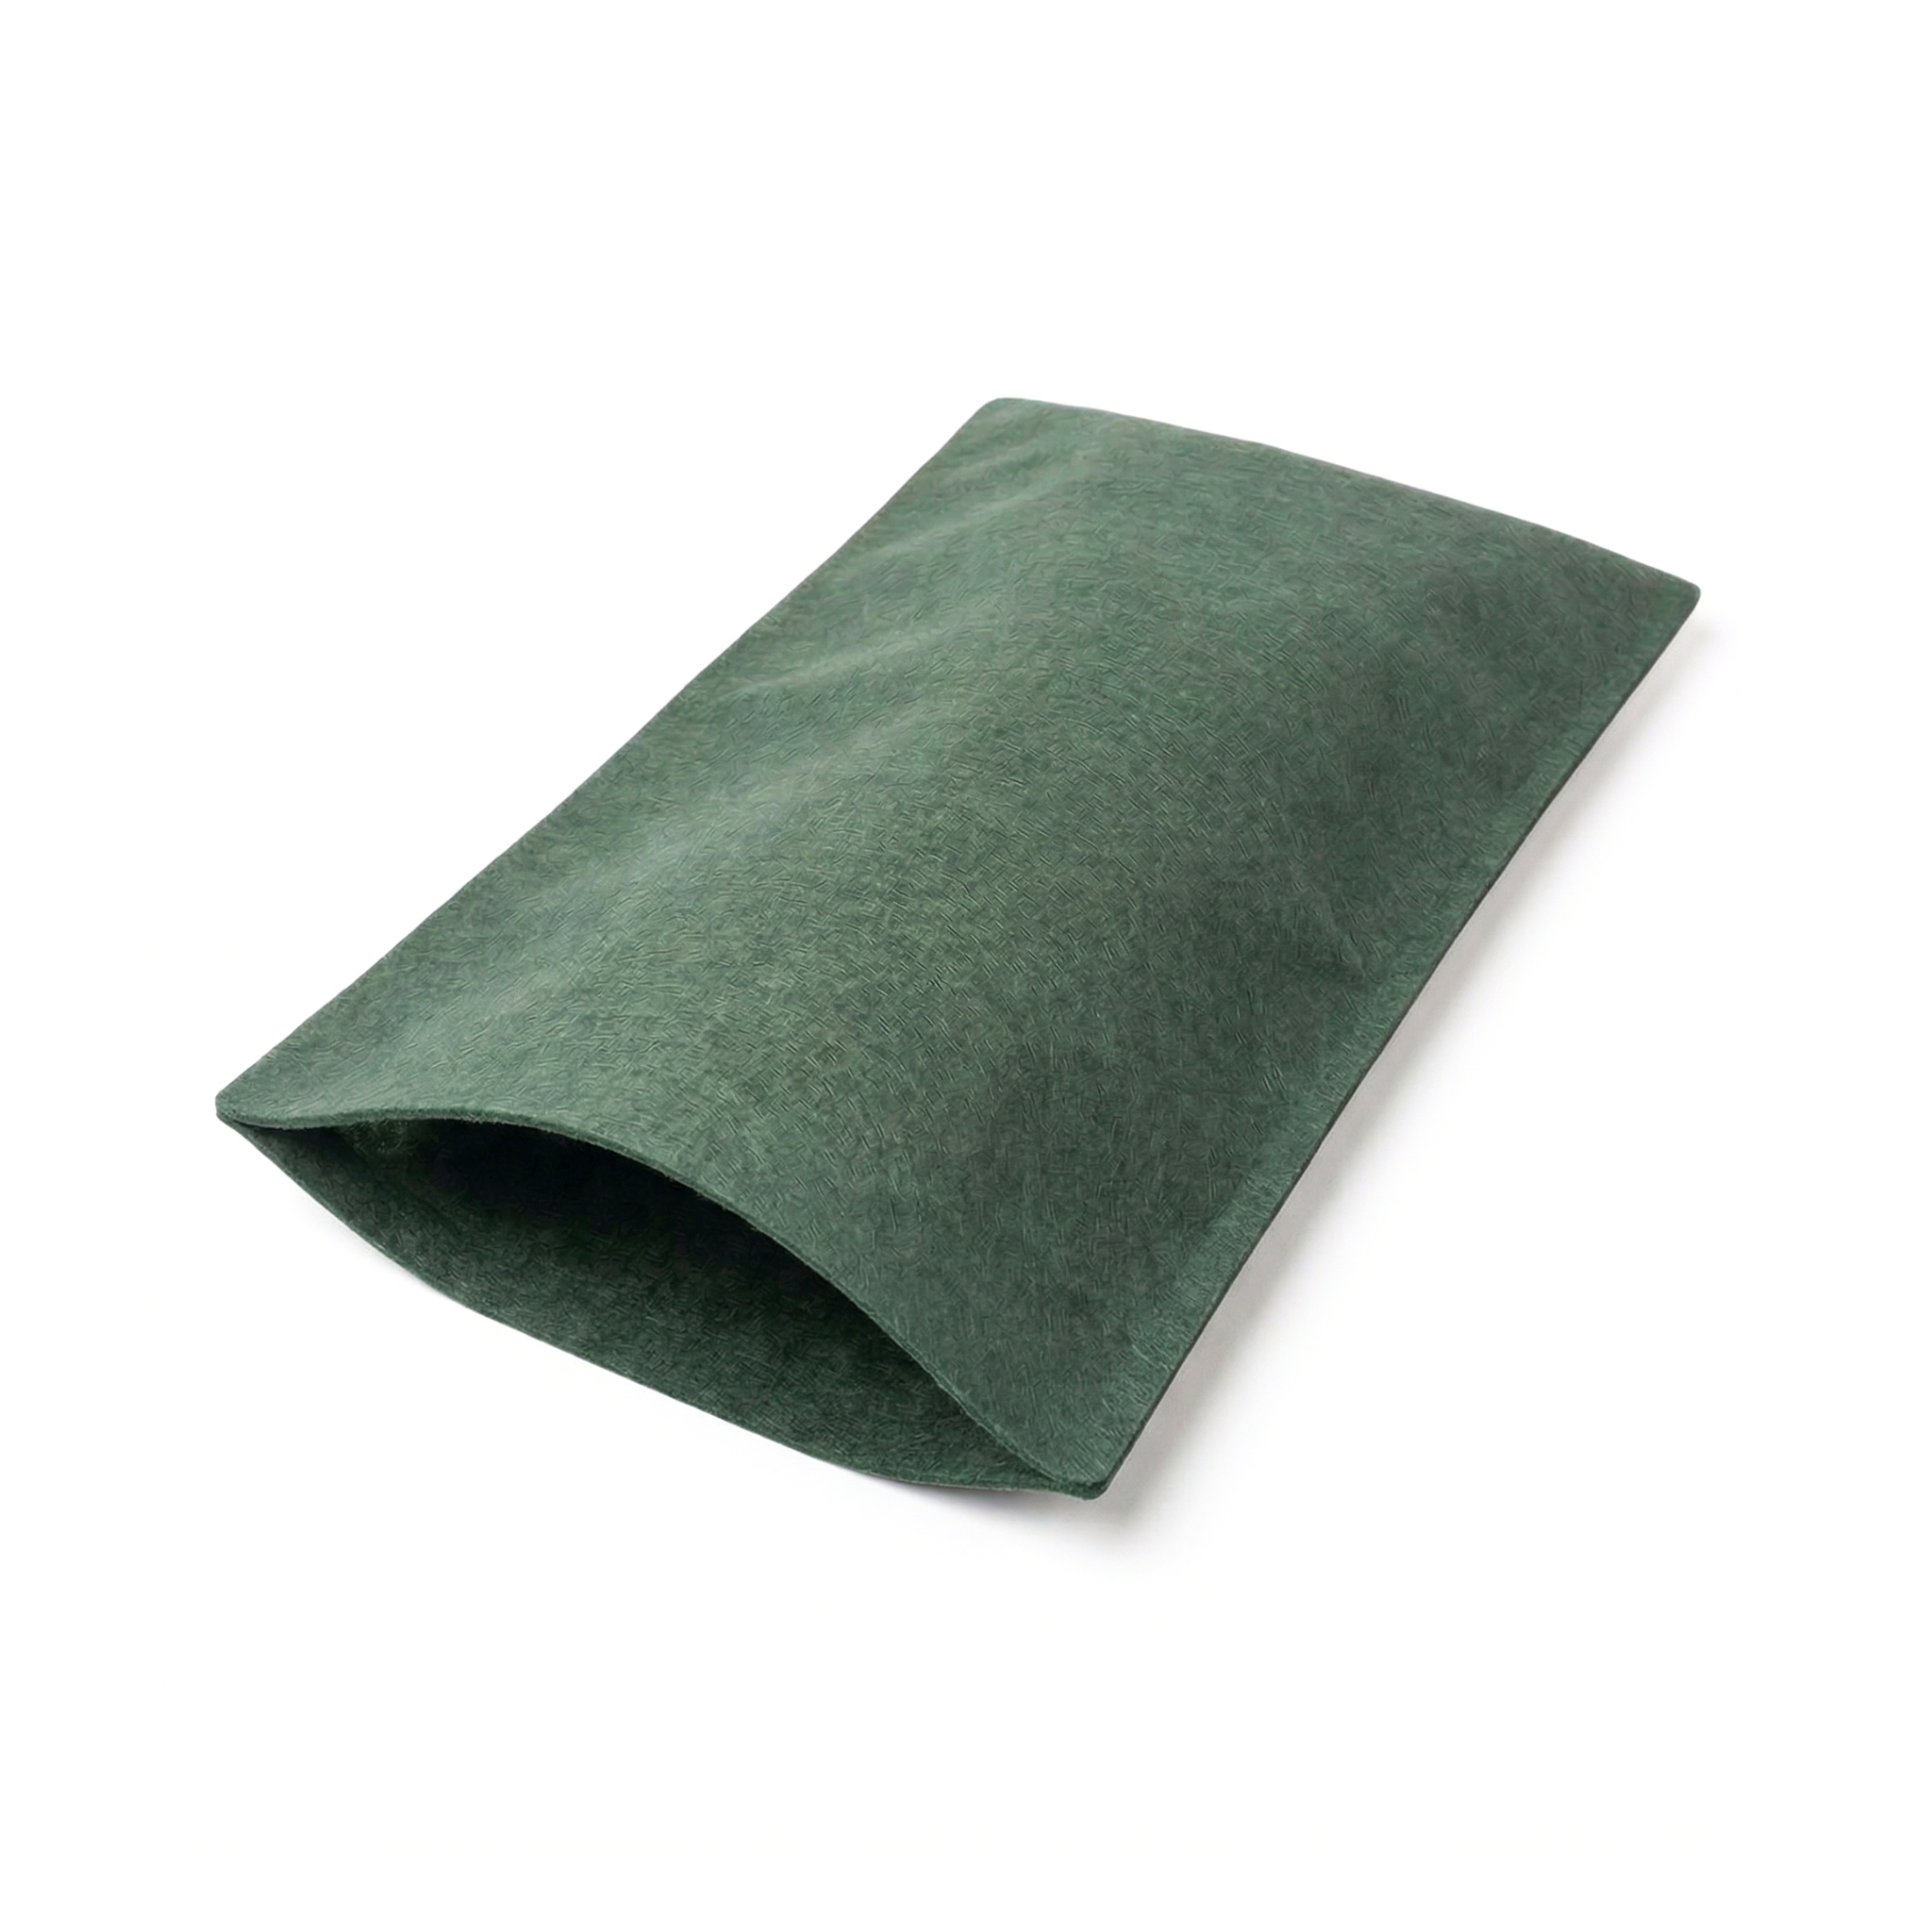
This guide covers the use of the geobag: choosing the fill material, filling to two thirds, closing the bag, placing the first row and stacking the upper rows in a staggered pattern. Follow these steps to build temporary retaining walls, erosion protection or flood defenses with the durability of UV-treated geotextile.
Product specifications
The geobag is a bag made from high-strength polypropylene geotextile, sized to be filled with granular material on site. Its intermediate size allows manual handling without a crane, and the geotextile weave resists UV and abrasion to maintain structural integrity throughout the period of use.
| Specification | Geobag 40 × 80 cm |
|---|---|
| SKU | 412345 |
| Material | Polypropylene geotextile |
| Weight | 400 g/m² (12 oz/yd²) |
| Color | Black |
| Dimensions | 40 × 80 cm (16 × 31 in) |
| Packaging | Pack of 50 geobags |
Step-by-step instructions
An empty geobag does nothing; filled and stacked correctly, it works. The key lies in the fill level, the closure and the staggered row arrangement. Follow the strict order.
Choose the fill material
Use sand, fine gravel or sieved site soil. Avoid materials with sharp stones that could tear the geotextile from the inside and avoid very wet soil that loses its shape. River sand is the ideal material: it is heavy, drains and settles when stacked.
Fill to two thirds
Fill each bag to about two thirds of its capacity, no more. A bag filled to the top stays rigid, does not settle against the neighboring bag and leaves gaps where water gets in. Two thirds is the point where the bag holds its shape but adapts to the stacking.
Close the bag
For temporary barriers and low volume, tie the mouth with strong rope or a simple knot. For high volume or applications lasting more than a few weeks, close it with a portable sewing machine using polypropylene thread: the sewn closure withstands UV, handling and stacking without opening.
Place the first row
Lay the base bags in the direction of the water flow, with the long side parallel to the barrier. Compact them by lightly stepping on them with your foot so they settle against the ground and against each other. This first row is what supports the entire upper column; it must be firm.
Stack the upper rows staggered
Stack the following rows like a brick wall: each upper bag should cover the joint between two lower bags. This staggering prevents a continuous vertical joint from forming, which is the failure line where water crosses the barrier. Each row should set back 5 to 10 cm from the one below if the height exceeds 1 m.
For flood barriers more than 1.5 m high, reinforce with a rear apron of geomembrane folded toward the ground. The membrane acts as additional waterproofing and reduces seepage through the joints between bags. The geobag + geomembrane combination at the base withstands significantly larger floods than bags alone.
Do not fill the bags to the top. A geobag filled to 100 % stays rigid, does not settle against its neighbor and leaves gaps at every joint where water seeps through and washes material away. The practical two-thirds rule is what distinguishes a watertight barrier from a porous one that leaks water immediately.
Complementary products
For intensive use or long-lasting barriers, the following complementary products improve the closing speed and the durability of the system.
The portable sewing machine closes the geobag in seconds without knots that loosen with UV or handling. The thread for the portable machine is the mandatory consumable: polypropylene thread withstands the weather, unlike cotton thread. The anchor cap with rod is used to fix the first row to the ground when the barrier is installed on a slope and there is a risk of sliding due to the weight of the upper rows.
Maintenance and care
The geobag is a product designed for intensive use over a defined period. The guidelines are simple:
- Inspection after each flood event: check for torn, loose or displaced bags. Replace damaged ones before the next rain episode.
- Service life in the sun: UV-treated geotextile retains its strength for 12 to 24 months under the Caribbean sun. If longer use is expected, consider covering it with an erosion-control blanket or vegetation.
- Storage of empty bags: in a dry place, out of direct sunlight, in their original packaging. Unused bags retain their full strength for several years if stored well.
- Recycling when dismantling: the contents (sand, soil) are reused on site. The geotextile is recycled as polypropylene plastic by authorized handlers.
- Do not reuse bags with cuts or visible wear: even if they appear functional, they have lost load capacity.
Frequently asked questions
How much does a filled geobag weigh?
Filled to two thirds with dry sand it weighs between 30 and 35 kg (66 to 77 lb). Filled with wet sand or soil the weight rises to 40-45 kg (88-99 lb). This is the maximum weight a single worker can handle over a long shift without injury; that is why the bag is sized the way it is.
Can I use geobags for permanent protection or only temporary?
For permanent use, geobags require additional UV protection: by covering them with a coir erosion-control blanket that is vegetated on top, or with a layer of soil. Without that protection the geotextile degrades in 1 to 2 years. Covered, they can last decades as a buried structural element.
Knot closure or machine sewn, which is better?
For emergencies and barriers lasting a few weeks, the knot is enough. For high volume (more than 200 bags) or prolonged use, machine sewing is faster per unit and has a more secure closure. The investment in a portable sewing machine pays for itself quickly if you are going to fill large quantities.
