You have just purchased a high-density polyethylene (HDPE) geomembrane and want to install it correctly so it lasts for decades. This guide takes you step-by-step through the entire installation, from ground preparation to final anchoring, with specific notes for each of the six available gauges (from 0.1 mm / 400 Gauge to 2 mm / 8000 Gauge). Regardless of whether you chose the lightweight version for vapor barrier or the thickest one for chemical containment, here you will find everything you need.
Product Specifications
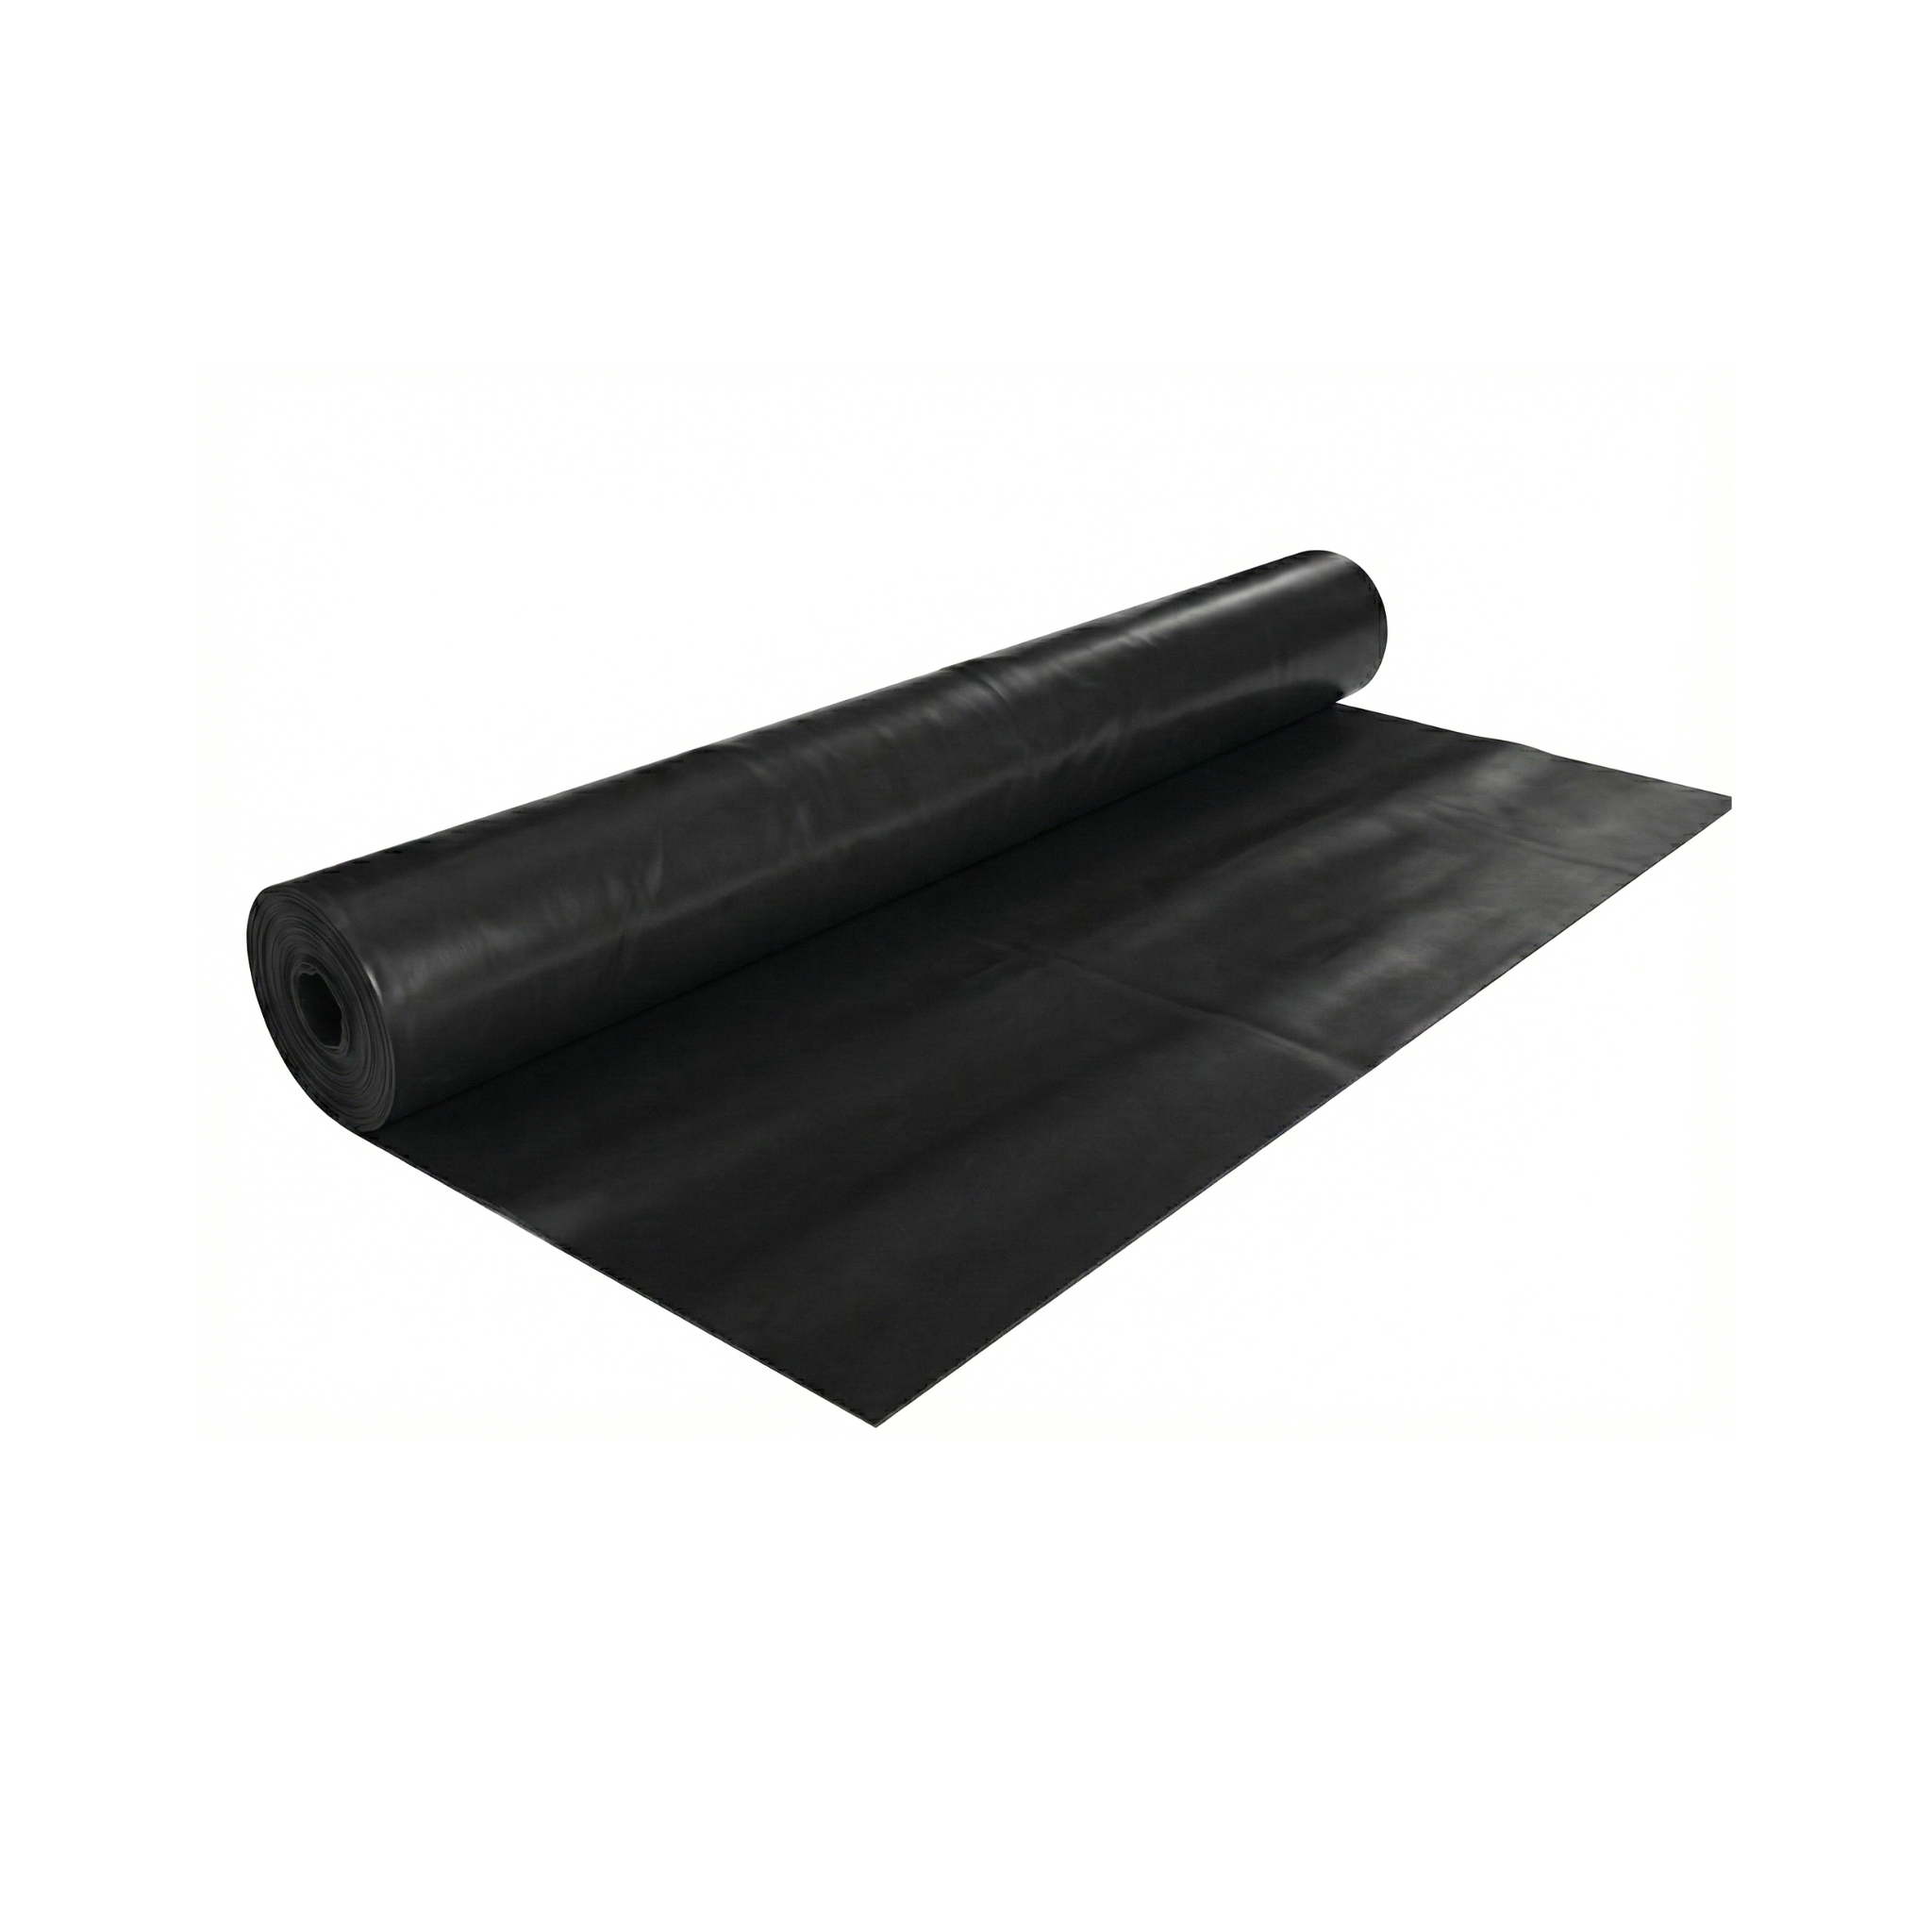
The HDPE geomembrane is a black, smooth-finish impermeable sheet sold in six gauges. The two lightest (0.1 mm and 0.2 mm) come in rolls of 2 m × 50 m (100 m² per roll), ideal for small projects or vapor barriers. The remaining four (0.5 mm, 1 mm, 1.5 mm, and 2 mm) come in industrial rolls of 5.8 m × 100 m (580 m² per roll), designed for lakes, reservoirs, and large-scale containment.
A higher gauge means greater tear and puncture resistance, but also a heavier roll. Consult the table before installation to confirm your variant and prepare the necessary equipment.
| Specification | 0.1 mm 400 Gauge |
0.2 mm 800 Gauge |
0.5 mm 2000 Gauge |
1 mm 4000 Gauge |
1.5 mm 6000 Gauge |
2 mm 8000 Gauge |
|---|---|---|---|---|---|---|
| Parent SKU | 341532 | |||||
| Roll Presentation | 2 m × 50 m | 2 m × 50 m | 5.8 m × 100 m | 5.8 m × 100 m | 5.8 m × 100 m | 5.8 m × 100 m |
| Surface Area per Roll | 100 m² | 100 m² | 580 m² | 580 m² | 580 m² | 580 m² |
| Material | High-density polyethylene (HDPE) | |||||
| Density | — | — | 0.94 g/cm³ | 0.94 g/cm³ | 0.94 g/cm³ | 0.94 g/cm³ |
| Tensile Strength (Yield Point) | — | — | 10 N/mm | 15 N/mm | 22 N/mm | 29 N/mm |
| Tensile Strength (Break) | — | — | 10 N/mm | 27 N/mm | 40 N/mm | 53 N/mm |
| Elongation at Break | — | — | 800 % | 800 % | 800 % | 800 % |
| Tear Resistance | — | — | 69 N | 125 N | 187 N | 249 N |
| Puncture Resistance | — | — | — | 320 N | 480 N | 640 N |
| UV Protection | Yes (high) | |||||
| Mandrel | Rigid plastic | |||||
| Roll Weight | — | 18.8 kg | 272.6 kg | 545.2 kg | 817.8 kg | — |
Step-by-step to install your HDPE geomembrane
Correct installation is the most influential factor in the liner's lifespan. Follow these five steps in order. Where the procedure changes according to the gauge, you will find a specific note immediately below the step.
Prepare the ground
Remove all stones, roots, glass, or any sharp objects from the area where the geomembrane will be placed. Level and compact the soil, eliminating unevenness greater than 2 cm. A clean, smooth bottom is the first defense against punctures during use.
Lay a protective layer
On the already leveled ground, spread a layer of fine sand (5 to 10 cm) or a protective geotextile. This cushion absorbs small imperfections in the soil and prevents the geomembrane from being punctured by contact with hidden stones.
- If you have the 0.1 mm or 0.2 mm variant (400 or 800 Gauge): a thin layer of sand of 3 to 5 cm is sufficient because the film is flexible and tolerates small irregularities well.
- If you have the 0.5 mm or 1 mm variant (2000 or 4000 Gauge): use compacted sand of 5 to 8 cm or, preferably, a light geotextile.
- If you have the 1.5 mm or 2 mm variant (6000 or 8000 Gauge): due to the roll weight and use in demanding containment, always install a protective geotextile both below and above the sheet.
Unroll the liner
Place the roll at one end of the area and unroll it along the length of the excavation. Smooth the sheet as you unroll it to avoid creases, bubbles, and tension. Always leave at least 30 cm of excess around the perimeter for final anchoring.
- If you have the 0.1 mm or 0.2 mm variant (2 m × 50 m roll, 18.8 kg): it can be unrolled by 2 people without machinery.
- If you have the 0.5 mm variant (5.8 m × 100 m roll, 272.6 kg): you need at least 4 to 6 operators or a small forklift to lift it from the truck and position it.
- If you have the 1 mm variant (5.8 m × 100 m roll, 545.2 kg): unrolling requires a forklift and a handling tube through the mandrel.
- If you have the 1.5 mm (5.8 m × 100 m roll, 817.8 kg) or 2 mm variant: use a crane or backhoe with a sling; do not attempt to move it manually under any circumstances.
Join the panels together
Overlap the edge of one roll over the next with a minimum overlap of 10 cm. The final seal must be made over this overlap to ensure it is completely watertight. The method depends on the gauge you are using.
- If you have the 0.1 mm or 0.2 mm variant: you can join it with high-strength butyl tape or with a hot air gun (manual welding) at low power. Check for watertightness by running your hand over the weld bead.
- If you have the 0.5 mm or 1 mm variant: professional hot-wedge or extrusion welding is the recommended method. Adhesive tape is not reliable long-term for these thicknesses.
- If you have the 1.5 mm or 2 mm variant: use exclusively hot-wedge welding equipment (double bead with test channel) operated by trained personnel. It is the only technique that guarantees watertightness with pressurized water.
Anchor the geomembrane in a perimeter trench
Dig an anchor trench 30 cm deep x 30 cm wide around the entire perimeter. Place the excess liner into the trench and backfill with compacted soil. This closure prevents wind from lifting the liner and water from escaping at the edges.
Install the geomembrane during the cool hours of the morning (before 10 a.m.) or at dusk. At midday, the Dominican sun raises the temperature of the black liner above 60 °C, causing thermal expansion which then contracts upon cooling and can generate permanent wrinkles in already welded joints.
Do you have doubts about which gauge to use or how to calculate the rolls you need?
Calculate how many square meters your project covers and check the area per roll. If you are not sure which thickness to choose for your specific project, consult the virtual assistant for a technical recommendation based on the final use.
Complementary products
For a professional and durable installation, don't just rely on the liner. These accessories make the difference between a project that lasts 5 years and one that lasts 25:
The protective geotextile is placed between the ground and the geomembrane to prevent punctures and is practically essential for the 1 mm, 1.5 mm, and 2 mm variants when the ground is not perfectly clean. The butyl tape is used for quick repairs of small perforations or as the main joining method for the thin 0.1 and 0.2 mm variants. The fine sand is the traditional and economical bed when geotextile is not available.
Maintenance and care
HDPE geomembrane is designed to require minimal maintenance, but simple routines significantly extend its useful life. Visually inspect the liner at least once a month, paying attention to areas near water inlets and outlets, where mechanical stress is concentrated. If you detect a perforation, clean it with a dry cloth, apply butyl tape over the damaged area, and seal with a hot air gun for weldable variants.
For periodic cleaning, simply remove leaves, sediment, and floating debris with a net or soft brush. Avoid metal brushes, hard spatulas, and abrasive products: the HDPE surface scratches easily, and deep scratches reduce UV resistance. If you use the geomembrane for fish farming, do not apply any chemicals without confirming their compatibility with polyethylene.
Never walk on the geomembrane with hard footwear, heels, spiked boots, or sharp tools. The surface also becomes extremely slippery when wet: use non-slip footwear throughout installation and maintenance to prevent falls.
Frequently asked questions
How do I calculate how many rolls I need for my project?
Measure the length and width of the area to be covered in meters and add 10% for overlaps and perimeter anchoring. Divide that total by the area per roll of your variant: 100 m² for 2 m × 50 m rolls (0.1 and 0.2 mm variants) or 580 m² for 5.8 m × 100 m rolls (0.5, 1, 1.5 and 2 mm variants).
Can the geomembrane be permanently exposed to the sun?
Yes. All variants incorporate high UV protection thanks to the carbon black content (2.0 to 3.0%), but the higher the gauge, the longer the exposed lifespan. The 1 mm, 1.5 mm, and 2 mm variants are recommended when the liner remains permanently in the sun, such as in lakes, reservoirs, and open channels.
Can I use the same geomembrane for fish farming?
Yes. HDPE is an inert and non-toxic material, suitable for aquaculture and potable water storage. For fish or shrimp ponds, a minimum gauge of 0.5 mm (2000 Gauge) is recommended, and preferably 1 mm (4000 Gauge) if the pond exceeds 1 m in depth or receives maintenance with mechanical equipment.