

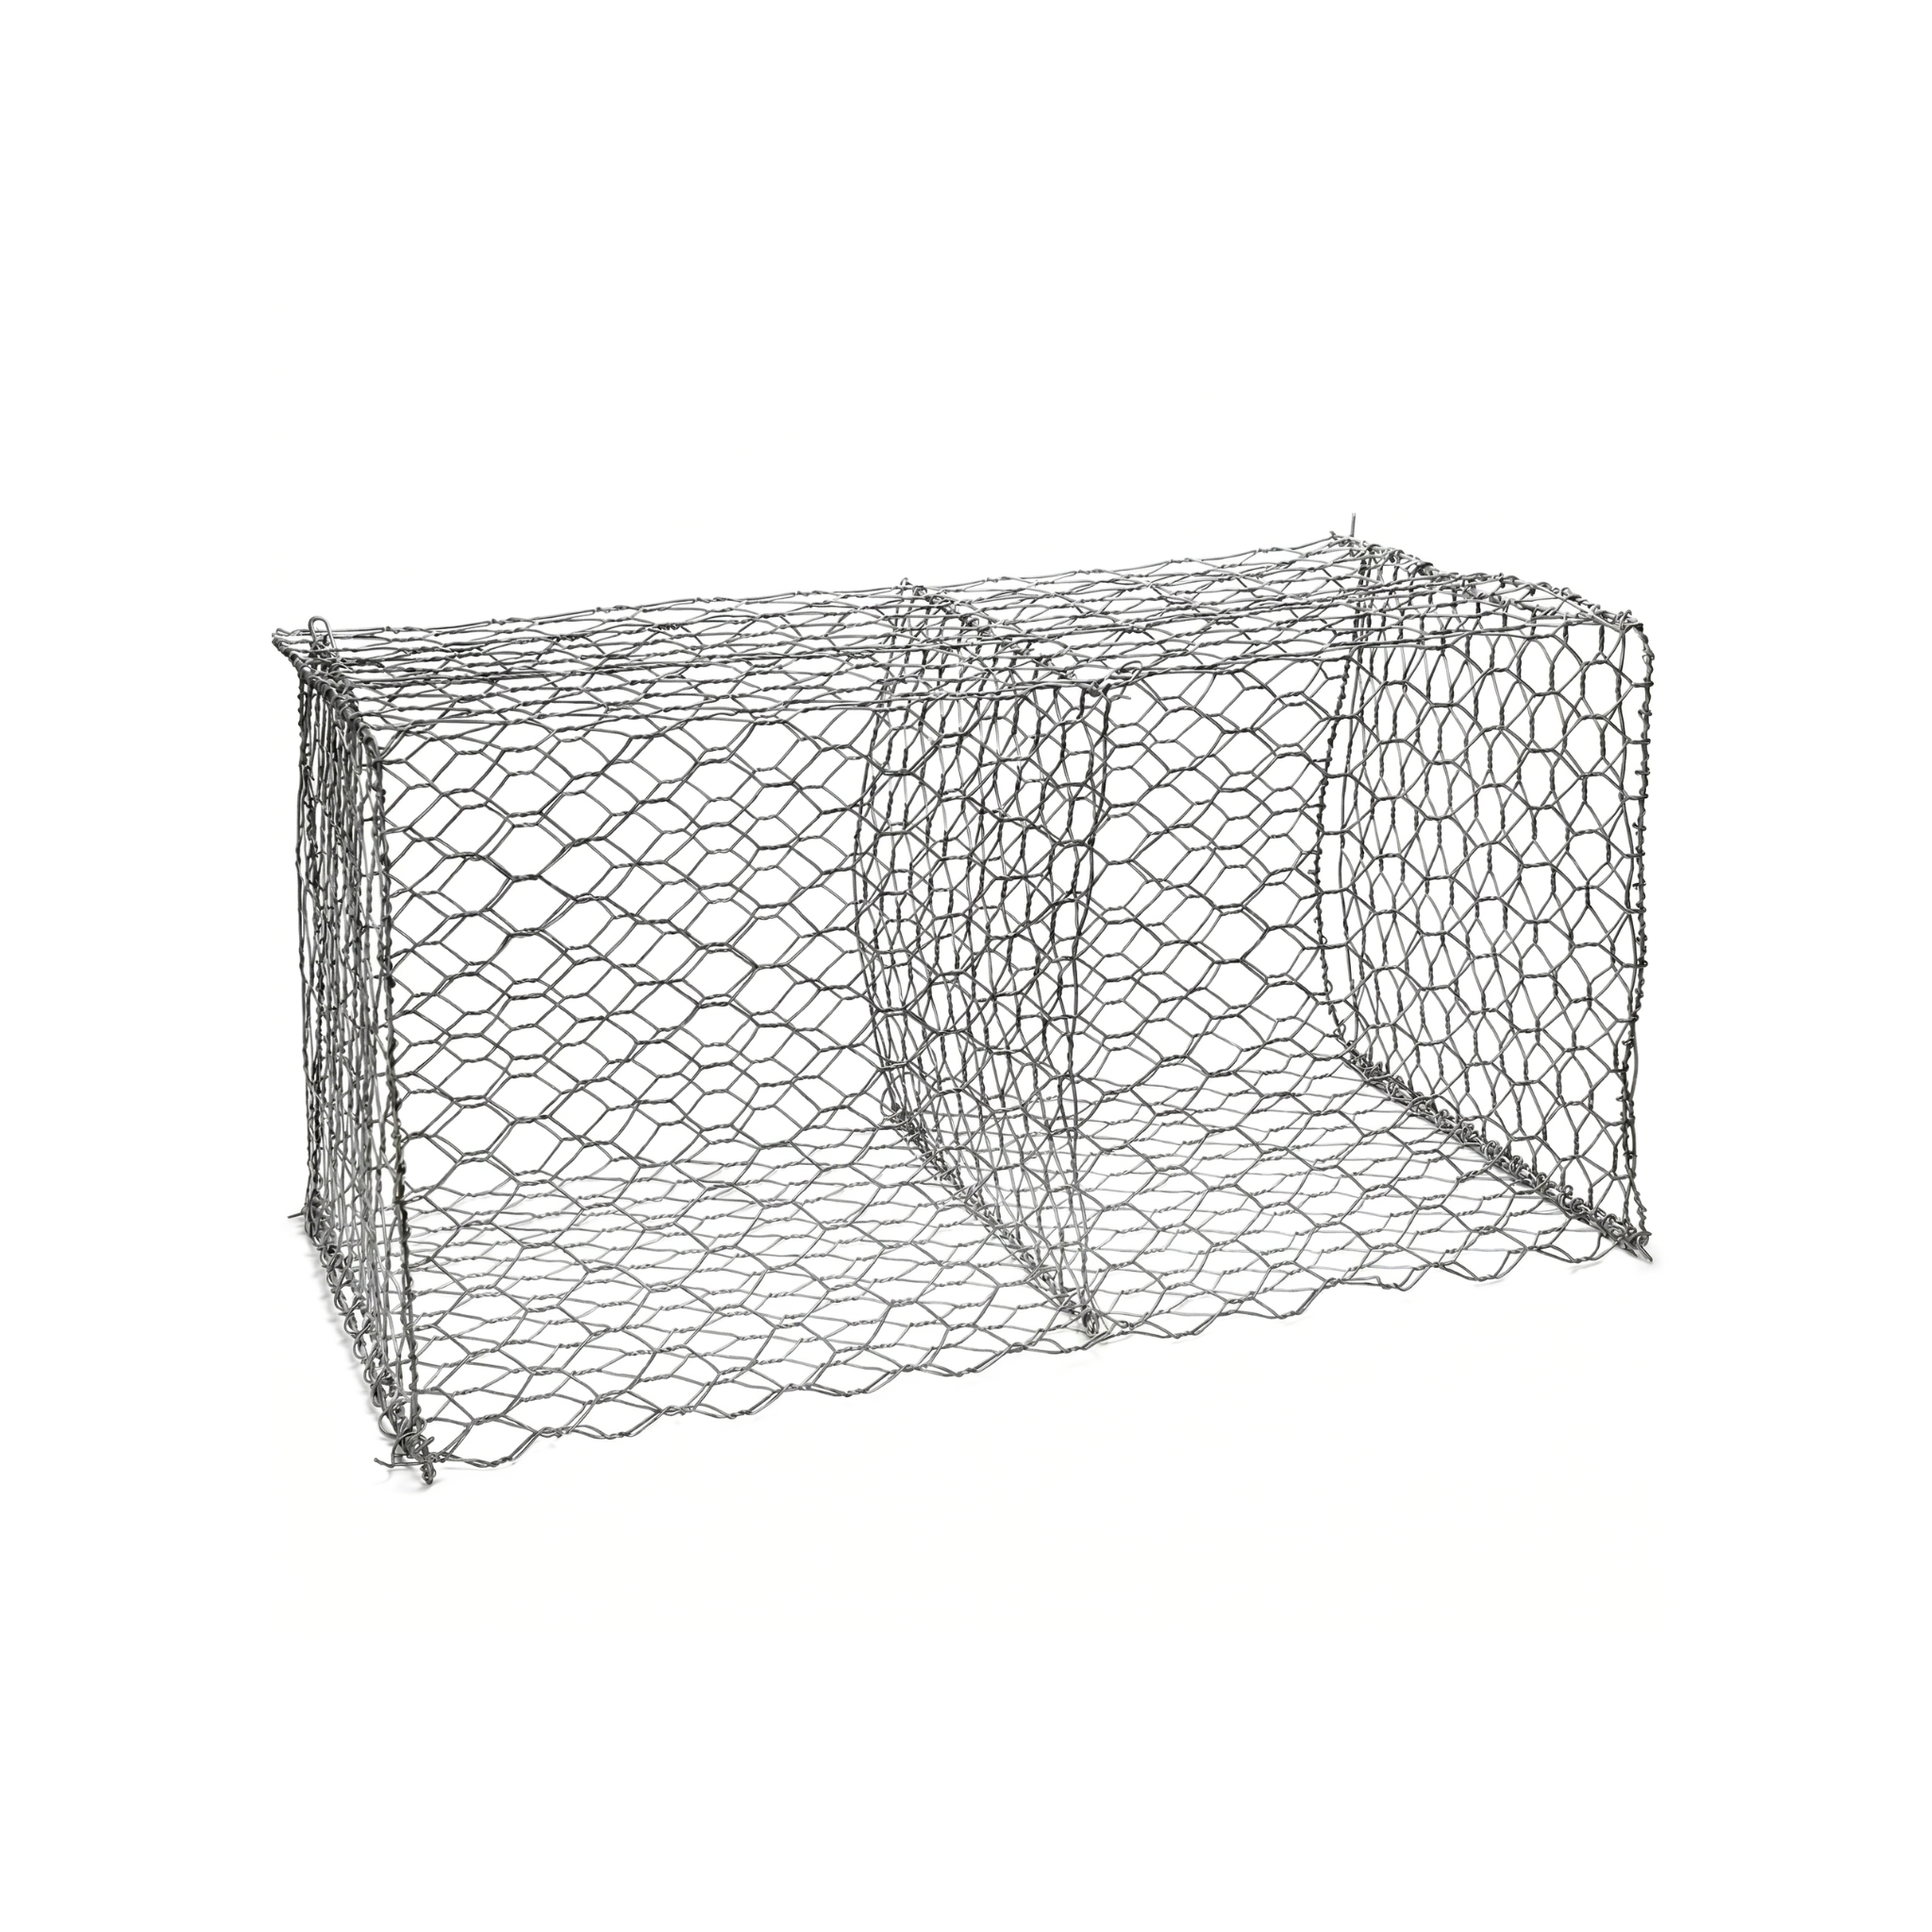
This guide covers the assembly of the hexagonal mesh box gabion: base preparation, gabion assembly, placement and tying to neighbors, filling with selected stone, placement of internal bracing wires, and closing the lid. Follow these steps to build retaining walls, river defenses, or gravity structures with the flexibility of double twist.
Product specifications
The hexagonal mesh box gabion is a prismatic box manufactured from galvanized steel wire (sometimes with an additional PVC coating) interwoven in a double-twist hexagonal pattern. The double twist is what gives the system its characteristic flexibility: if one area of the wall settles, the gabion deforms without breaking the structure. Suitable for retaining walls, river channeling, erosion control, and monumental landscaping works.
| Specification | Hexagonal gabion |
|---|---|
| Material | Galvanized steel wire |
| Mesh type | Double-twist hexagonal |
| Behavior | Flexible, draining structure |
| Applications | Walls, riverbanks, slopes |
| Service life | 50+ years with adequate galvanizing |
Step-by-step instructions
The gabion arrives at the site folded as a flat piece. It must be assembled, tied to its neighbors, and filled with properly selected stone. Each step is sequential, and the quality of the wall depends on the discipline of the filling, not on the material itself.
Prepare the base
Excavate and level the base until you reach firm ground. Compact it and, on walls over soft soil, place a separation geotextile between the natural ground and the first course of gabions. This prevents subsoil mud from migrating into the gabion stones.
Assemble the gabion
Unfold the folded gabion and lift the four sides to form the prismatic box. Join the edges with tying wire of the same gauge, making continuous turns every 10 cm (4 in) in an alternating single-double pattern. Make sure the corners are perfectly square: a deformed box at the base translates into a deformed wall.
Place and tie to neighbors
Position the gabion in place and tie it to the adjacent gabions along the four contacting edges. This tying between boxes is what turns a row of individual gabions into a continuous wall capable of working as a structural block. Without tying them together, the gabions behave as independent boxes and the stability of the whole is much lower.
Fill with selected stone
Use hard, sound, clean angular stone sized between 10 and 25 cm (4 to 10 in). Fill in three layers: the first and the last by hand, placing large pieces on the outer faces so the wall has a uniform appearance; the middle one can be poured in bulk. Wedge the stones into place and lightly compact with a mallet to minimize voids.
Place internal bracing wires
Every 33 cm (13 in) of fill height (that is, at each third of the gabion) place bracing wires that connect the front face to the back face, passing through the mass of stone. The bracing wires prevent the front face from bulging outward under the weight of the upper fill and the pressure from the backfill.
Close the lid
Once filled to the brim, lower the lid and tie it to the body of the gabion with wire, making continuous turns as in the initial assembly. The lid closes the system and is what keeps the stone inside the box for decades despite movements and settlements.
For gabion walls exposed in public-use areas or with landscape value, take the time to place the stones of the visible face by hand. A well-made outer course (flat stones, faced, with flat faces toward the front) raises the wall's appearance from "military structure" to quarry-grade work. It costs a little more labor and more than pays off in visual value.
Do not forget the internal bracing wires. It is the mistake that ruins the most gabion walls: since they are not visible once the box is full, the crew "saves" them to go faster. The result appears within a few months with the front face of the gabion bulging outward, with the mesh stretched to the maximum, and the wall irreversibly loses its verticality and aesthetics.
Complementary products
For a well-finished gabion job, the following complementary products address the structural alternative, surface vegetation, and erosion control in the transition zone.
The welded gabion is the alternative when a more architectural appearance and perfect edges are sought: rigid boxes with welded mesh instead of woven. The coir blanket is applied over the slope behind or above the gabion wall to control surface erosion while the vegetation establishes. The bermuda grass seeds are the standard cover for the vegetated zone surrounding the wall.
Maintenance and care
A well-built gabion is a long-life structure with very little maintenance. The guidelines focus on periodic inspections and attention to early signs:
- General annual inspection: check the wire for points of accelerated rust, especially in the splash and tidal zone. Galvanizing loses effectiveness locally over time, and a weakened point can break the mesh.
- Attention to bulging: if the front face of any gabion appears bulged, it is generally due to a lack or breakage of internal bracing wires. Repair it before the mesh breaks from tension.
- Stone replacement: after floods or seismic events, fill stone may have been lost. If there are voids visible from outside, top up with stone of the same size and re-tie the closing wire.
- Aggressive vegetation: the roots of some trees can invade the wall and deform it. Avoid planting invasive species within 3 m of the gabion wall.
- Cleaning of the exposed face: on urban slopes, remove trash and plant debris that accumulate between the stones of the visible face to maintain appearance.
Frequently asked questions
What stone should be used to fill the gabion?
Hard, sound angular stone, sized between 10 and 25 cm, larger than the opening of the hexagonal mesh. The most suitable is local quarry stone: limestone, granite, or basalt depending on availability. Avoid rounded river stone (it does not interlock and forms voids), friable stone that crumbles over time, and very small stone that escapes through the mesh.
How high can I build a gabion wall?
A well-designed gabion wall can reach 6-8 m in height, stepped and with base sizing according to the backfill thrust. Greater heights require reinforcement with geogrid anchored to the soil or combined systems. If the project exceeds 4 m, require a geotechnical calculation before purchasing.
Difference between hexagonal and welded gabion?
The hexagonal one is double-twist: flexible woven mesh that absorbs settlements and ground deformations without breaking. Ideal for soft soils, riverbanks with scour, and seismic zones. The welded one has rigid mesh with welded joints: perfect edges, better aesthetics, and cleaner execution, ideal for exposed architectural walls on firm soils that do not settle.
