If you operate a commercial vegetable nursery, produce seedlings for open field or greenhouse, run an urban garden project with your own production, propagate ornamental plants from cuttings or work in serial forestry production, the GARDESE vegetable tray with UV treatment and concave conical cell geometry is the calibrated tool for those scenarios. This guide explains how to choose between the four configurations (72, 128, 200 and 288 cells) according to the crop and the cycle, how to prepare the substrate and sow, how to water to germinate without damping-off, and how to extract the seedling with an intact root ball for successful transplanting.
The vegetable tray is the format with individual cells. For hydroponic green fodder, microgreens, mass germination with a continuous root mat or block harvesting, the correct format is NOT the vegetable one but the flat hydroponic tray without cells. Mix up the formats and you lose the appropriate geometry: individual cells do not allow the continuous mat of hydroponic green fodder, and the flat tray does not isolate each seedling for transplanting with a root ball.
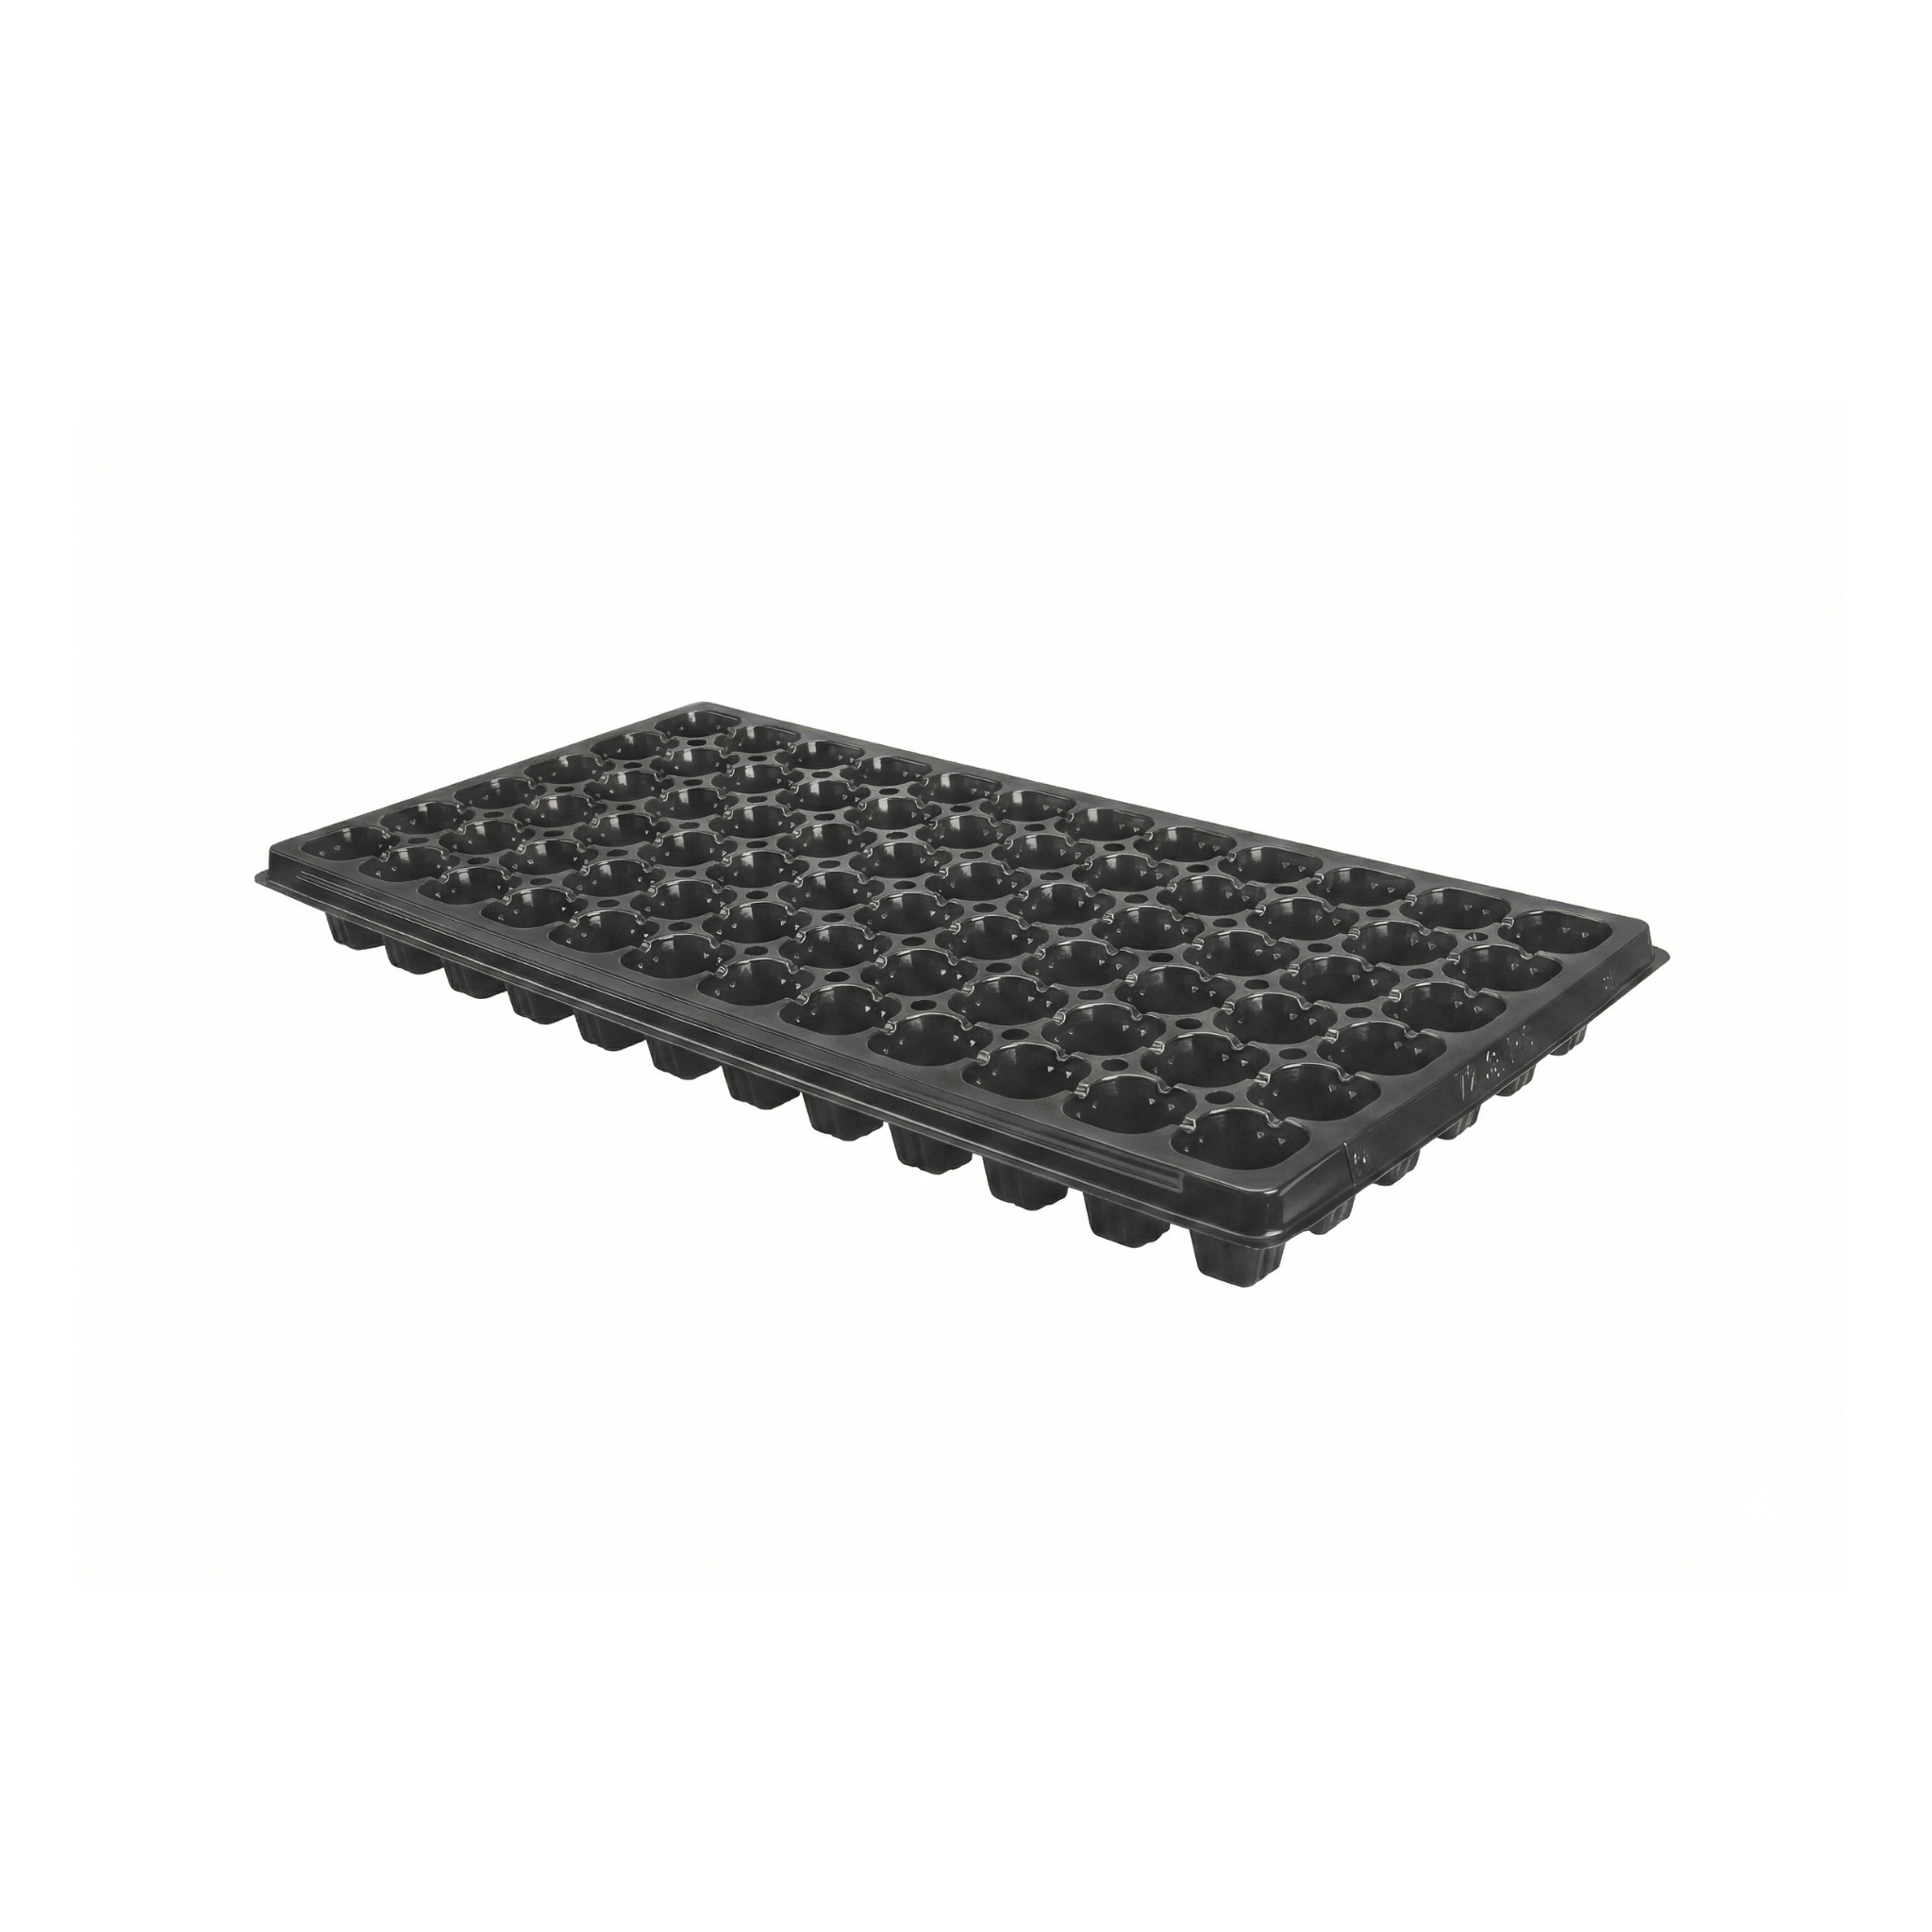
Product specifications
The vegetable tray is offered in four configurations differentiated by the number of cells, supplied in boxes of 140 to 160 units depending on the format. The following table contains the complete technical specifications of the four variants:
| Specification | 72 cells | 128 cells | 200 cells | 288 cells |
|---|---|---|---|---|
| SKU | 589231 | 623230 | 730212 | 123423 |
| Material | UV-treated plastic resin | UV-treated plastic resin | UV-treated plastic resin | UV-treated plastic resin |
| Geometry | Wide conical cells | Medium conical cells | Small conical cells | Minimal conical cells |
| Volume per cell (indicative) | ~50-60 ml | ~25-35 ml | ~12-18 ml | ~8-12 ml |
| Box | 160 trays | 160 trays | 140 trays | 160 trays |
| Seedlings per box | 11,520 | 20,480 | 28,000 | 46,080 |
| Maximum time in tray | 8-12 weeks | 5-7 weeks | 3-4 weeks | 2-3 weeks |
| Typical crops | Woody cuttings, ornamentals | Tomato, bell pepper, eggplant, broccoli, cabbage | Lettuce, cilantro, parsley, leafy greens | Onion, mini lettuces, in-cell microgreens |
| Drainage | Bottom hole per cell | Bottom hole per cell | Bottom hole per cell | Bottom hole per cell |
| UV treatment | Yes | Yes | Yes | Yes |
More cells = more seedlings per tray, but less root volume per plant and therefore earlier and mandatory transplanting. Fewer cells = more volume for the root to develop, more tolerance time in the tray before transplanting. The correct choice is the minimum number of cells that gives the crop enough space during the time planned in the tray —too many cells (overdensity) produces leggy seedlings, coiled rootlets and transplants with shock; too few wastes nursery space—.
The flat hydroponic tray without cells is the choice when the goal is to produce a continuous root mat (hydroponic green fodder, microgreens, block harvesting) instead of individual seedlings for transplanting.
Step by step to use it
The following procedure covers the complete cycle of the vegetable tray: format selection, substrate preparation, sowing, watering, germination and extraction for transplanting. The instructions apply to the four variants with specific notes according to cell size.
Selecting the number of cells according to the crop
Choose the format according to the crop and the time planned in the tray before transplanting. For woody and semi-woody cuttings of ornamental plants, miniature fruit trees and forestry species with prolonged rooting time (8-12 weeks), use 72 cells. For medium vegetables with a 5-7 week seedling cycle (tomato, bell pepper, eggplant, broccoli, cabbage, cauliflower), use 128 cells —the standard format for the commercial vegetable nursery grower—. For leafy vegetables with a fast 3-4 week cycle (lettuce, cilantro, parsley, dill, aromatic herbs), use 200 cells. For onion, garlic, miniature lettuces and mass production with transplanting in 2-3 weeks, use 288 cells. If in doubt with a new crop, drop one density step from the previous rule —too many cells penalizes the result more than too few—.
Substrate preparation and filling
Use a substrate specific for germination: a mix of peat or coconut fiber with perlite and vermiculite in a typical proportion of 60-70% peat/coconut fiber + 15-20% perlite + 15-20% vermiculite. Moisten the substrate to field capacity —squeezed between the fingers it forms a “clod” that crumbles easily, without dripping water—. Spread the substrate over the tray, press GENTLY with the palm of your hand so that each cell is filled to the brim without excessive compaction. Remove the excess by passing a ruler across the surface. Excessive compaction of the substrate blocks drainage and hinders germination; loose substrate sinks when watered and leaves half-empty cells.
Sowing and covering
Sow 1-2 seeds per cell (1 seed with a high and certified germination rate, 2 seeds with doubtful material, thinning out the weaker one afterwards). The sowing depth is 2-3 times the diameter of the seed —small seed (lettuce, herbs) almost on the surface; medium seed (tomato, broccoli) at 0.5-1 cm; large seed (bean, sweet corn) at 1-2 cm—. For very small or light-dependent seeds (lettuce, celery), do not cover with additional substrate, just press lightly so they touch the moist medium. For the rest, sprinkle a thin layer of vermiculite on top as a cover, then water with a fine-spout watering can or micro-sprinkler so as not to displace the seeds.
The trick to getting seedlings out with an intact and clean root ball at the time of transplanting is to water the WHOLE tray abundantly 30-60 minutes before extraction. The saturated substrate binds the rootlets into a coherent mass that comes out whole when you press gently from below with a finger (through the drainage hole) or pull from the base of the stem. Without this prior watering, the root ball crumbles, the fine rootlets break and the seedling suffers a transplant shock that can delay the crop by 1-2 weeks. This practice, standard in professional nursery work, distinguishes a seedling that thrives in the field from one that stalls. In addition, avoid transplanting at Caribbean midday —choose early morning or dusk— so that thermal shock does not add to extraction shock.
Watering, germination and tray management
Keep the tray in germination conditions with constant moisture but NEVER waterlogged —constantly saturated substrate favors damping-off, the collar fungus that knocks down newly emerged seedlings in hours—. Water with a fine-spout watering can or micro-sprinkler 1-2 times a day in a Caribbean climate, adjusting according to evaporation. For germination, keep the trays at 22-28 °C covered with transparent plastic or a dome until emergence, uncovering as soon as the first shoots appear to avoid excessive elongation due to excess moisture and low light. After emergence, move the trays to an area with direct light or a greenhouse with partial shade. Apply a gentle fertigation with a seedling formula from the second pair of true leaves.
Extraction for transplanting
Identify the transplanting moment by the development of the seedling —roots visible occupying the root ball on all sides but without coiling in tight circles—, not just by calendar days. Water 30-60 minutes before (see expert tip). To extract, press each cell from below with a finger or a thick awl-type tool through the drainage hole, until the root ball rises enough to grasp it by the base of the stem or by the substrate without touching the leaves. Plant immediately in the field hole, large pot or larger tray, and water right away to settle the substrate around the root ball. Cover with partial shade for the first 24-48 hours if transplanting in full sun.
Do not use 200 or 288 cell trays for long-cycle vegetables such as tomato, bell pepper, eggplant or broccoli. The seedling develops the root until it fills the scarce volume of the cell, then the root coils in tight circles against the wall, the plant “stalls” (stops growing) and when transplanted to the field it carries that compromised root structure that limits its productive yield for life. Choosing a tray with cells too small for the crop cycle is one of the most costly mistakes in nursery work, because the damage is not visible until weeks after transplanting when the harvest yields far less than expected. For long-cycle vegetables, always go up to 128 cells or even 72 if the greenhouse has space.
Complementary products
To complement the vegetable tray in seedling production, the following products cover the most common adjacent needs:
The flat hydroponic tray without cells is the sibling product of the family for hydroponic green fodder, microgreens and mass germination with block harvesting. Expanded perlite is the classic component for improving drainage and aeration of the germination substrate. Expanded vermiculite provides moisture retention and, as a final cover after sowing, stabilizes the surface moisture of the cells during germination. The 3-runner plastic pallet is the internal transport base when the boxes of trays arrive at the nursery and must be distributed throughout the warehouse.
Maintenance and care
After each use cycle, empty the substrate (compost it or dispose of it according to the nursery protocol), rinse the tray with a hose to remove rootlet residues and adhered substrate, and disinfect by soaking in a chlorine solution of 200-500 ppm (the higher concentration for areas with previous problems of damping-off, fusarium or pythium) for 10-15 minutes. Rinse with clean water and let it dry in the sun —UV radiation completes the surface disinfection without the need for additional chemicals—. A properly maintained tray offers multiple cycles before replacement.
Inspect each tray before reusing for cells with a drainage hole blocked by calcified residues (scrape with a fine awl), microcracks in the cells (discard the whole tray for critical germination, reuse it in less demanding production), and tray edges with breaks from handling during harvest (discard if the break affects rigidity). Store the clean and dry trays stacked in the shade. Prolonged sun exposure reduces the service life even of UV-stabilized material, so indoor storage significantly extends the number of profitable cycles.
Frequently asked questions (FAQ)
Which number of cells should I use for tomato, lettuce or onion?
Tomato (and similar: bell pepper, eggplant, broccoli, cabbage, cauliflower): 128 cells, the nursery standard. If your greenhouse has space and you handle premium material, go up to 72 cells for greater root development. Lettuce (and similar: cilantro, parsley, aromatic herbs, fast-cycle leafy greens): 200 cells standard; 128 if you have space for premium production or if the crop will be 4-5 weeks in the tray before transplanting. Onion, garlic and miniature lettuce: 288 cells for mass production with fast transplanting (2-3 weeks), 200 if you need seedlings with more development.
Which substrate works best in these trays?
The standard professional nursery formula is 60-70% peat or coconut fiber as a base + 15-20% perlite for drainage and aeration + 15-20% vermiculite for moisture retention. This mix works in all four variants and for most crops. For particularly delicate seeds (celery, premium lettuce, fine aromatic herbs), use a commercial germination substrate with a fine granulometry already formulated, more consistent than the homemade mix. For cuttings in 72 cells, raise the perlite percentage to 30-40% to accelerate rooting without rot from excess moisture.
How many times can I reuse them?
With professional handling —proper cleaning and disinfection between cycles, indoor storage between seasons, careful handling during extraction to avoid breaks in cell edges—, a Gardese tray offers multiple cycles before replacement due to wear, depending on the intensity of use, accumulated sun exposure and staff handling. Trays stored outdoors and from which seedlings are extracted “by yanking” (without prior watering, forcing the root ball) last significantly less due to breaks in individual cells. The nursery growers' rule of thumb: a well-managed box of 160 trays justifies the investment within a few seasons.