This guide covers the temporary fixing of geocells with a fiberglass rod: defining the fixing pattern, marking the points, positioning the rod, driving it in with a mallet, and placing the anchor cap. Follow these steps to hold the geocell in place while you spread and fill it, without the panel shifting before the aggregate confines the cells.
Product specifications
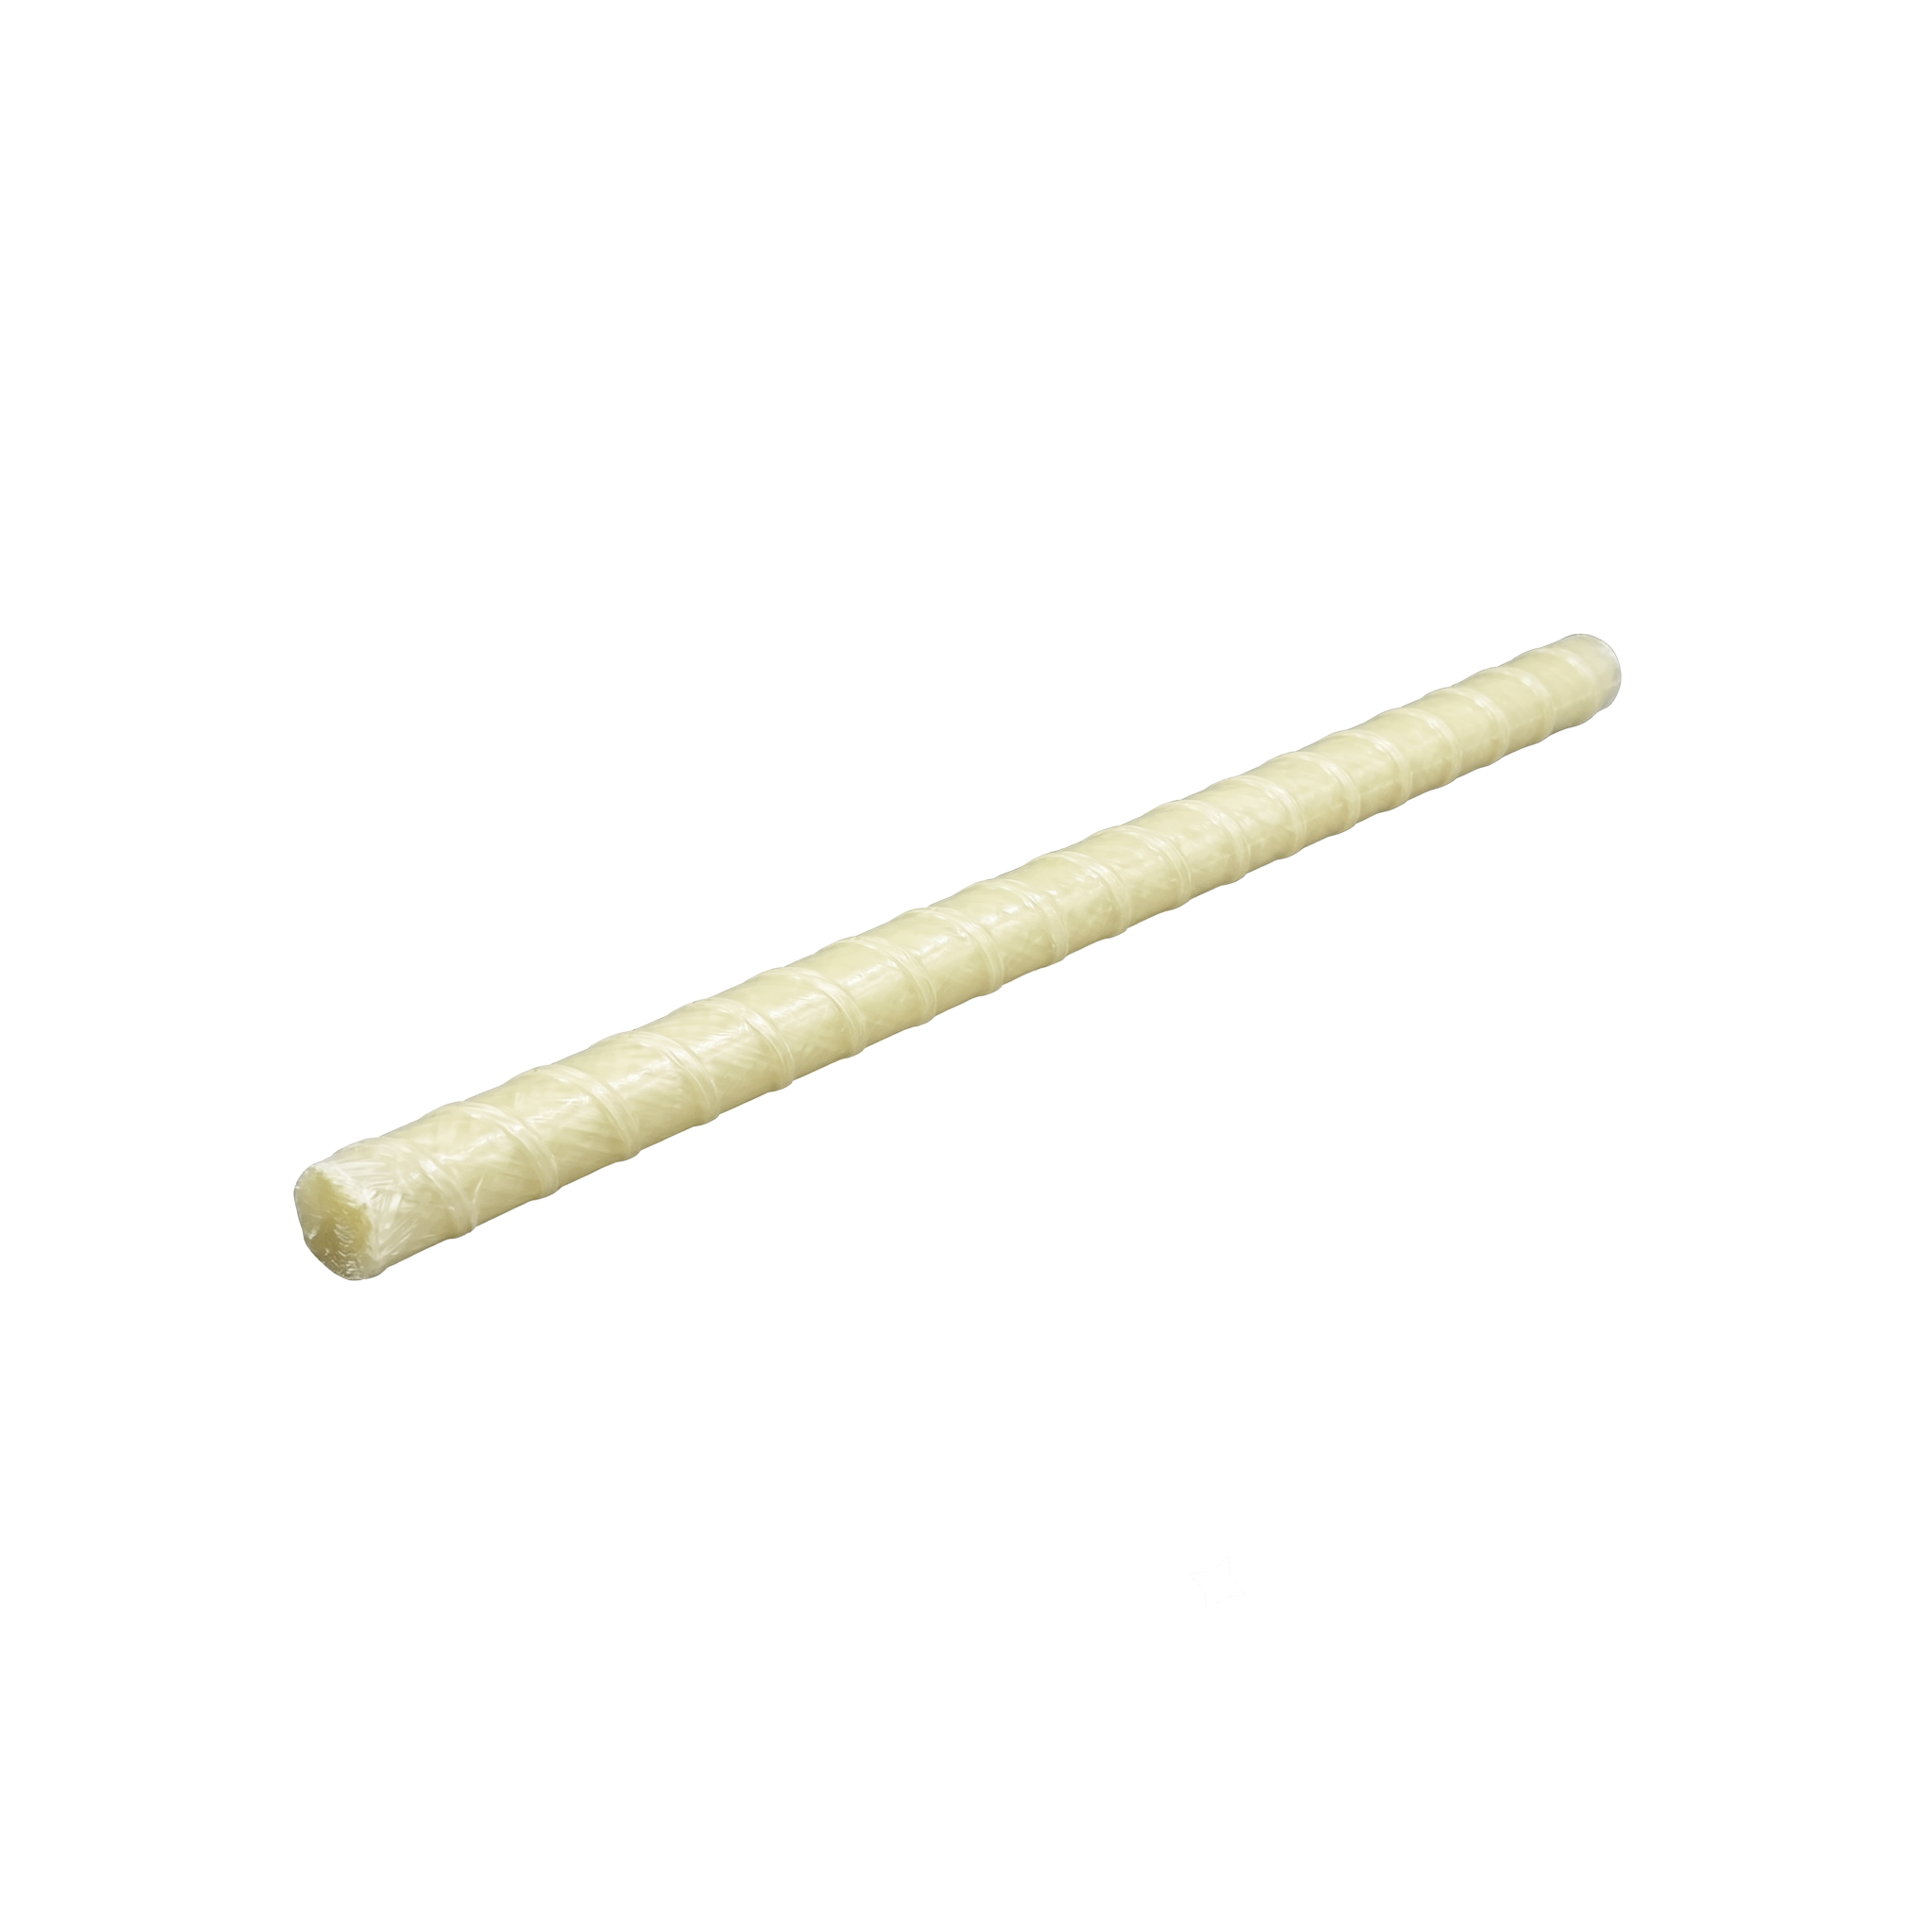
The fiberglass rod is a straight bar 12 mm (0.47 in) in diameter and 50 cm (20 in) long, lightweight and corrosion-resistant, driven vertically through the geocell holes to fasten it to the ground temporarily. It works together with the anchor cap, which is inserted into its end and distributes the pressure over the cell.
| Specification | Fiberglass rod |
|---|---|
| SKU | 823765 |
| Diameter | 12 mm (0.47 in) |
| Length | 50 cm (20 in) |
| Material | Fiberglass |
| Pack | 50 rods |
| Application | Temporary geocell fixing |
Step-by-step use
A poorly driven rod holds nothing. What matters is a proper fixing pattern, the actual driving depth, and the anchor cap to distribute the load over the geocell.
Define the fixing pattern
The pattern depends on the slope. On flat areas 1 point per m² is usually enough; on a moderate slope (1V:3H), 2 per m²; on a steep slope (1V:2H), 3-4 per m², with edge reinforcement at double density. Always place extra rods along the top edge of the geocell and at every joint between panels.
Mark the points and prepare the rods
On the spread-out geocell, mark each fixing point centered in a cell, with builder's chalk or biodegradable paint. In parallel, prepare batches of rods with the anchor cap already fitted on the top end; that advance preparation speeds up driving a great deal.
Position the rod
Insert the rod through the center of a geocell cell. On flat ground, place it perpendicular to the terrain; on a slope, tilt it 15-20° toward the hillside (not toward the valley), so that the weight of the fill locks it in instead of pulling it out. The tip passes through the cell and rests on the ground.
Drive it in with a mallet
With a 1-2 kg (2-4 lb) mallet, strike the end of the rod with short, vertical blows until it is driven in 40-45 cm. Fiberglass withstands driving, but it splinters if struck violently: deliver controlled blows and leave the cap flush with the geocell, pressing it against the ground. In compact soils it is best to pre-drill with a punch before driving.
Check each fixing
After each rod, pull gently on the geocell near the point. If it lifts, the rod is loose: give it one more blow or move it to firmer ground. In very soft soils (saturated silt, recent uncompacted terrain) increase the density of points rather than forcing a single rod.
On large sites with many fixings, organize crews of three people: one hands out the rods pre-fitted with caps, another positions them, and a third drives them in with a mallet. That chain lets you progress very fast; a single person doing everything performs much worse per hour.
Do not strike the rod violently or treat it as a permanent load anchor: the fiberglass rod is designed to hold the geocell temporarily during spreading and filling. If what you need is to fix landscape fabric in an ornamental garden, use the garden staple, which is smaller and more discreet; confusing the products leaves the garden full of visible rod heads.
Complementary products
The rod rarely works alone. It forms a system with the part that distributes its force over the geocell and with the geocell itself that it holds.
The anchor cap is the mandatory part that is placed on the end of the rod and distributes the pressure over the geocell without punching through it. The polyethylene geocell is the material that the rod holds temporarily, and the geocell connector joins the panels together to maintain the continuity of the system.
Maintenance and care
Fiberglass does not rust, so the rod needs no care against corrosion. The attention goes to storage, handling and, because of its temporary use, recovery:
- Storage: in a dry, covered place, in its pack, avoiding blows to the ends that could splinter the fiber.
- Handling: wear work gloves, since fiberglass can leave splinters. Discard rods with a splintered or cracked end.
- Recovery and reuse: since the fixing is temporary, once the fill confines the geocell you can carefully remove the rods and reuse them in the next section, provided they are not splintered.
- Permanent installations: if you decide to leave them in place, periodically check that the capped heads remain flush and replace any that have come loose. Fiberglass holds up buried without corroding.
Frequently asked questions
Why fiberglass and not a metal rod?
To anchor geosynthetics, metal rods are sometimes used, but this fiberglass rod is designed specifically for the temporary fixing of geocells and already has the right strength for that function. Being much lighter than steel, it is more efficient to transport and to handle on site, it does not rust or stain the ground, and it does not conduct electricity; that is why it is the usual choice for holding the geocell while it is spread and filled.
Is 50 cm enough in any soil?
In typical construction soils (clayey silt, dense sand, compacted topsoil), 50 cm gives enough grip to hold the geocell during spreading and filling. In very soft soils, increase the density of points instead of looking for more length. In rocky soil where the rod bounces, pre-drill with a punch or construction drill before driving.
Can I pull out and reuse a rod?
Yes. Since the fixing is temporary, the rod is pulled out by lifting vertically with care (use pliers if it is stuck) and reused in the next section provided the end has not become splintered. Fiberglass does not rust, so it does not degrade between uses.
What do I do if the soil is so hard that the rod won't go in?
Do not insist by striking hard: fiberglass splinters if it hits stone. Pull it out, move 5-10 cm and try again. If the whole area is rocky, pre-drill with a punch or construction drill before driving, or reconsider the anchoring system for that area.