

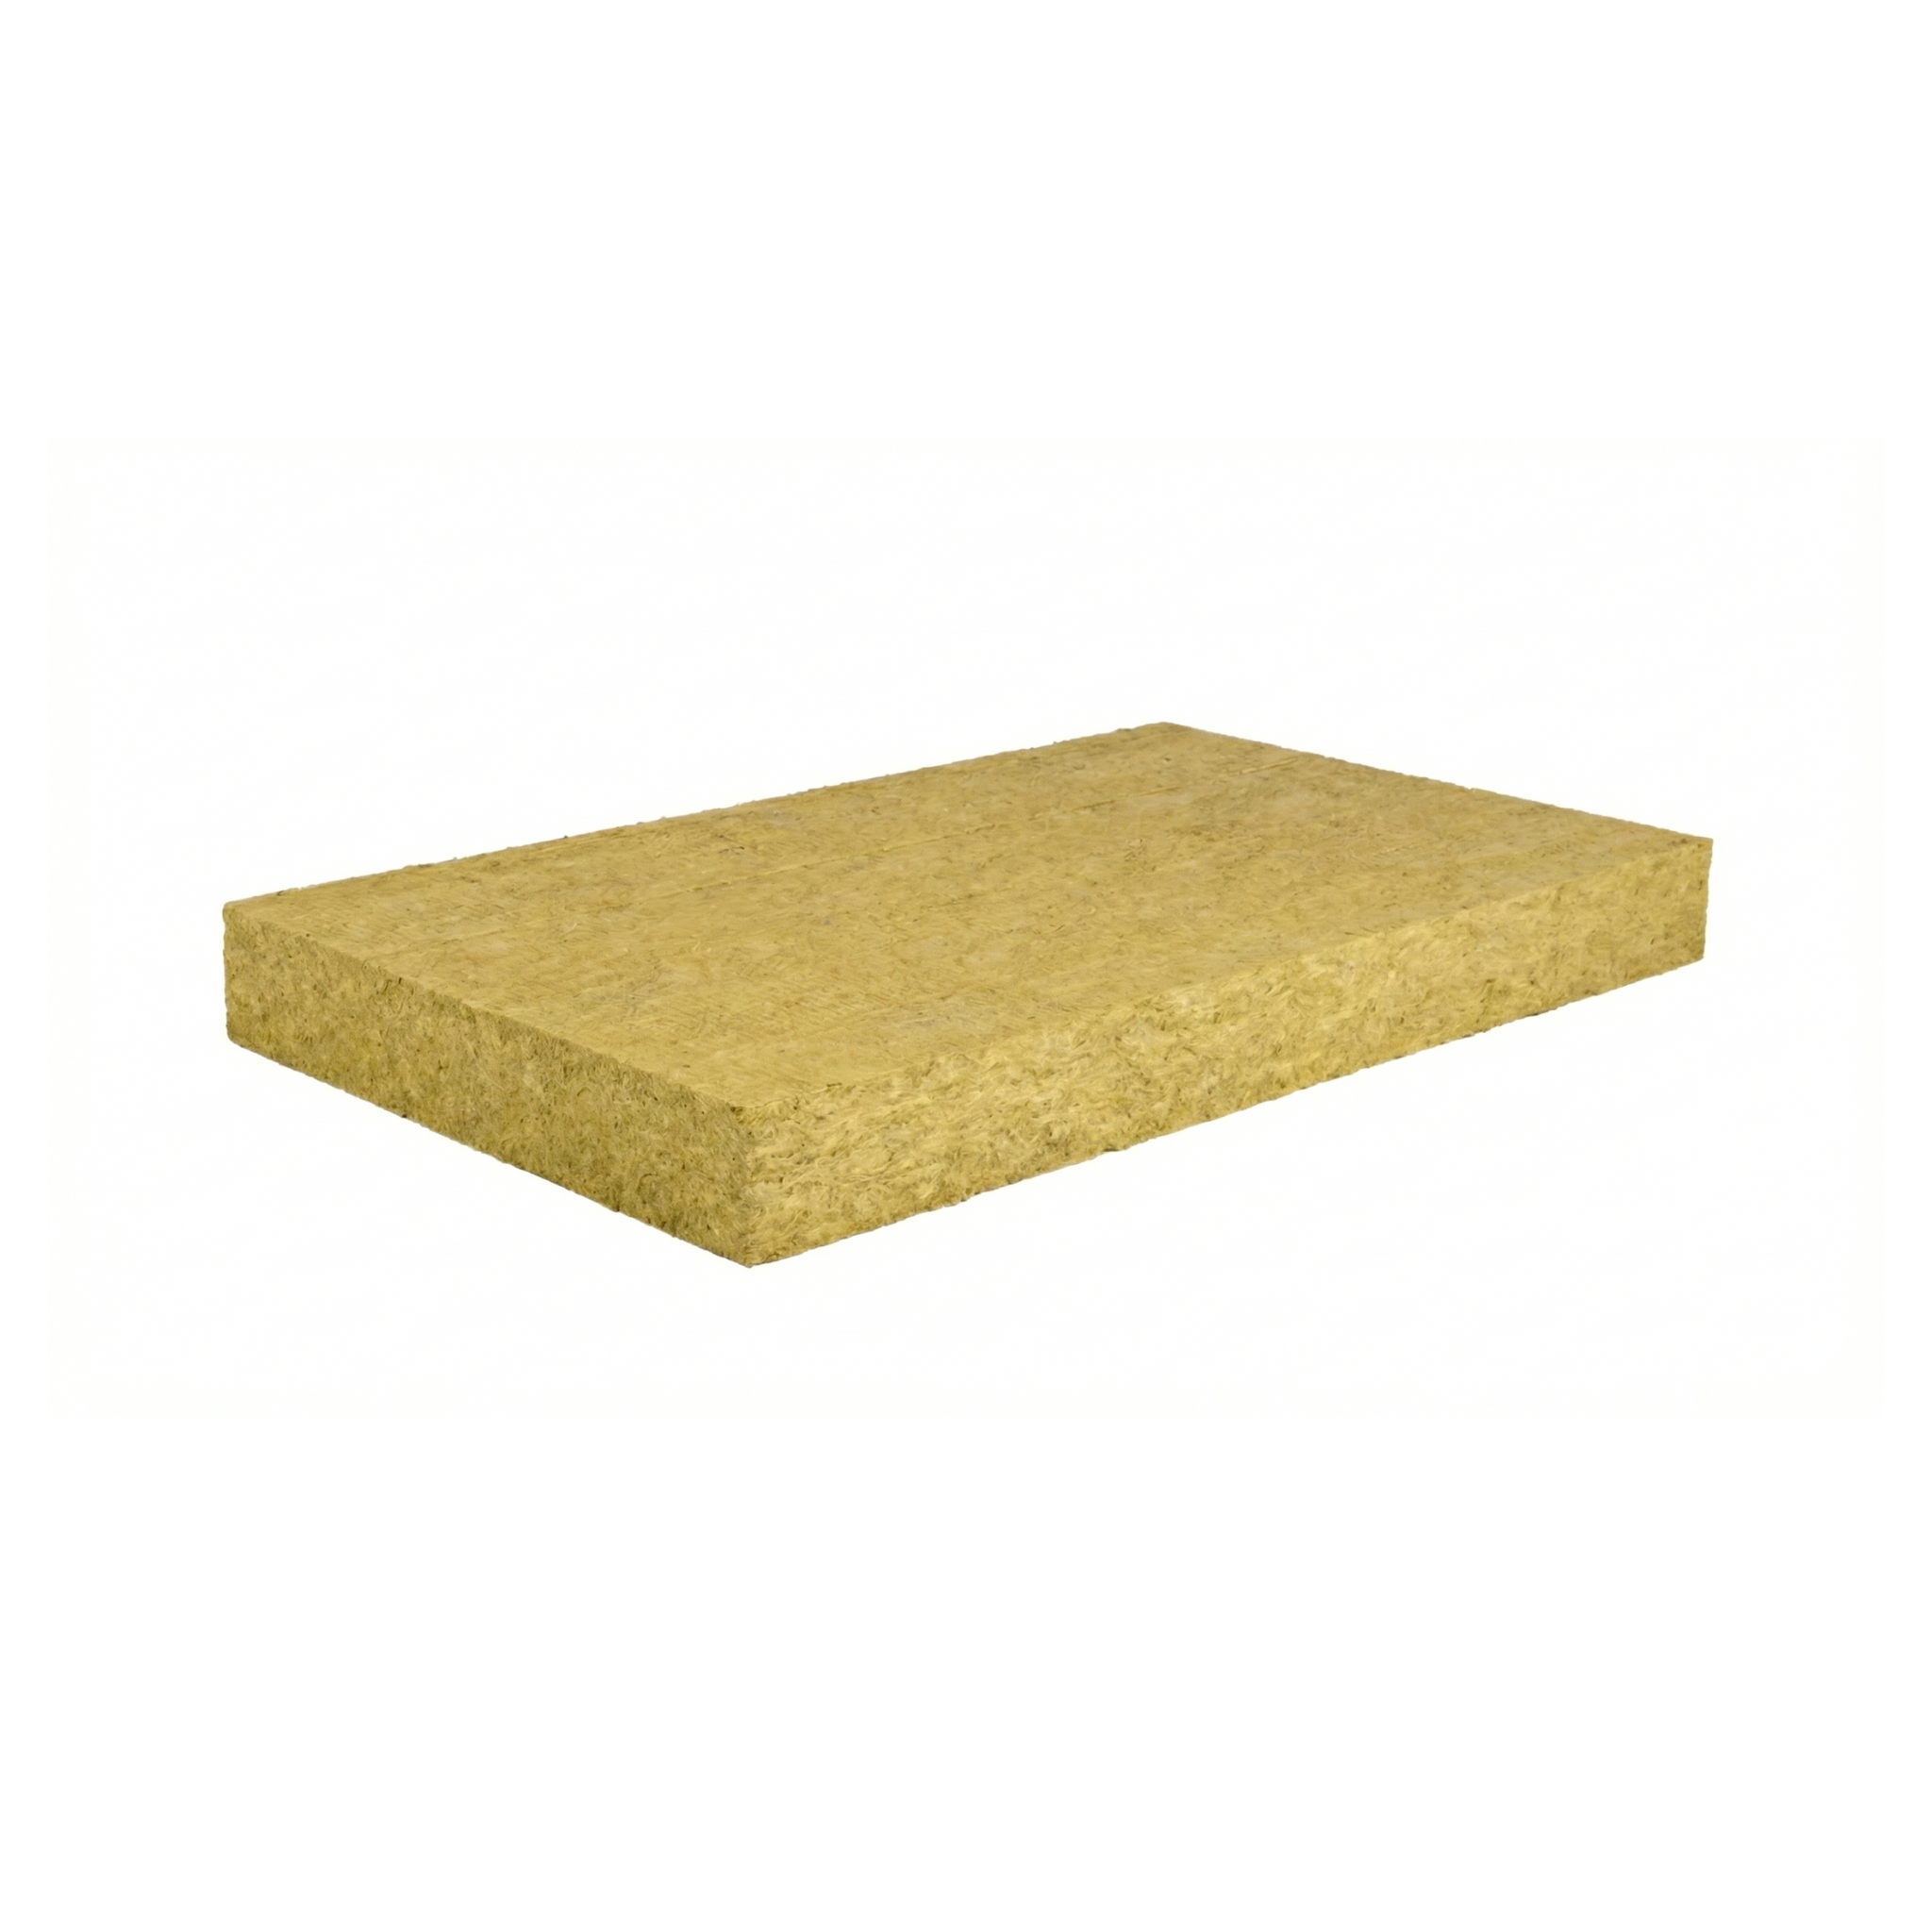
If you are erecting drywall partition walls in a residence, office or commercial space where noise transmission between rooms compromises operations, installing a suspended ceiling beneath a zinc or tile roof to dampen the noise of tropical rain, furring out a sun-exposed façade to reduce the air-conditioning load, or building fire-stop dividers in machine rooms and emergency exits, the 100 kg/m³ MOLTEXO semi-rigid rock wool panel is the insulation calibrated for those scenarios. This guide explains how to choose among the three thicknesses (50, 75 and 100 mm), how to install it correctly between steel framing studs or drywall framing without compressing the material, and how to resolve the vapor barrier in the humid Caribbean climate — a critical detail that separates a durable installation from a wall with hidden mold within a few years.
The rock wool panel simultaneously covers three functions — acoustic insulation, thermal insulation and A1 passive fire protection — with the calibrated density of 100 kg/m³ that delivers significantly better acoustic absorption than standard fiberglass at the same thickness. For industrial piping, boilers and cylindrical surfaces the rigid format does not apply: in those cases the correct product is the galvanized wired rock wool roll, which covers curved surfaces with a structural fastening platform.
Product specifications
The rock wool panel is offered in a 120 × 60 cm format with a density of 100 kg/m³, natural light-brown color, in three thicknesses that are chosen according to the thermal or acoustic severity of the project. The following table sets out the complete technical specifications of the three variants:
| Specification | 50 mm | 75 mm | 100 mm |
|---|---|---|---|
| SKU | 543777 | 452321 | 983215 |
| Material | Hydrophobic semi-rigid volcanic rock wool | Hydrophobic semi-rigid volcanic rock wool | Hydrophobic semi-rigid volcanic rock wool |
| Density | 100 kg/m³ (6.24 pcf) | 100 kg/m³ (6.24 pcf) | 100 kg/m³ (6.24 pcf) |
| Panel dimensions | 120 × 60 cm (47 × 23 in) | 120 × 60 cm (47 × 23 in) | 120 × 60 cm (47 × 23 in) |
| Thickness | 50 mm (2 in) | 75 mm (3 in) | 100 mm (4 in) |
| Package | 6 panels (4.32 m²) | 4 panels (2.88 m²) | 3 panels (2.16 m²) |
| Thermal conductivity λ | ~0.040 W/m·K | ~0.040 W/m·K | ~0.040 W/m·K |
| Thermal resistance R | ~1.25 m²·K/W | ~1.88 m²·K/W | ~2.50 m²·K/W |
| Reaction to fire | A1 non-combustible | A1 non-combustible | A1 non-combustible |
| Recommended application | Interior partition with acoustic priority | Mixed thermal-acoustic partition, suspended ceiling | Furring of sun-exposed façade, roof |
The installation procedure is identical for the three thicknesses. The choice is made by the dominant function: 50 mm covers interior partitions where the priority is acoustic (offices, bedrooms) and thermal performance is secondary; 75 mm is the balanced option for partitions with a dual acoustic-thermal demand and for suspended ceilings beneath roofs with solar exposure; 100 mm is reserved for sun-exposed façades, roofs with a high thermal load and projects where the maximum possible thermal resistance justifies the extra space taken up by the thick panel.
The galvanized wired roll is the choice when the surface to be insulated is cylindrical or curved (industrial piping, boilers, tanks): the rigid panel does not adapt to those geometries and the wired mat provides a fastening platform with soft wire.
Step-by-step use
The following procedure covers the complete installation cycle of the rock wool panel in dry construction (drywall, steel framing) and furring. The instructions apply to the three thicknesses with specific notes where the technique differs.
Selecting the thickness according to the dominant function
Identify which is the critical function of the insulation in your project: if it is acoustic (separating bedrooms, offices, meeting rooms, receptions from operational areas), 50 mm covers the standard case and 75 mm the premium case with executive privacy. If it is thermal (sun-exposed façade, zinc or tile roof, air conditioning in a hot zone), 75 mm is the practical balance and 100 mm the recommended maximum of the product. If the function is mixed (partition between climate-controlled rooms with adjacent sun-exposed walls), 75 mm is the natural choice as it covers both with margin. The 100 kg/m³ density is constant: thickness is the variable that scales performance.
Calculating quantities and purchasing packages
Measure the net m² to be insulated (wall/ceiling area minus doors, windows and openings) and add 8-10% for offcuts and adjustments. Divide by the m² per package of the chosen thickness: 4.32 m² for 50 mm, 2.88 m² for 75 mm, 2.16 m² for 100 mm. Always round up. For a 30 m² wall with 75 mm panels: 30 × 1.10 = 33 m² ÷ 2.88 = 11.46 → 12 packages. The surplus will remain useful in secondary applications (window edges, roof offcuts), but it is preferable to the risk of falling short and having to order a single extra package for 5 m² with an additional freight charge.
Preparing the structure and PPE
The 60 cm panel is calibrated to fit between drywall studs placed 60 cm on center (24 in OC, the industry standard). Confirm that the framing is at that spacing; if the existing structure is 40 or 48 cm OC, you will have to cut the panel to size with a long-blade knife or a carpenter's saw. Before starting, equip the installers with complete PPE: sealed goggles, an FFP2 mask, gloves and long sleeves. Although the rock wool panel itches less than fiberglass thanks to the treatment, the fibers still irritate skin, eyes and the respiratory tract during handling.
In a Caribbean climate, install a vapor barrier (plastic membrane or polyethylene film) on the WARM side of the wall — the side facing the exterior, toward the street — not on the cold side of the interior air conditioning. The Caribbean logic is the reverse of that in cold countries: here moisture seeks to migrate from outside (hot and humid) toward inside (cold and dry due to A/C). If you place the barrier on the cold side, it condenses between the wool and the interior sheetrock, generating hidden mold that ruins sheetrock and insulation within a few years. This inversion relative to North American manuals causes recurring failures in Caribbean residential remodels carried out with temperate-zone plans.
Fitting the panel without compression
Press-fit the panel between the studs with the long face (120 cm) vertical. The semi-rigid stiffness of the panel allows it to hold by itself between studs at 60 cm without the need for adhesives, staples or additional wires in standard vertical applications. In ceilings, install the panels BEFORE mounting the ceiling net or the gypsum boards of the suspended ceiling, resting on the secondary framing, and in sloped applications (beneath a zinc roof) consider complementary fastening with galvanized wires secured to the structure to prevent slippage. Critical: do NOT compress the panel to force it into narrower gaps — see warning below.
Closing the wall and sealing acoustic bridges
After installing all the panels, install the vapor barrier on the warm side (see the expert tip) and proceed to close up with the gypsum board, sheetrock or exterior cladding board. Seal all joints, outlet cutouts and service penetrations with elastic acoustic sealant or aluminum adhesive tape on vapor barriers. A wall with well-installed panels but unsealed joints loses much of the actual declared acoustic insulation through sound flanking across the bridges. For partitions with a high acoustic demand, consider double gypsum board (two sheets of sheetrock) on one or both faces of the partition.
Do not compress the panel to force it into gaps narrower than the nominal size. The insulating capacity of rock wool depends on the air trapped between the fibers: when the panel is compressed to fit it into a smaller gap, the air is displaced, the fibers become packed and the thermal conductivity rises significantly, while acoustic absorption falls due to loss of the porous structure. A 75 mm panel compressed to 50 mm performs substantially worse than a 50 mm panel at its nominal thickness. If your structure has gaps of a different size, cut the panels with a knife or saw to the exact size — rock wool cuts cleanly with a sharp long-blade knife — do not squeeze them.
Complementary products
To complement the rock wool panel in dry construction, suspended ceilings, façades and fire-stop dividers, the following products cover the most common adjacent needs:
The wired rock wool roll is the sibling product of the family for cylindrical and curved surfaces (piping, boilers, thermal equipment), where the rigid panel does not apply. The aluminum adhesive tape is the natural tool for sealing joints between panels and closing the vapor barrier in audited thermal applications. The transparent manual PP adhesive tape serves to seal the plastic membrane of the vapor barrier in residential walls where aesthetics matter. The 3-runner plastic pallet is an internal transport base when the packages arrive at the site and must be distributed across the floors without wrecking the boxes with forklifts and ramps.
Maintenance and care
The rock wool panel installed inside a closed partition or suspended ceiling requires no maintenance throughout the entire service life of the wall: the material's dimensional stability, its hydrophobic treatment and its non-combustible nature ensure that it maintains the declared performance for decades without intervention. Inspection should focus on the complete wall — the vapor barrier, joint seals, outlet cutouts — not on the insulation itself.
For storage prior to installation, keep the packages in a horizontal position on flat pallets, in a covered area away from water and under a roof. Although the material is hydrophobic, the direct absorption of tropical rainwater can saturate the wool and temporarily reduce its performance; allow 48-72 hours to dry before installing if a package received rain. Do not open the packaging until the moment of installation to minimize exposure to dust and ambient humidity. On projects with long phases, keep the surplus quantity re-wrapped with opaque plastic until the wall is closed.
Frequently asked questions (FAQ)
50, 75 or 100 mm for my project?
The criterion is the dominant function: acoustic, thermal or mixed. 50 mm covers interior partitions with an acoustic priority (offices, bedrooms, standard meeting rooms). 75 mm is the practical balance for partitions with a dual acoustic-thermal demand and for suspended ceilings beneath a roof with solar exposure. 100 mm is reserved for sun-exposed façades with a west or southwest orientation, roofs with a high thermal load and projects where the maximum thermal resistance of the product justifies the extra space taken up by the thick panel. If you are between two thicknesses due to reasonable doubt, go up a thickness: the extra cost is usually lower than that of reopening a wall years later to improve the insulation.
Is a vapor barrier needed in a Caribbean climate?
Yes, and it is CRITICAL to place it on the correct side. In a Caribbean climate (hot and humid all year round, A/C indoors) moisture migrates from outside to inside, the reverse of a cold climate. The vapor barrier must be installed on the WARM side of the wall — the side facing the exterior, toward the street — not on the cold interior side as North American manuals recommend for a temperate zone. If you reverse the order, it condenses between the wool and the interior sheetrock, generating hidden mold that ruins sheetrock and insulation within a few years. This inversion relative to Northern references is a source of frequent failures in Caribbean residential remodels.
Does it itch like fiberglass? What PPE should I use?
It itches significantly less than fiberglass thanks to the hydrophobic treatment and because rock wool fibers are less brittle than glass ones (they do not break as much into fine fragments when handled). Even so, the fibers irritate skin, eyes and the respiratory tract during handling, so complete PPE is advisable: sealed goggles, an FFP2 mask, gloves and long sleeves. After prolonged handling, wash with COLD WATER before turning the showers hot — hot water opens the pores and lets the surface fibers in. The practical rule of experienced installers: a cold shower first to rinse off fibers, then a normal hot shower to clean up.
