This guide covers the installation of the nodular drainage sheet: prior waterproofing of the wall face, cutting to size, placement with the nodules toward the wall, fixing with impact nails, overlap between rolls, sealing of the top edge and gradual backfilling. Follow these steps to create a continuous drainage cavity that protects the waterproofing and drains water from behind the wall.
Product specifications
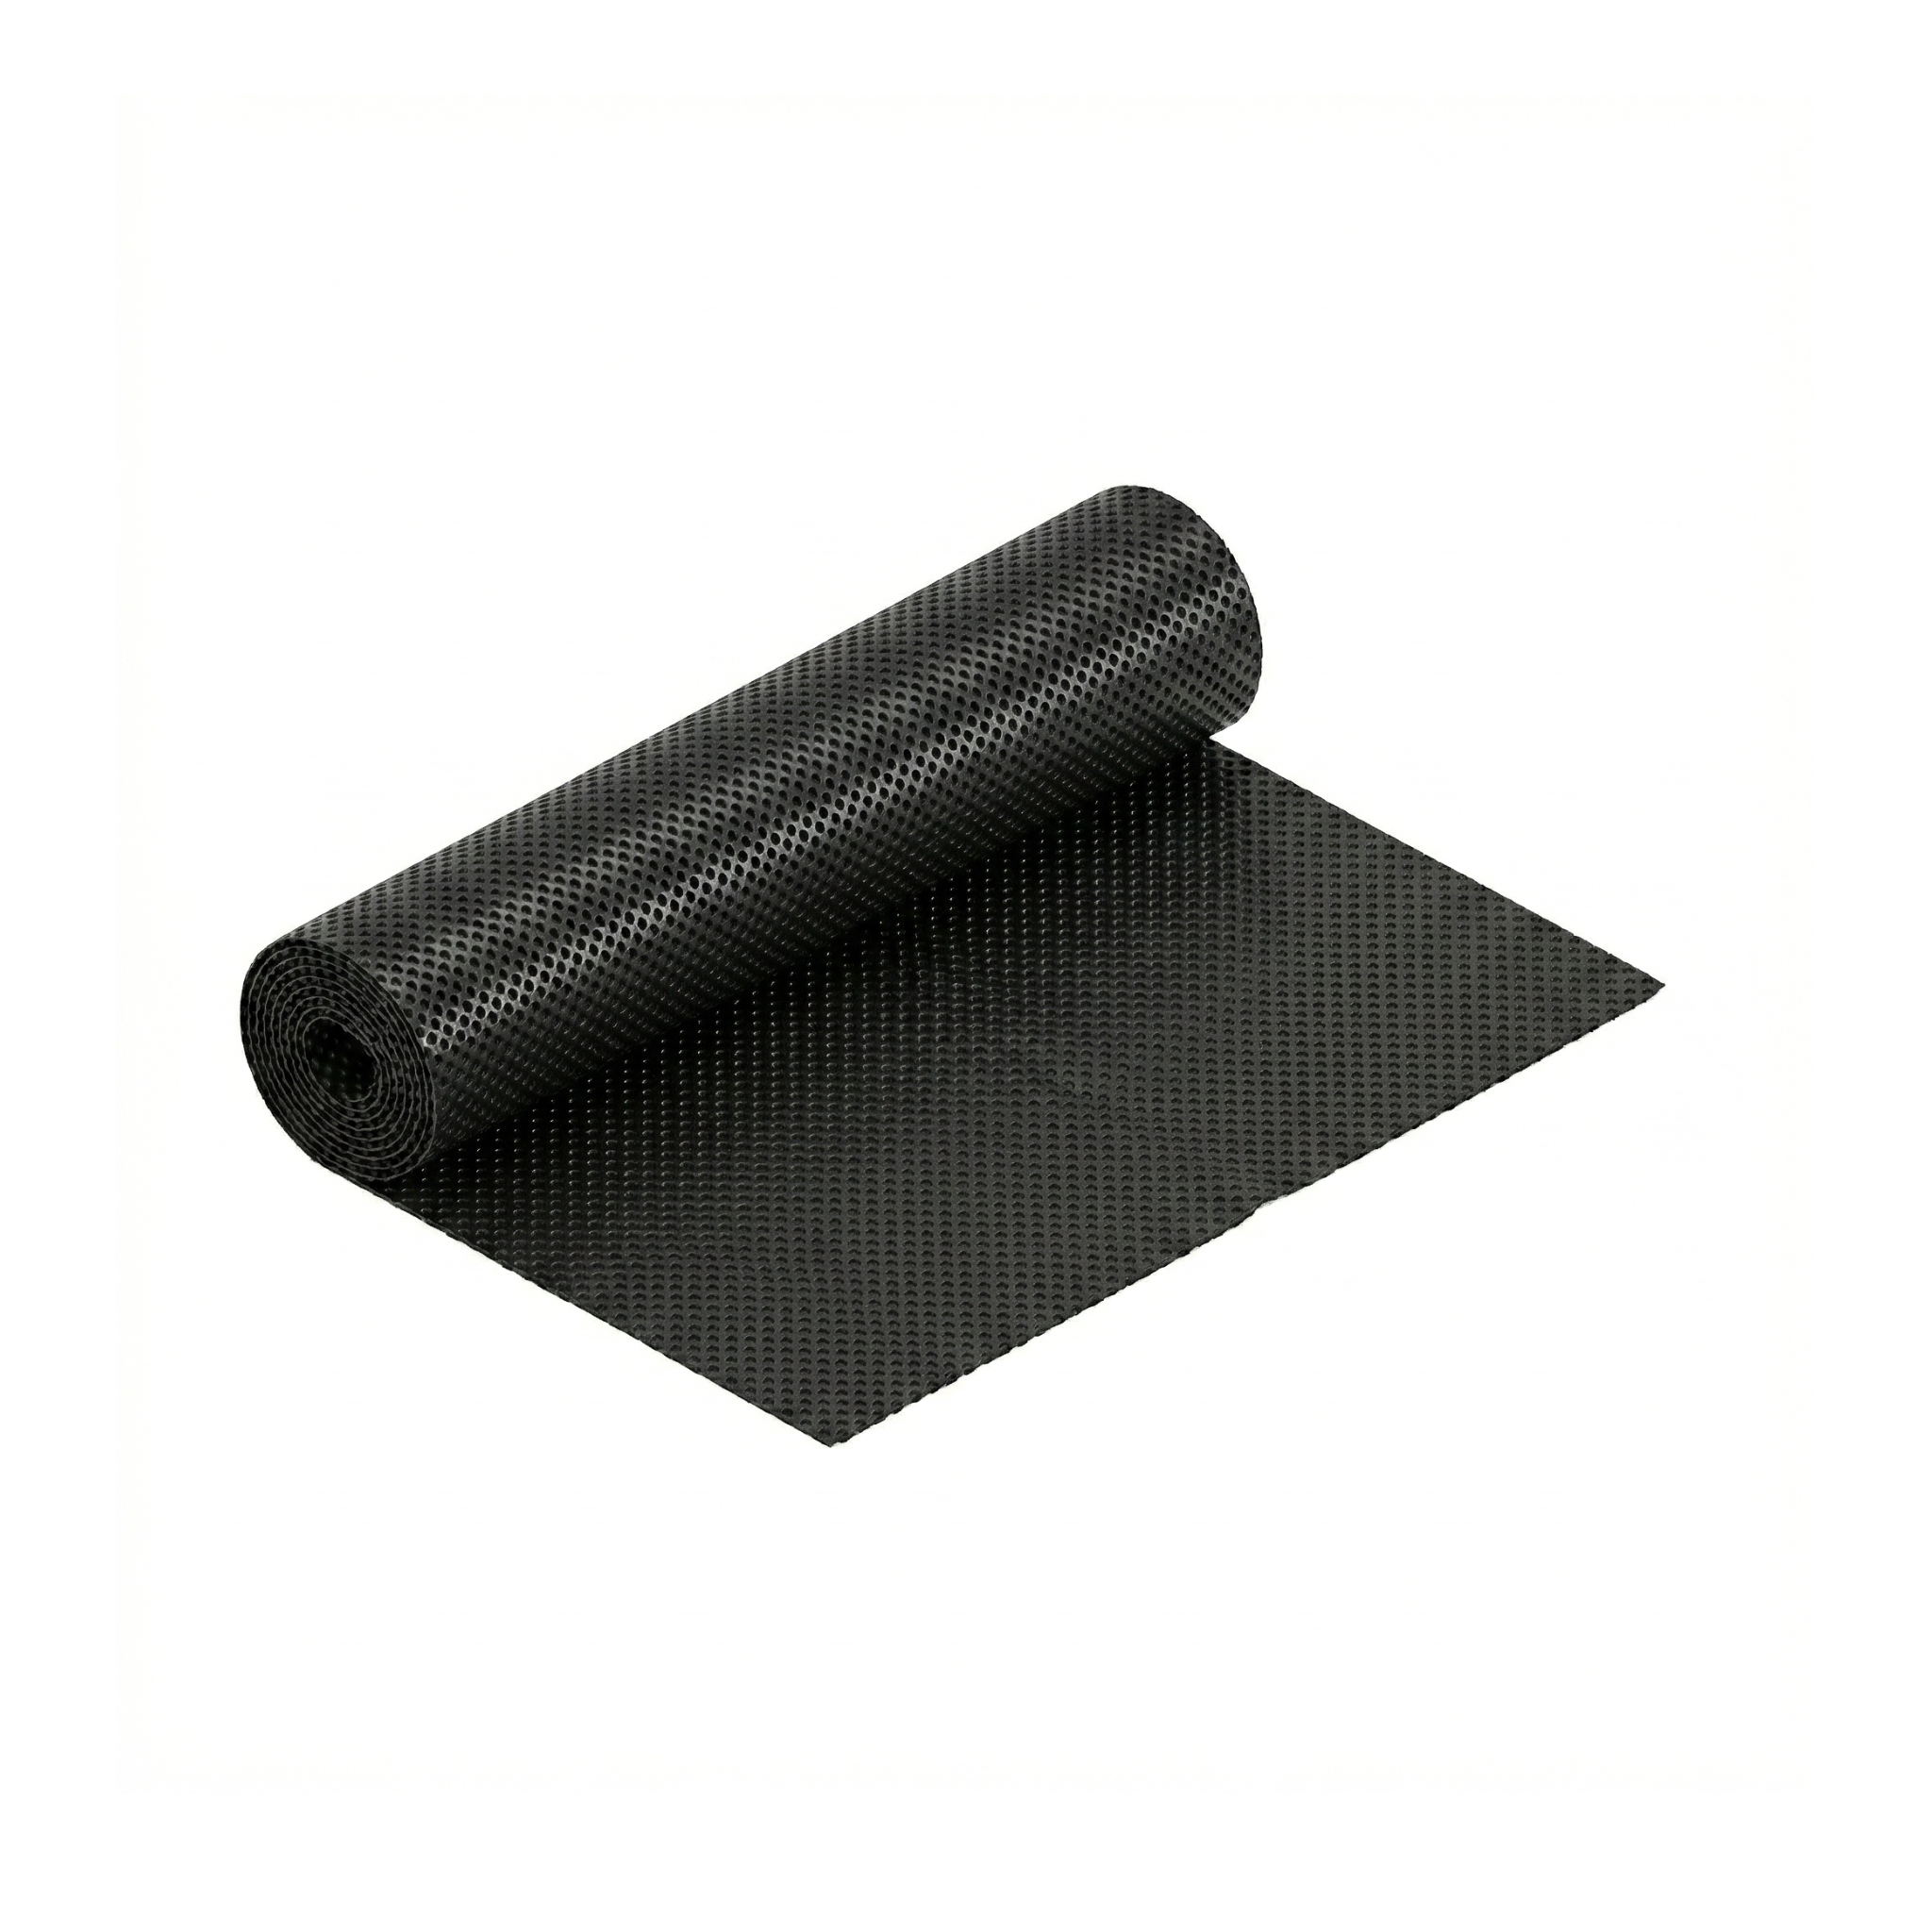
The nodular drainage sheet is a thermoformed high-density polyethylene board with raised nodules (egg-carton type). When placed against a wall, the nodules create a continuous air cavity that channels water toward the drainage system at the base. It also separates the wall from the damp soil and protects the waterproofing against puncturing during backfilling.
| Specification | Nodular drainage sheet |
|---|---|
| SKU | 875876 |
| Material | High-density polyethylene (HDPE) |
| Weight | 700 g/m² (20.6 oz/yd²) |
| Structure | Thermoformed with raised nodules |
| Roll width | 2 m (6.6 ft) |
| Roll length | 20 m (66 ft) |
| Coverage per roll | 40 m² (430 ft²) |
Step-by-step instructions
The nodular sheet works thanks to the air cavity created by the nodules. If you place it the wrong way round, the cavity ends up against the soil and the water does not flow. The only critical points are the orientation and the top edge; the rest is common sense.
Waterproof the wall face
Apply bituminous paint or a waterproofing membrane over the wall and let it dry. The nodular sheet protects and complements the waterproofing, it does not replace it. Without prior waterproofing, the nodules create an air cavity but the water still passes through the wall.
Cut the sheet to size
Measure the height of the wall and cut the sheet with a utility knife or sheet-metal shears. Leave 10 cm (4 in) extra at the top of the wall for the top edge. The sheet should reach 5 cm (2 in) below the base of the wall, down to where it rests on the gravel of the drainage pipe.
Place with the nodules toward the wall
This is the critical rule: the nodules (raised side) go AGAINST the wall. The smooth face faces the backfill soil. This way the air cavity formed between the nodules and the wall is where the water flows down to the base. If you reverse the orientation, the sheet stops draining.
Fix to the wall with impact nails
Use impact nails with a wide washer every 50 cm (20 in) at the top and every 1 m (3.3 ft) on the body. The fixing is only to keep the sheet in position until the backfill presses it. Do not over-nail: each nail is a perforation of the waterproofing underneath.
Overlap adjacent rolls
Overlap 10 cm (4 in) between adjacent vertical rolls. Most sheets have a smooth overlap band built into one of the edges; use it overlaid on the nodules of the next roll. This way the joint stays continuous and water does not get in.
Seal the top edge
Fold the extra 10 cm at the top toward the wall side and seal with waterproof sealant or a metal capping profile. This prevents water or soil from getting in above the sheet, which would leave the air cavity clogged with earth.
Backfill behind the wall gradually
Backfill in 30 cm (12 in) layers and lightly compact each layer. The load of the backfill presses the sheet against the wall. Compact without aggressiveness: polyethylene withstands distributed pressure but not point impacts from heavy machinery.
For green roofs and planters, the nodules serve an additional function: they retain water inside each inverted cup and release it gradually to the substrate. This reduces watering frequency and softens the water stress on plants during the Caribbean dry season. In those cases the nodules go UPWARD, against the substrate, not toward the roof.
Do not install the sheet with the nodules toward the backfill soil. It is the most frequent mistake: visually the nodular face stands out and people think it goes outward. But the air cavity that channels the water forms BETWEEN the nodules and the wall: that is why the nodules go against the wall. Reversing it leaves the sheet as a simple plastic layer that drains nothing.
Complementary products
The nodular sheet is a self-contained product but, depending on the scope of the project, it is worth reinforcing the solution with one of the following complementary items.
The drainage geocomposite is the alternative for taller walls (over 2 m) or soils with a lot of fines where the nodular sheet falls short: more drainage capacity and an integrated filtering geotextile. The metal rod with anchor cap is used to fix the top edge when you do not want to nail into the waterproofed wall, anchoring against the backfill soil before filling.
Maintenance and care
The nodular sheet is a buried system with a service life of several decades. The guidelines focus on protecting the water outlet and avoiding subsequent mechanical damage:
- Annual inspection of the base of the wall: check the outlet of the drainage pipe at the base. If it is blocked by sediment or vegetation, clean it before the rainy season.
- Watch for damp on the wall: if, after the first season, permanent damp appears on the inner face, it usually indicates a blocked pipe or a sheet wrongly oriented on site.
- No nearby excavations afterward: mark the area on the plans so that future works respect the location of the sheet.
- Storage of the leftover roll: in a covered place, on a pallet, vertical to avoid permanent deformation of the nodules.
- Offcuts: HDPE is recyclable. Offcuts and leftover rolls are recycled as plastic through authorized waste managers.
Frequently asked questions
What is the difference between a nodular sheet and a drainage geocomposite?
The nodular sheet is a thermoformed HDPE board with nodules that creates an air cavity: simple, economical and sufficient for low walls and moderate flows. The drainage geocomposite incorporates geotextiles on both sides of a drainage core that filter fines from the soil and handle higher flows. For planters, garden walls and green roofs, use the nodular sheet. For buried walls over 2 m or with a high water table, use the geocomposite.
Which side do the nodules go on in each application?
On walls: nodules against the wall, smooth face toward the soil. On green roofs and rooftops: nodules UPWARD against the substrate, smooth face against the roof. On horizontal planters (bottom): nodules upward so that they perform the water-retention function. The simple rule: the nodules always go against the side where the water arrives.
Can I use the sheet as waterproofing?
No. The nodular sheet is not waterproof: it is for drainage. It has intentional perforations so that water enters and flows through the air cavity. The waterproofing must be resolved beforehand (bituminous paint, membrane, water-repellent mortar). If you use it without prior waterproofing, the water crosses the wall despite the sheet.