If you produce hydroponic green fodder (HGF) to feed cattle, sheep, goats or poultry, grow microgreens for fine dining, restaurants or gourmet supermarkets, carry out mass germination as a pre-crop before transplanting to the field, or set up intensive urban farming projects with growing racks, the GARDESE flat hydroponic tray with UV treatment and resistance to nutrient solutions is the calibrated tool for those scenarios. This guide explains how to choose the cycle according to the application (HGF, microgreens, mass germination), how to manage irrigation in each case, how to harvest the continuous root mat and how to disinfect between cycles to avoid cross-contamination by fungi.
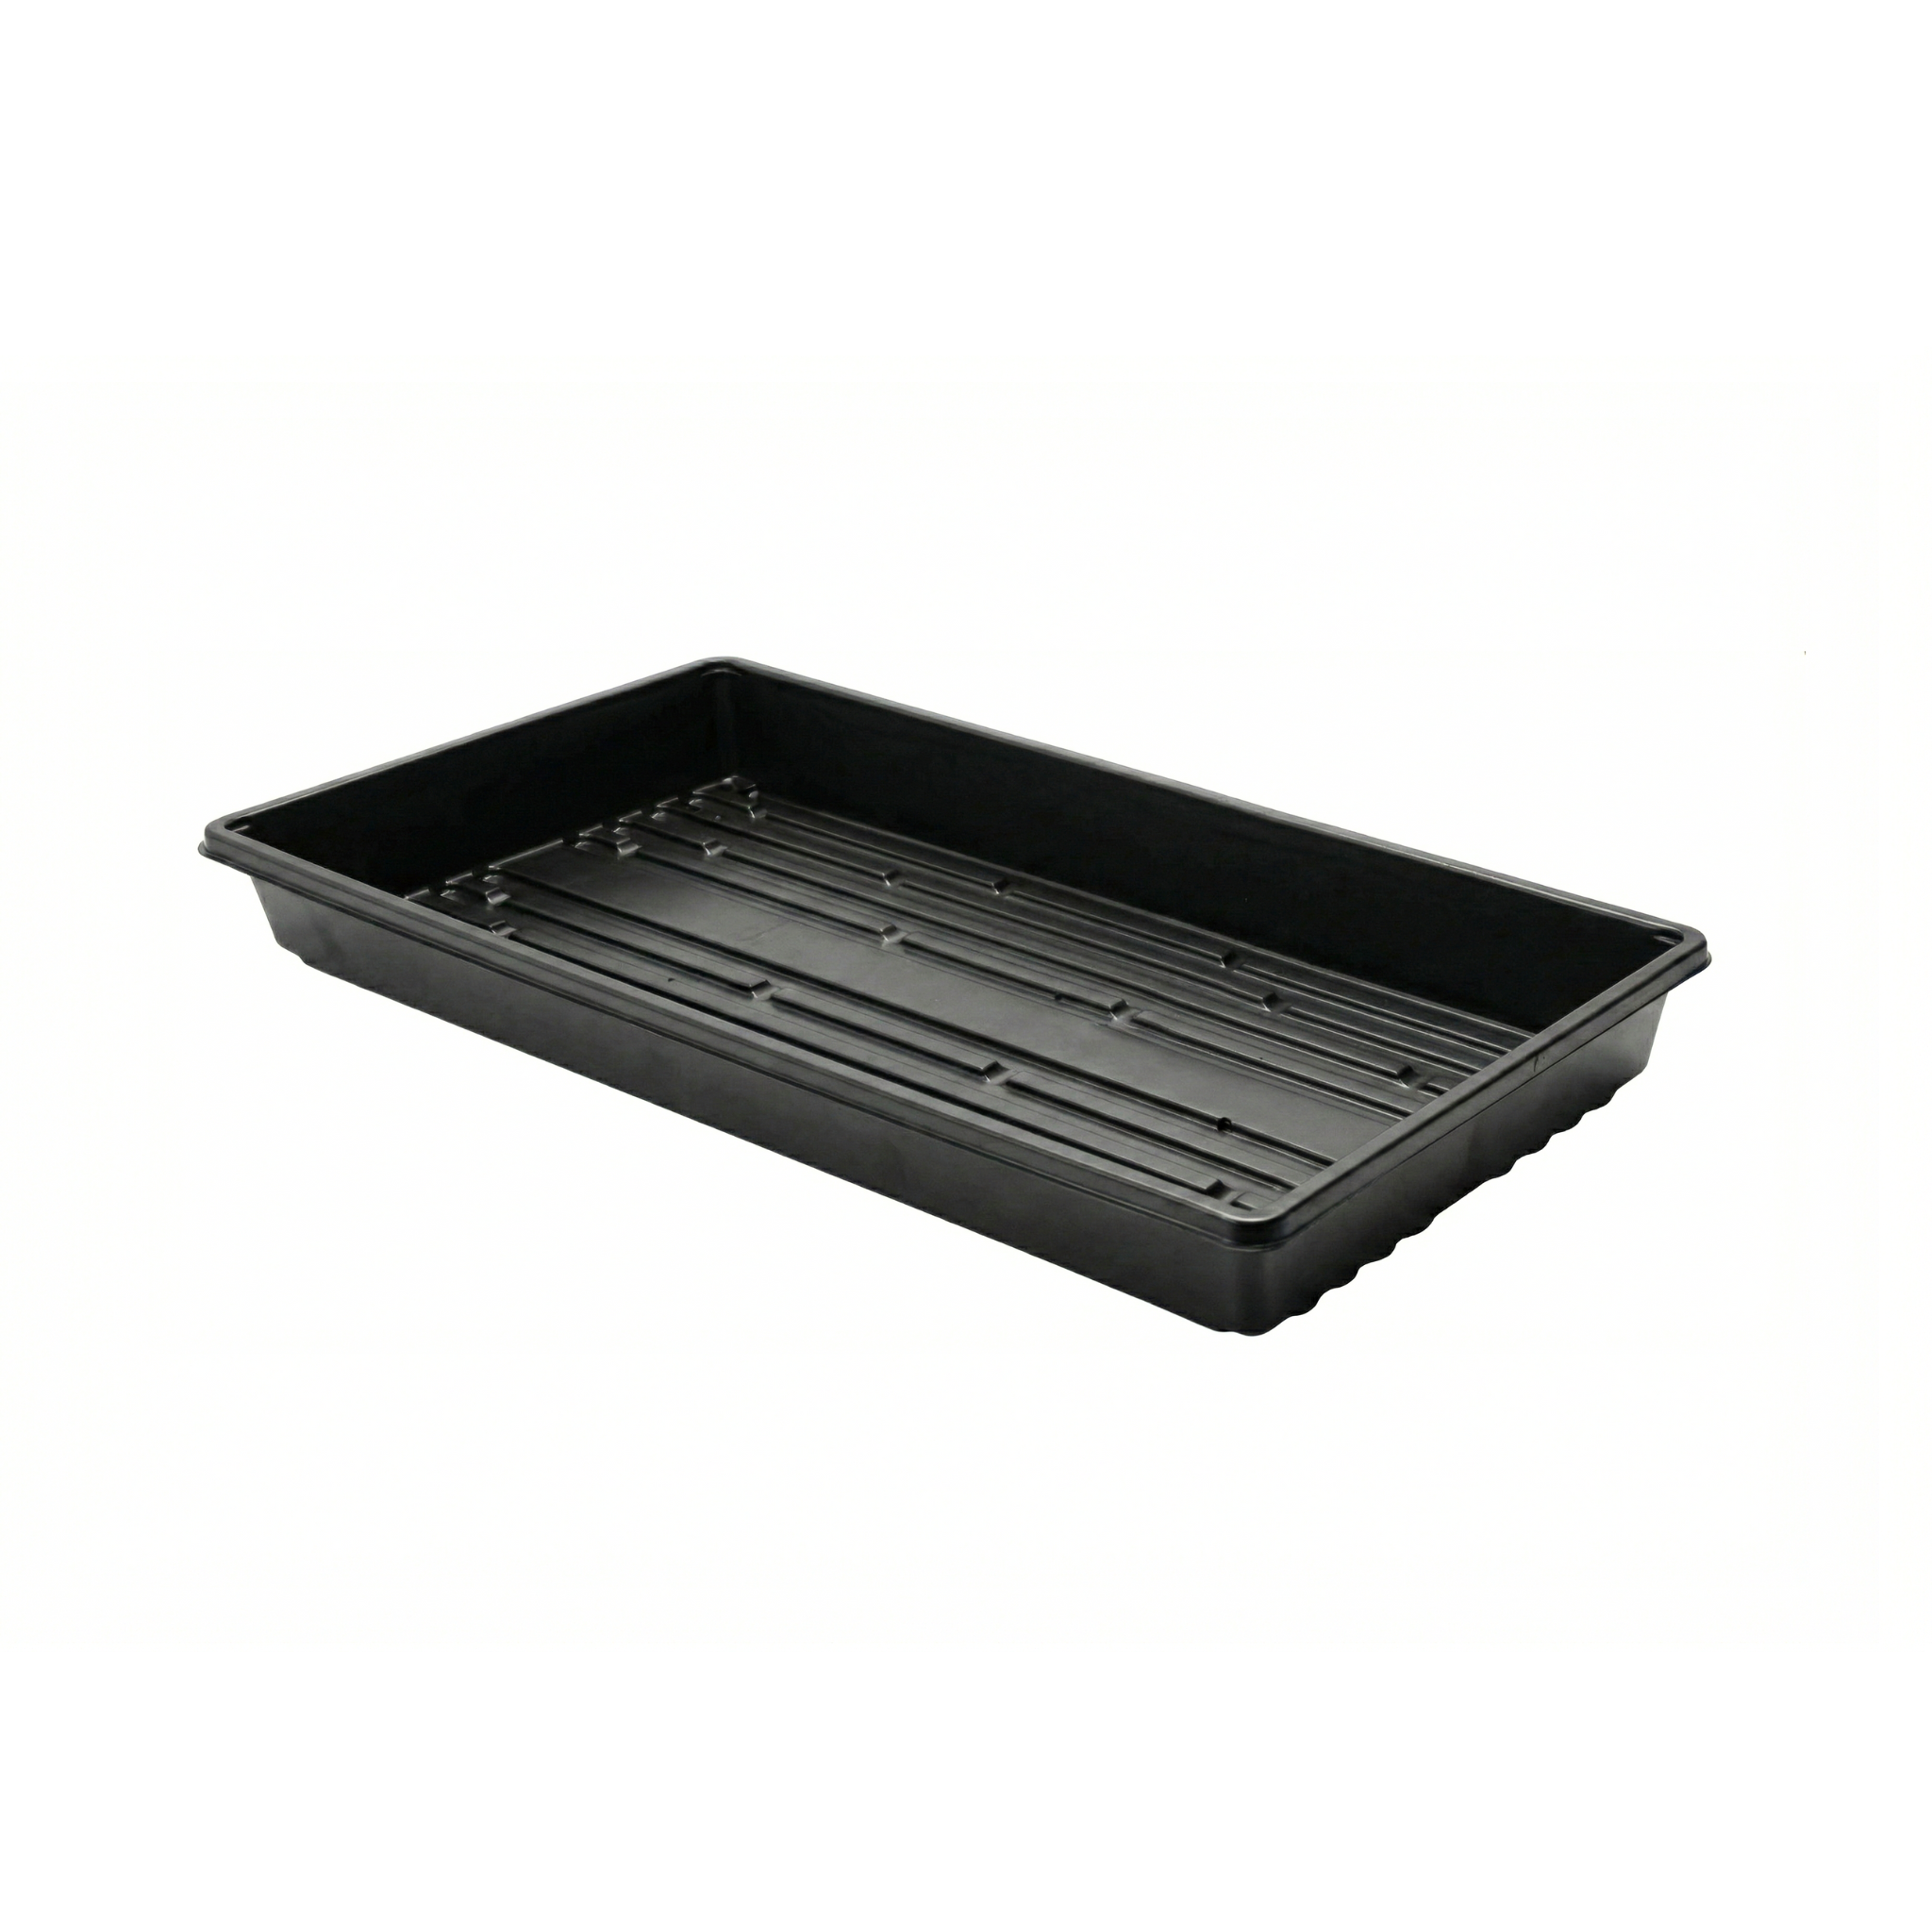
The flat hydroponic tray is the cell-free format for producing a continuous mat and block harvesting. For producing individual seedlings with a root ball for transplanting —tomato, lettuce, vegetables for open field or greenhouse— the correct format is NOT the hydroponic tray but the horticultural tray with individual cells, calibrated in four cell sizes according to the crop cycle. Confuse the formats and you lose the appropriate geometry.
Product specifications
The flat hydroponic tray is offered as a single variant calibrated for HGF, microgreens, mass germination and as a base tray for growing racks. The following table sets out the complete technical specifications:
| Specification | Value |
|---|---|
| SKU | 984251 |
| Material | UV-stable virgin plastic resistant to nutrient solutions |
| Geometry | Flat, cell-free, low side walls |
| UV treatment | Yes (suitable for greenhouse and outdoors) |
| Chemical resistance | Suitable for hydroponic nutrient solutions and standard disinfectants (chlorine, peroxide) |
| Box | 180 trays |
| Stackable | Yes (empty for storage; loaded in growing racks) |
| Suitable for | HGF, microgreens, mass germination, pot base |
| Not suitable for | Individual seedlings with a root ball for transplanting (use a horticultural tray) |
The tray serves three different operations with the same geometry. HGF (hydroponic green fodder): cereal seed (barley, corn, wheat, oats) on the tray without substrate, 7-10 day cycle, spray irrigation, harvesting the complete mat for animal feed. Microgreens: seed on a thin layer of substrate (coconut fiber, peat), 7-21 day cycle depending on species, first days in darkness for elongation, then light for greening; harvesting by cutting with scissors flush with the substrate. Mass germination: seed on substrate at low density as a pre-crop of seedlings for later transplanting to soil, a larger hydroponic system or a nursery.
The horticultural tray with cells in its four cell sizes is the sister choice when the goal is to produce individual seedlings with a root ball for transplanting to open field, greenhouse or a larger planter.
Step-by-step use
The following procedure covers the hydroponic tray cycle with specific notes according to the application: HGF, microgreens or mass germination.
Selecting the application and preparing the seed
Define which operation it is: HGF for animal feed, microgreens for premium human consumption or mass germination as a transplant pre-crop. For HGF: wash the cereal seed with clean water to remove residues, soak for 6-12 hours (corn, wheat: up to 12 h; barley and oats: 6-8 h), drain and pre-germinate it in a plastic bag or covered container for 24-48 h until the small white rootlet appears. For microgreens: the seed is placed directly on the substrate without soaking (except species with a hard coat such as sunflower and peas, which improve with a 6-12 h soak). For mass germination: follow the protocol for the species you are going to transplant afterwards.
Loading the tray
For HGF: spread the pre-germinated seed in a uniform layer of approximately 1 cm directly on the tray plastic, without substrate —the seed and roots form the mat's own substrate—. Indicative density: 1-1.5 kg of dry seed per tray at the start of soaking. For microgreens: spread a thin layer of substrate (1-2 cm of moist coconut fiber or commercial microgreens peat) and sow the seed at high density (cover the surface without heaping). For mass germination: spread 2-3 cm of commercial germination substrate and sow at the density recommended for the species. In all cases, press gently so that the seed is in good contact with the medium.
Managing the cycle and irrigation by application
For HGF: professional 7-10 day cycle with spray irrigation every 2-3 hours during daylight hours (6-8 waterings per day), switched off at night. Apply a light nutrient solution from day 4 to 8 and water only during the last days. For microgreens: bottom irrigation (placing the tray with the product in another tray with water until the substrate is saturated by capillarity) or fine misting with a fine-spout watering can; cycle in darkness for the first 3-4 days (induces stem elongation for greater edible height) and then direct light until harvest between day 7 and 21 depending on species. For mass germination: spray irrigation 1-2 times a day, keeping constant moisture without waterlogging.
For microgreens in commercial production, the first 3-4 days in total darkness are the difference between premium microgreens with commercial height (8-10 cm) and dwarf microgreens that the chef rejects. Darkness forces the sprout to seek light by elongating the stem, and only when the stem reaches sufficient height is it exposed to light so that the leaves green up and form the characteristic flavor. Without the dark phase, microgreens grow stunted and with weak flavor. The professional technique uses tray stacking during this phase: trays with product stacked with the weight of another empty tray on top, in a dark area, simulate the effect of the soil they would have in natural germination. This is the difference between home-kitchen microgreens and chef's microgreens.
Harvesting the mat
For HGF: lift the complete mat (roots + germinated cereal, typically 20-25 cm tall by day 7-10) by pulling from one edge —it will come out like a whole carpet. Cut it into portions to distribute among the animals according to the feeding plan. For microgreens: cut with sharp scissors or a kitchen knife flush with the substrate, just above the germination line. Harvest the complete mat in a single operation and pack it immediately refrigerated to keep it fresh. For mass germination: extract the seedlings individually with their substrate root ball to transplant to the final medium, watering the tray beforehand to make separation easier without breaking rootlets.
Cleaning and disinfection between cycles
After each harvest, remove root and substrate residues with a hose or brush. Wash the tray with soapy water, rinse and immerse in a 200 ppm chlorine solution (in the food industry, microgreens) or 500 ppm (HGF and mass germination with previous fungal problems) for 10-15 minutes. Rinse with clean water and let dry in the sun —UV radiation completes the surface disinfection without the need for additional chemicals—. Disinfection between cycles is MANDATORY in HGF and microgreens: a tray with fungal spores from the previous cycle will contaminate the next one and yield non-commercial product. For microgreens production destined for fine dining, keep a disinfection record per tray and batch as part of the food safety program.
Do not reuse trays between cycles without proper disinfection, especially in HGF and microgreens. The residue of roots, ungerminated seeds and trapped moisture from the previous cycle is the perfect environment for Fusarium, Pythium, Aspergillus and other fungi that contaminate the next cycle, generate visible mold (white, gray or black spots on the mat) and ruin the entire production. In HGF for animal feed, the resulting mycotoxins can be toxic to livestock; in microgreens for human consumption, they disqualify the product for sale. The professional rule is: no tray goes back into cultivation without having gone through washing, chlorine disinfection and sun drying —better to wait a day in the sun before reusing than to risk an entire production cycle to save an hour—.
Complementary products
To complement the flat hydroponic tray in HGF, microgreens and mass germination production, the following products cover the most common adjacent needs:
The horticultural tray with cells is the sister product for producing individual seedlings with a root ball when the goal is transplanting to field, greenhouse or a larger planter. Expanded perlite improves substrate aeration in mass germination with a hydroponic tray as a base. Expanded vermiculite provides moisture retention in microgreens and mass germination substrates. The 3-runner plastic pallet is an internal transport base when boxes of trays arrive at the HGF plant or the microgreens greenhouse.
Maintenance and care
The hydroponic tray is designed for intensive use in consecutive short cycles, so maintenance between cycles is the central activity: washing with soapy water, disinfection with 200-500 ppm chlorine depending on application, rinsing and sun drying. Inspection should focus on side edges with breaks from handling (discard the tray if it compromises rigidity), surfaces with deep scratches where organic residues accumulate (a critical zone for fungal proliferation), and top edges deformed by incorrect stacking in storage.
For storage between seasons or spaced-out cycles, keep the trays clean and dry, stacked in the shade. Continuous UV radiation reduces the service life even of UV-stabilized material, so indoor storage between cycles extends the total number of profitable cycles. In continuous microgreens production operations (which is the most demanding pattern), the tray pool must be rotated with a portion always in cleaning-disinfection-drying while another portion is in active cultivation, distributing the load across the whole set.
Frequently asked questions (FAQ)
Which cereal works best for HGF?
Barley and corn are the most used in the DR for their availability, cost and yield. Barley gives 7-10 day cycles with a dense mat that is very palatable for cattle and sheep. Corn gives somewhat longer cycles (10-12 days) with excellent height and volume but requires stricter monitoring against fungi due to its higher starch proportion. Wheat and oats are valid alternatives, especially when there is regional availability or a favorable price. The critical thing is to buy clean seed (without chemical treatment for protection against field pests, since those chemicals are toxic in animal consumption); field seed intended for human or animal feed, not treated agricultural seed.
How do I disinfect correctly between cycles?
Professional protocol: (1) remove all residues of roots, ungerminated seeds and substrate with a hose or brush; (2) wash with water and mild soap; (3) immerse the tray in a chlorine solution of 200 ppm for microgreens and human food trays, or 500 ppm for HGF and trays with previous fungal problems, for 10-15 minutes; (4) rinse with clean water to remove chlorine residue; (5) let dry in the sun for at least a few hours —direct UV radiation completes the surface disinfection—. For production destined for premium human consumption, keep a written disinfection record per tray and batch as part of the project's food safety program.
Is this tray suitable for NFT or DWC hydroponic systems?
This tray is the classic format for HGF, microgreens and mass germination, where the tray holds the complete crop. For continuous-cultivation hydroponic systems such as NFT (Nutrient Film Technique) or DWC (Deep Water Culture) with adult plants (lettuces, aromatic herbs, strawberries), the tray serves as an initial germinator where the seedlings develop, after which the seedlings are moved to the NFT/DWC system in separate baskets. The tray itself is not the production unit of the NFT/DWC system, but the prior pre-crop. In this flow, the horticultural tray with cells is also a valid option and simplifies the move to the final system.